Strawberry Fool & DIY Chocolate Cups

I hope to write a small post! Is that even possible? Humph.. Let’s try and see..

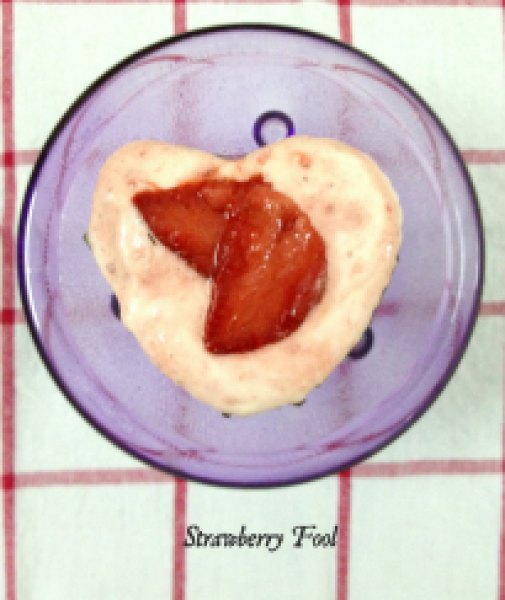
I’m writing about this easiest dessert ever today… It is an English classic! I’m talking about Strawberry Fool.. The name says it all! It is so simple that any fool should be able to make it! No kidding 😀

Strawberry Fool1

The fool ~ this dessert is nothing but sweetened fruit folded into stiffly peaked and slightly sweetened whipped cream. THAT IS IT! Berries work perfectly for this dessert, especially strawberries. Kiwi and rhubarb would be a nice twist too.

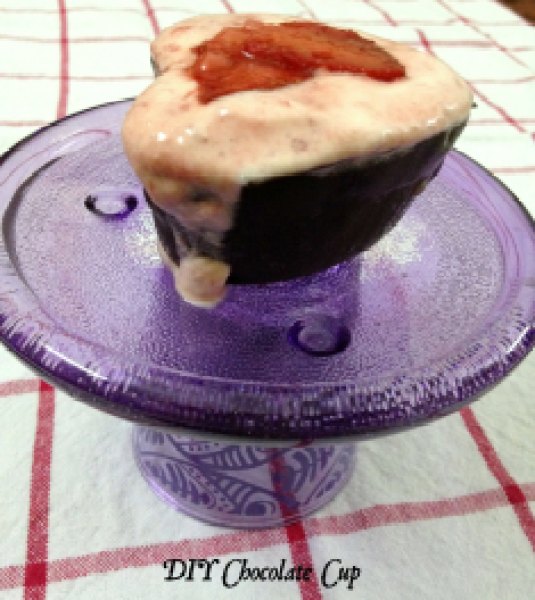
For serving my fool, I made heart-shaped chocolate cups! Do you remember my post “Brownie Bombs“? I had mentioned in that post that even after coating all the cake pops generously I still had some left-over melted chocolate. I had to think on my feet… How to turn this left-over melted chocolate into something amazing and this impromptu idea came to my mind. Very easy to make. All you need is silicone cupcake liners.

Chocolate cups are so easy to make that once you’ve started, it is difficult to stop. You’ll find yourself stuffing them with all sorta yumminess out there! Imagine your favorite peanut butter, ice-creams, mousse and cheesecake served in these edible chocolate cups. Now no need to lick the plate!
Strawberry Fool & DIY Chocolate Cups1
DIY chocolate cup seated on my DIY cupcake stand!

Don’t overfill the cups with fool like I did! 😛

Chocolate and strawberries are match made in heaven. So serving strawberry fool in a chocolate cup makes for a perfect and elegant party-dessert. Chocolate cups can be made ahead and stored in refrigerator for months and strawberry fool is a no-cook, no-nonsense dessert. Perfect for last-minute dessert-fix or midnight-cravings!

P.S. I’m sorry but I do not have step-by-step photos for chocolate cups. As you can imagine my kitchen and hands were covered in chocolate. 😛 But do not worry. These are easy-peesy to make and you will not require my horrible photographic skills to show you that.

DIY Chocolate Cups:

Yields: 4 cups

Ingredients:

  • 50 gm dark chocolate*, melted
  • 4 silicone cupcake liners, frozen for 5 minutes
  • small sheet of grease-proof baking paper

Directions:

For detailed information on how to melt chocolate: Refer to this post

Method-1:

Dip the outer surface of the silicone liner into the melted chocolate. Remove the excess chocolate by giving the liner a slight shake. Ensure that the chocolate coats the liner evenly. Upturn the liner and place it on grease-proof baking paper. Refrigerate for 10 minutes.
Dip the liner again in the melted chocolate to get a thicker layer of chocolate and refrigerate again. Repeat these steps to make 3 more cups.
Once cool, separate the chocolate cups from silicone liners slowly and carefully. Refrigerate till the time of use.
Method-2: For this method a small paint brush will be required.

Paint a thin layer of chocolate onto the inside of each cupcake liner. Refrigerate them for 10 minutes.
Paint a second thin layer of chocolate on top of the first layer and refrigerate for another 10 minutes.
Carefully pop the chocolate cups out of the liners. Refrigerate till the time of use.

* Feel free to use white chocolate or mix of dark and white chocolate.

Strawberry Fool:

Yields: 4 servings | Prep time: 10 minutes

Ingredients:

  • 6 large frozen strawberries, hulled and thawed
  • 3 Tbsp caster sugar
  • 1 cup fresh cream (medium fat 40%), chilled
  • For garnish: 2-3 strawberries, sliced or any cookie of your choice, crumbled

Directions:

  1. Chill mixing bowl and beater in freezer for 5 minutes.
  2. In a food processor, blend strawberries to a smooth puree. Mix 2 Tbsp sugar in the puree and set aside.
  3. Remove mixing bowl and beater from freezer. Add fresh cream to the mixing bowl and whisk. Gradually add 1 Tbsp sugar to the cream and whip till you get stiff peaks.
  4. Fold the strawberry puree in to a whipped cream until nearly incorporated, leaving a few streaks of whipped cream and strawberry puree. Divide the mixture among 4-chocolate cups. Serve immediately garnished with strawberry slices/cookie crumble or refrigerate for up to 2-3 hours.

P.S. Writing a short post requires a skill I don’t seem to possess! Have a happy weekend! 🙂

Share this recipe:

Pina~Colada Cake-Mix Cookies

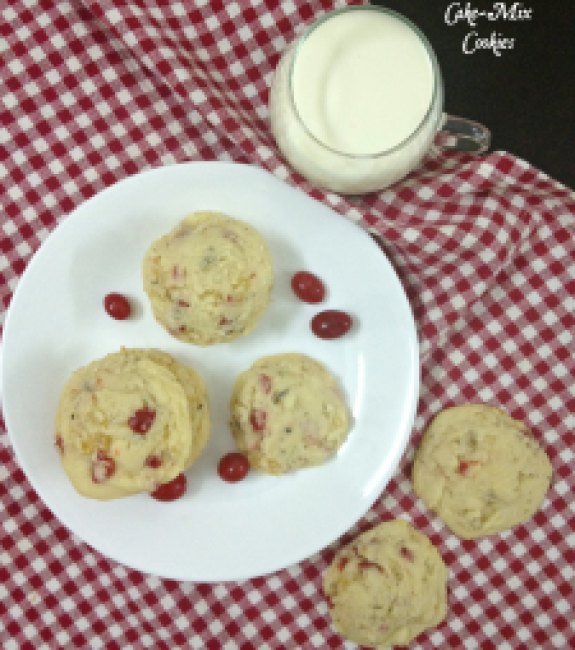
Pina~colada Cake-mix Cookies1

I have been known for my love of eating my drink! You must have seen this and this! (< These are must try! They are simply loved by friends and family and most viewed recipe on my blog till date!!)

So now I want to take a plunge and start drinking my cookies! 😉 Who is with me on this?

When you incorporate a drink in baked goods, the flavor gets enhanced and intensifies. In my opinion cupcakes/cakes are more forgiving in a way you can play with liquid as the consistency of batter is not much of a concern. While it is trickier to be able to incorporate a drink in cookie-dough as it has to be just right, not overly runny or sticky else it goes straight in to the trash.

I am a very guarded person.. I hate disasters in the kitchen more than any other person. Just can not handle them. I know it is part-and-parcel of the game but non-salvageable disasters just make me crazy! Yup.. still dealing with my failed attempt at Mountain Dew cookies.. But I have not lost on them yet! I am sure I’ll come up with a winner recipe 🙂

Hence for this second drink-cookies expedition, being an overly-cautious person that I am, I decided to use cake-mix. They are just convenient and I could focus on the liquid~cake-mix ratio completely rather than focusing on flour-sugar ratio first. These were success at first attempt so I will be more confident while baking my next Pina-colada cookies from scratch. I will definitely update the recipe when it happens in future but till then enjoy these cake-mix cookies as they were the best cake-mix cookies I have baked so far and I have baked many!!

Pina~colada Cake-mix Cookies3

The batter comes together easily. In one bowl. With a spoon. No mixer required.

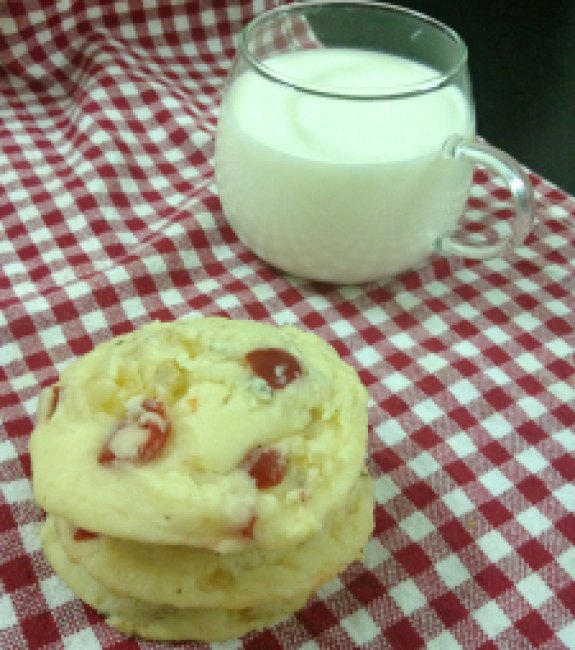
We are using cake-mix which virtually guarantees a success! They are soft, fluffy and yet chewy.

These are studded with the bits of dried pineapple and glazed cherries. And when we are talking Pina-colada how can we miss coconut so in goes shredded desiccated coconut. Feel free to add rum and adjust the liquid ratio accordingly if you are in cocktail-cookie mode!

These are perfect holiday cookies. I haven’t been able to take vacation this summer but drinking these cookies definitely felt like sipping a drink on a beach. So go ahead and bake these golden nuggets of sunshine to brighten up you day!

Pina~colada Cake-mix Cookies2
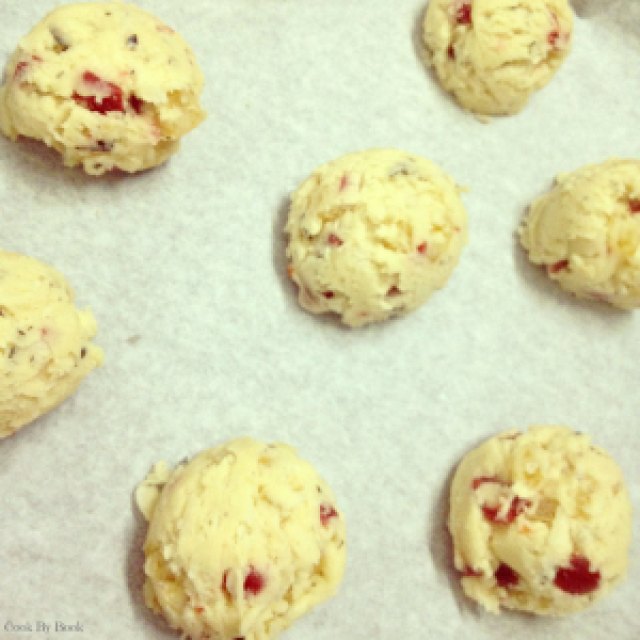
Before going to the oven

Pina~Colada Cake-Mix Cookies

Yields: 2-dozen regular-sized cookies or 1-dozen large cookies (Needless to say I baked mine large)

Ingredients:

  • 1/4 cup butter, at room temperature
  • 3 and 1/2 Tbsp Pina-colada squash/cocktail-mix
  • 250 gm Vanilla cake-mix (I used Pillsbury)
  • 3-4 Tbsp all-purpose flour (or less)
  • 1/2 heaping cup grated desiccated coconut
  • 1/4 cup finely chopped dried pineapple
  • 1/4 cup finely chopped glazed cherries (dried cherries or cranberries would work too)

*If want boozy cookies, add 1 Tbsp rum and reduce Pina-colada squash/cocktail-mix ratio to 2 and 1/2 Tbsp.

Directions:

  1. Preheat the oven to 180ºC / 350ºF. Line baking sheet with a parchment paper. In a large bowl, combine butter and Pina-colada squash/cocktail mix and stir by hand or with an electric mixer till combined.
  2. Add the cake-mix and stir until the batter is smooth. Add the flour one spoon at a time, as needed to solidify the dough. Add as little as possible to get chewy cookies. Adding more flour will make it cakey so add little-by-little.
  3. Fold in the coconut, pineapple and cherries and put the mixing bowl in the freezer for 15 minutes. Do not skip this step as chilled dough spreads less during baking.
  4. Using a Tablespoon or ice-cream scoop, drop 1-inch dough-balls on prepared cookie-sheet, allowing for adequate spacing. These cookies do not spread much and retain its puffier shape. Bake for 10 minutes or until cookies are barely browned on the bottom. The tops will look undone but they will continue to set on the cookie-sheet even after out of the oven. They will firm up as they cool so do not over-bake. Allow the cookies to cool on cookie sheet before attempting to move them. Store them in an air-tight container for up to a week at room-temperature.
Share this recipe:

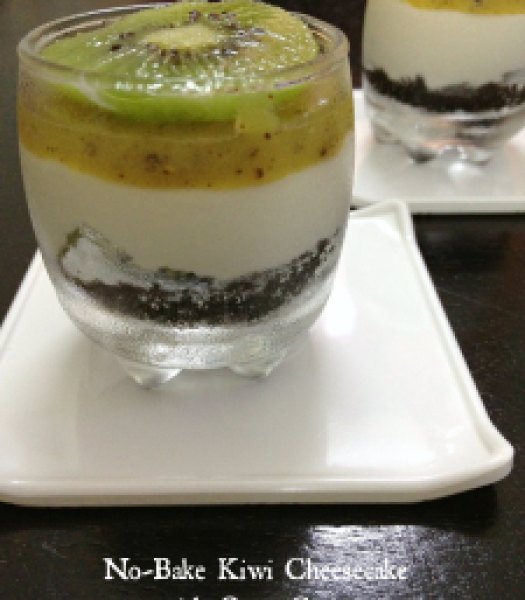
No-Bake Kiwi Cheesecake with Oreo Crust

No-Bake Kiwi Cheesecake1
Yesterday was a National Cheesecake Day and this is my 50th post on the blog! So let’s combine this two very important occasions of my life and celebrate! With cheesecake!! Now you’re talking! 😉
I have a confession to make! I made this cheesecake more than a month ago and totally forgot to blog about them.. Yesterday when National Cheesecake Day tweet was doing rounds, this is the cheesecake which came to my mind instantly… and this too! Sincere apologies for forgetting such an important thing.
Now that this is off my chest let’s move on..
So let’s talk about cheesecake! Cheesecake!! You want it! Really really crave it and then you think of all the extra calories eating one slice or half slice of it entail and then you either eat it anyway and feel guilty or don’t eat it and deprive yourself from this decadence.
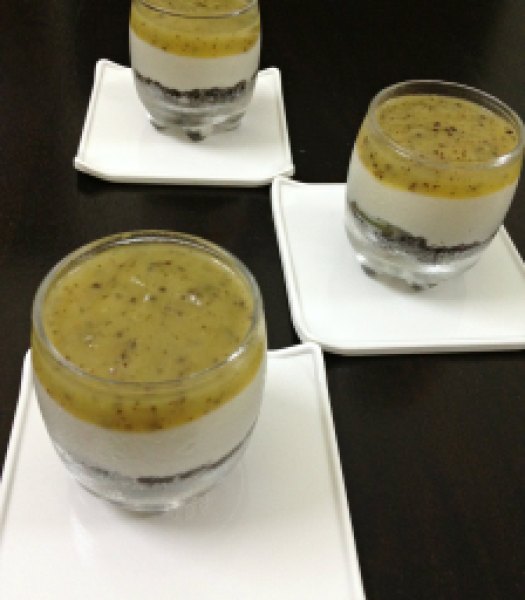
No-Bake Kiwi Cheesecake3
I say you can not be making such appalling sacrifices. It’s against the law, you see! So being a smart one here always presenting you guys with skinny treats, I have a solution. Simple… Make mini-cheesecake!!! I’m on a mini-dessert frenzy nowadays… I simply adore them. One thing they are too cute and another is the amazing portion-control you get without making yourself or others feeling culpable for the indulgence.
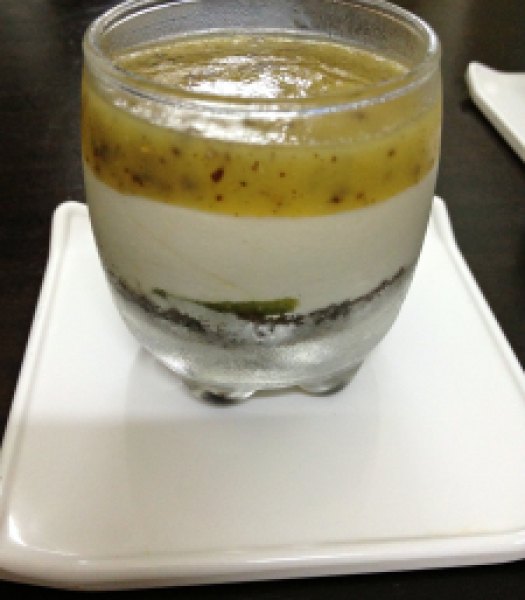
No-Bake Kiwi Cheesecake2
So here I present you today kiwi cheesecake with Oreo crust… I have tried and kept the sugar as less as possible. The cream used here is not full-fat whipping cream instead I have used medium fat cream. So I have done my best to bring you a slightly low-cal version.
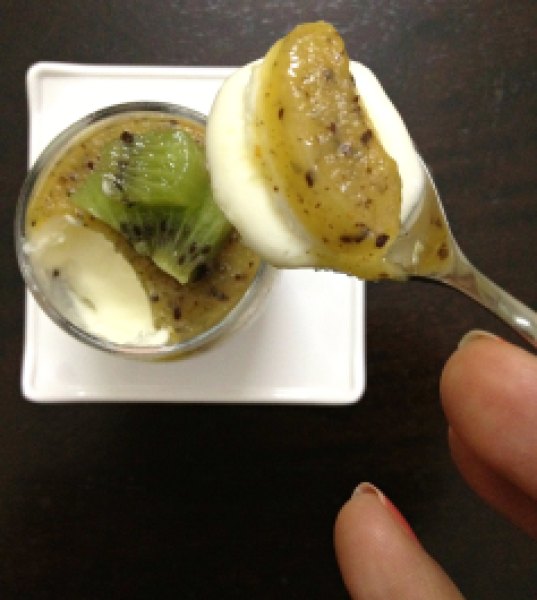
No-Bake Kiwi Cheesecake4
No-Bake Kiwi Cheesecake5
Hubby & I got to eat cheesecake for 3 days in a row. So we were a happy bunch! I hope you enjoy this as much as we did.
No-Bake Kiwi Cheesecake with Oreo Crust
Yields: 6 mini cheesecakes
Ingredients:
For Oreo crust:
  • 6-7 Chocolate Oreos
  • 1 Tbsp melted unsalted butter
For the cheesecake:
  • 1/3 cup fresh cream (medium fat 40%), chilled
  • 1/2 cup cream cheese, softened at room temperature
  • 1/4 cup caster sugar
  • 1/2 tsp vanilla extract
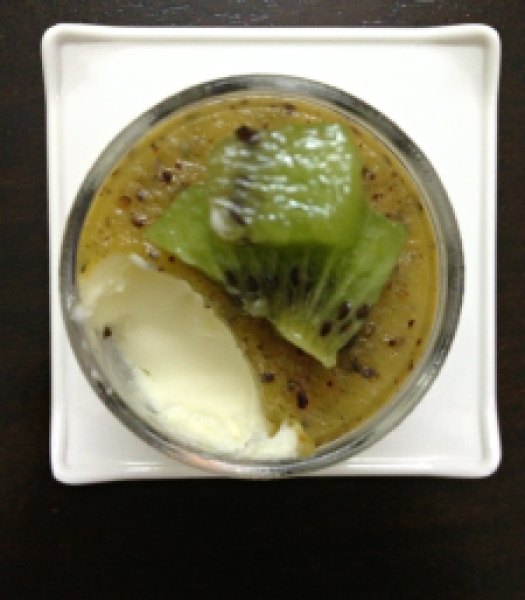
  • 1/2 kiwi, peeled and diced
For kiwi jelly:
  • 1 Tbsp agar agar
  • 1/4 cup hot water
  • 1 kiwi, peeled and smoothly pureed
  • 1 Tbsp caster sugar
For garnishing: Sliced or diced fresh Kiwi fruit
Directions:
  1. Blend Oreos and melted butter in a food processor till fine crumbs form. Place 1 Tbsp of crumb at the base of the each shot glasses and press down firmly. Place glasses in refrigerator till you prepare cheesecake filling.
  2. Whip cream cheese, sugar and vanilla extract till soft peaks form. Whip the cream in  a separate bowl till the soft peaks form. Fold in together gently.
  3. Remove shot glasses from the refrigerator. Equally divide cheesecake filling in all the glasses throwing in 2-3 pieces of diced kiwi in between the layers. Refrigerate for at least 2-3 hours.
  4. In a microwave safe bowl, heat the water for 30 seconds and add agar agar to it. Mix thoroughly till agar agar dissolves completely. Add sugar and kiwi puree. Whisk till a thick paste forms. Top the shot glasses with approximately 1 Tbsp of jelly mixture and chill again for 2-3 hours or till jelly has set completely.
  5. Serve chilled, each glass garnished with sliced or 2-3 diced cubes of fresh kiwi.


Share this recipe:

Skinny Potato & Leek Soup

Potato & Leek Soup1

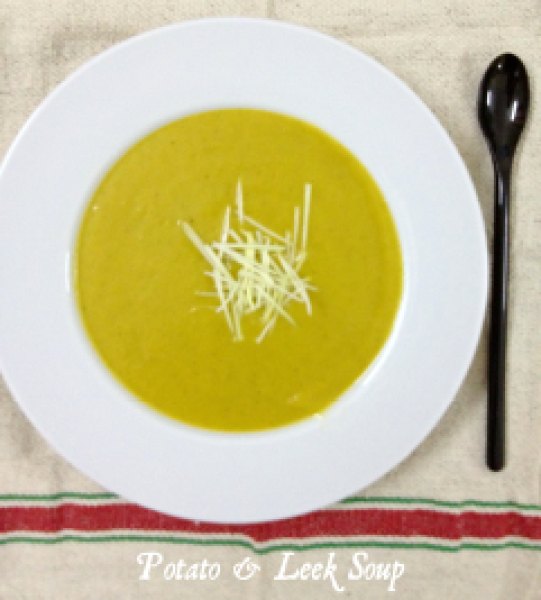
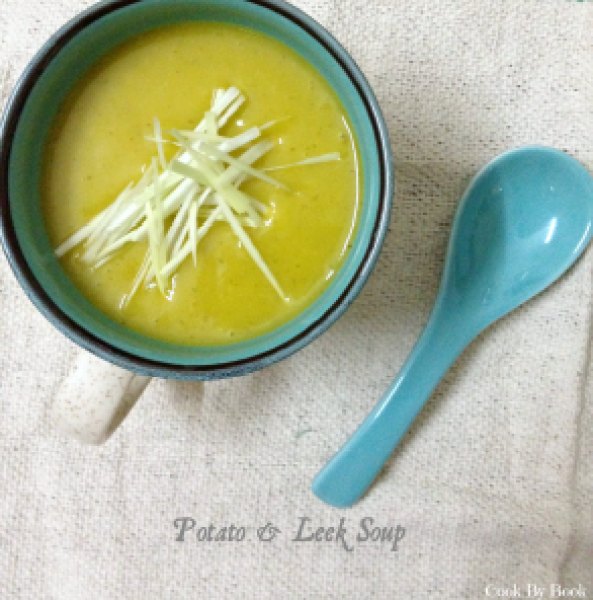
I want to make a confession. This is a very simple and classic soup. There… I said it! I am not bringing you some fancy-schmancy recipe today. Just an old classic… Flavored as per my liking and made skinny of course! I didn’t even want to post this recipe for its sheer simplicity. But the flavors were so bang on that I had to bring it forward to you guys!

This soup is so hearty that it is a complete meal in itself. Make this on a cloudy, rainy, grey, cold evening, have it curled up under a blanket and it won’t disappoint you! The aroma of the soup will soothe your mind and soul. It will love you back! (Really!!!) I made this on one such rainy Saturday afternoon and it did hug me back! 🙂

This recipe is inspired by Jamie Oliver‘s book Ministry Of Food. He says that this soup is also surprisingly delicious eaten fridge-cold on a summer’s day with a squeeze of lemon juice and a dollop of natural yogurt. I would love to try it this way too! But I might have to wait for the next summer to arrive…

All the ingredients used in this soup are very earthy… just like rain. Leek is a dominant flavor in here.  While celery adds a nice boost of flavor, carrot adds a touch of sweetness and potatoes give it a creamy texture. I would recommend not skipping onion powder and thyme for a complete experience.

Potato & Leek Soup2

Make this soup and bask in the serenity of warmth the soup surrounds you with!

Skinny Potato & Leek Soup

Serves: 2-3 | Prep time: 5-7 minutes | Cook time: 30 minutes

Ingredients:

  • 1/2 tsp olive oil
  • 2 cloves garlic, minced
  • 1 leek
  • 1 carrot, peeled & sliced
  • 1 stick celery with leaves, sliced
  • 1/2 tsp onion powder
  • 1/2 tsp dry thyme
  • 600 ml vegetable stock
  • 2 large potatoes, peeled & diced
  • salt & pepper, as per taste

Directions:

*Preparing Leek : Cut the ends off leek and discard. Quarter the leek lengthwise, wash under running water to remove all the grit and cut them into slices. Save a 2-inch piece from the end of leek and julienne it for garnishing.

  1. Heat a deep sauce pan on a high heat and add olive oil to it. Add garlic, leek, carrot and celery to the pan and sauté for around 5 minutes with the lid askew on a medium heat.
  2. Add onion powder, thyme and vegetable stock to the pan. Let it simmer on high heat till the stock has come to a boil.
  3. Add potatoes and give the soup a good stir with wooden spoon. Reduce the heat and let it simmer for 10-15 minutes with the lid on. At this point the potatoes would be just cooked and soft. Do not overcook them.
  4. Remove the pan from the heat. Season with salt and freshly cracked pepper. Pulse until smooth using a hand blender. Adjust the seasoning and consistency as per your liking. Serve garnished with julienned leek.
Share this recipe:

Brownie Bombs

Brownie Bombs3

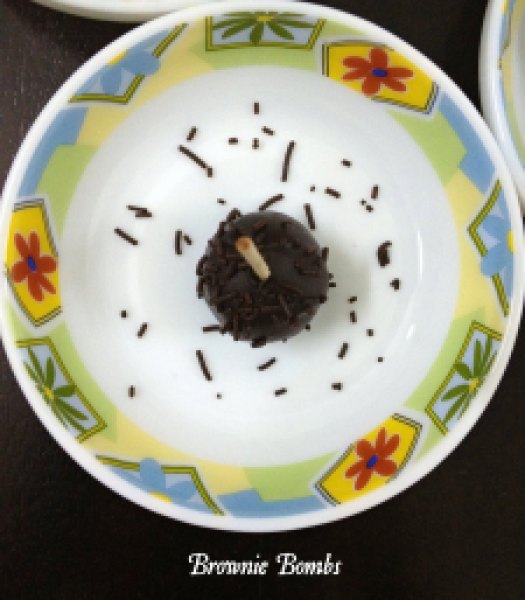
I personally adore cake pops. They are pretty, deceptive and delicious little things. They look easy to make… In fact they are easy to make. Just a wee-bit time-consuming but easy.

This is my first post writing about them so I would like to be more elaborate. If we talk structurally, cake pops are nothing but the crumbled cake mixed with frosting that can be rolled into balls or formed into any imaginable different shapes. They are then placed on a lollipop stick or wooden skewers, dipped in chocolate and topped with decoration of choice.

Cake pops rage is still catching up in my part of the world and quickly! I have gobbled up plenty of chocolate cake balls in my lifetime while growing up (I mean it!) and they are my favorite till now. Now cake pop is something very similar to cake ball concept sans the outer chocolate layer. I can totally relate to them.

Brownie Bombs2

I instantly fell in love with the idea of making a bite-sized cake, decorated for individuals which is mess-free and gives complete portion-control! They’re perfect for parties. I had one such potluck to attend last Sunday and I was asked to bring a dessert for obvious reasons! I immediately knew cake pops would be perfect for that as it’s something which can be made ahead and I wanted an excuse try them at home anyway!

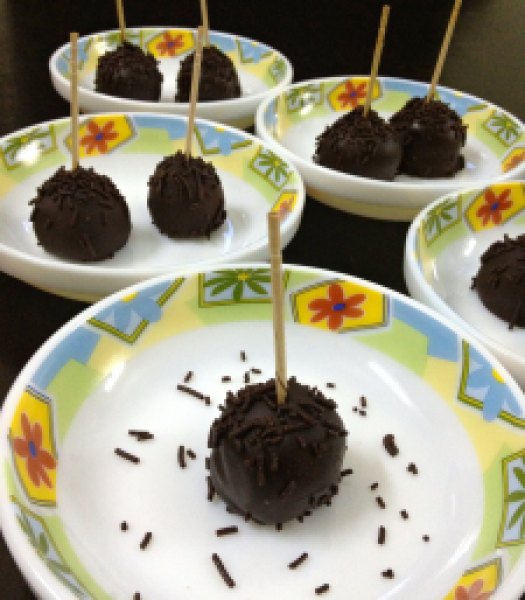
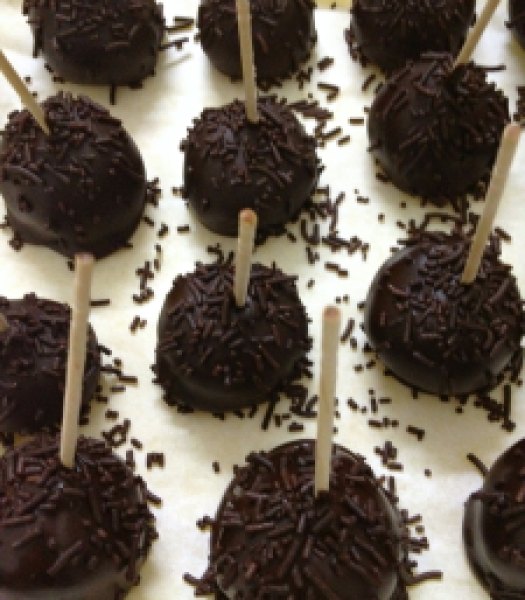
I didn’t have to do much of a research as in what type of cake-pop to make as I had a professional help. I recently bought a book  from The Australian Women’s Weekly ~ Cute Cake Pops. What an amazing little book! It had plenty of inspiration and fantastic ideas for making cake pops for every occasion! I wanted a crowd-pleasing chocolate and something simple for my first attempt hence I chose to make these brownie bombs from scratch. Yes, no cake-mix involved here. So I made some brownies and turned them into gorgeous cake-pops! Simple, no?!

Brownie Bombs1
Just after dipping and decorating

I had some extra melted chocolate after all the cake-pops were done dipping. Wanna know how I used the left-overs? That’s going to be a post for another day.. Stay tuned! 😉 Meanwhile enjoy these!

Brownie Bombs

Recipe adapted from Cute Cake Pops

Yields: 25-30 cake pops

Ingredients:

  • 75 gm butter, chopped coarsely
  • 100 gm dark eating (semi-sweet) chocolate, chopped coarsely
  • 1/3 cup (75 gm) caster sugar
  • 1 egg
  • 2/3 cup (100 gm) all-purpose flour
  • 2 Tbsp dark rum (I omitted it)
  • 200 gm dark chocolate melts
  • 30 lollipop stick or toothpicks with sharp edges trimmed
  • Chocolate sprinkles, to decorate

Directions:

  1. Preheat oven to 180°C/350°F.  Grease a deep 7-8 inch square cake pan; line base and sides with baking paper.
  2. In a medium bowl, melt butter and chopped chocolate in a microwave for about 1 minute stirring after 30 seconds. Stir till smooth and let cool for 10 minutes.
  3. Stir sugar, egg and flour into chocolate mixture. Spread into a cake pan; bake about 20 minutes. Cool in pan.
  4. Once cool, cut cake into large pieces; using a food processor, process cake with rum (if using) until mixture just comes together. You can do this step with hand also. Shape rounded teaspoons of the mixture into balls. Place on a baking paper-lined tray. Freeze for 1 hour or refrigerate for 3 hours or overnight, until firm.
  5. Stir chocolate melts in a medium heatproof bowl over a medium saucepan of simmering water until smooth (don’t let water touch base of bowl).
  6. Dip the end of one stick into the chocolate, then push it about halfway into a ball of brownie. Return to tray. Repeat with remaining sticks and balls of brownie. Freeze for about 5 minutes to set.
  7. Dip one cake pop into the melted chocolate or with the help of a spoon coat a cake pop, rocking back and forth to coat; do not swirl the pop, or it may break. Allow excess chocolate to drip back into bowl. Stand on a baking paper-lined oven tray; sprinkle with chocolate sprinkles before chocolate sets. Repeat with remaining cake pops and sprinkles. Stand at room temperature until set. Serve.

*Store cake pops in an airtight container at a cool room temperature until ready to serve. They will keep for up to a week.

Share this recipe: