Month: January 2014

Red Velvet Cake Donuts ~ Valentine’s Special

Red Velvet Cake Donuts1

After being on a month long health-kick, I think it is time to introduce a little indulgence. After all, it is last day of January.Valentine’s day is just round the corner so today’s post was definitely called for. I’m giving you a gorgeous sweet something for the occasion.

I have already professed my love for donut pan to you before. Ooh, how much I adore it. I want to bake everything into donut now, yes, obsessed is the word! But come on, how cute are these baked donuts?! You’re definitely going to have hard time deciding, eat them for breakfast or dessert! Or may be have them for both 😉

Red Velvet Cake Donuts2

These baked donuts are smothered with cream cheese frosting. Purr..fection! They are soft, tender and fluffy. They come together quickly and uses just a bowl. Baking is done in 8 minutes flat! Takes about 20-25 minutes start to finish. Of course, you will need to wait for donuts to cool completely before applying the frosting. I know which is quite difficult! So you may make them a day in advance, frost them and sprinkle sanding sugar just before serving. No more waiting, problem solved!

I made a small batch of 6 which is perfect if you’re still dieting. They are not obnoxiously fattening. I counted calories to be sure and each donut has 210 calories with frosting. Not so bad, right? Perfect for a cheat day with minimal cheating which means, yes, go ahead and have two!

So make them for Valentine’s or make them now. Bake them as donuts or as cupcakes. Just make them! 🙂

Red Velvet Cake Donuts3

Red Velvet Cake Donuts

Yields: 6 | Prep time: 15 minutes | Bake time: 8 minutes | Total time: About 25 minutes

Ingredients:
For donuts:
  • 2/3 cup + 2 Tbsp all purpose flour
  • 1 Tbsp unsweetened cocoa powder
  • 1/2 tsp baking soda
  • 1/4 tsp salt
  • 1 large egg
  • 1/4 cup white granulated sugar
  • 3 Tbsp oil
  • 5 Tbsp yogurt/buttermilk
  • 1/2 tsp vanilla extract
  • Red food coloring
  • 1/4 tsp apple cider vinegar
For cream cheese frosting:
  • 3 Tbsp plain cream cheese, at room temperature (I used plain spreadable cream cheese)
  • 3 Tbsp icing sugar, sifted
  • 1/4 tsp vanilla extract
  • Splash of milk, only if needed
  • Red sanding sugar, to decorate

Directions:

  1. For donuts: Preheat oven at 180ºC / 350ºF. Spray the 6-count donut pan with oil. Set aside.
  2. In a medium bowl, whisk together flour, cocoa powder, baking soda and salt. Set aside.
  3. In a another mixing bowl, whisk together egg and sugar till nicely incorporated. Whisk in oil, yogurt/buttermilk and vanilla extract. Slowly mix in dry ingredients to wet ingredients with the help on spoon or rubber spatula. Mix until just combined. Do not over-mix.
  4. Add red food coloring as required stirring minimally. Finish with whisking in vinegar to the batter. Divide the batter equally and fill the mold no more than 3/4th. Bake for 8 minutes. Cool in pan on a cooling rack for 5 minutes. Then carefully turn out doughnuts directly onto rack to cool.
  5. Cream cheese frosting: In a small mixing bowl, whisk together cream cheese, sifted icing sugar and vanilla extract until smooth. If the consistency is too thick, add a dash of milk. Spread the frosting on completely cooled donuts. Sprinkle with red sanding sugar just before serving as the colors will bleed. Doughnuts will keep in an airtight container for 2-3 days stored in a refrigerator.
Share this recipe:

Whole Wheat Chocolate Chip Cookies ~ Eggfree & Vegan

Whole Wheat Chocolate Chip Cookies2

A classic whole wheat chocolate chip cookie with a glass of milk! Match indeed made in heaven!

Imagine to be able to have a healthier version of the buttery classic. After receiving rave reviews about Inside Out Chocolate Chip M&M Cookies (Thank you all!), I decided to recreate them into a classic chocolate chip version. I used olive oil instead of butter this time around and skipped milk completely. The result was amazing. I am not claiming these cookies to be skinny or low-fat. They are still 120 calorie each (assuming you get exactly 30 cookies) but you won’t miss the evil fat here, trust me! Come on, olive oil is a good fat and so is whole wheat!

Whole Wheat Chocolate Chip Cookies - 4

Whole Wheat Chocolate Chip Cookies4

If you’re crispy cookie person then flatten the cookie dough a bit more as per your liking and let them bake for an extra minute or so. When baked thick and puffy, these cookies are soft and equally chocolicious. These cookies are also great as ice cream sandwiches. You won’t be able to stop at just one, I know you guys too well! ?

Enjoy & have a gorgeous weekend!

Eeeep… I am off to a road trip and shall share more once I am back! ?

Whole wheat Chocolate Chip Cookies ~ Eggfree & Vegan

Yields: Around 30 cookies | Prep time: 15 minutes | Chill time: 30-60 minutes | Bake time: 14-15 minutes
Ingredients:
  • 3 Tbsp flaxseed powder + 9 Tbsp water
  • 1/2 cup olive oil (coconut oil or unsalted butter can be substituted)
  • 1/2 cup brown sugar
  • 1/4 cup date syrup
  • 2 Tbsp vanilla extract
  • 2 + 1/2 cups whole wheat flour
  • 1/2 Tbsp baking powder
  • 1/2 tsp salt
  • 1 + 1/4 cup mix of dark & milk chocolate chips

Directions:

  1. In a small bowl, mix together flax seed powder and water. Set aside for 10 minutes.
  2. In a medium bowl, sift together whole wheat flour, baking powder and salt. Set aside.
  3. In a large mixing bowl, whisk olive oil and sugar together til completely incorporated. Whisk in date syrup, vanilla extract and flax seed mixture.
  4. Stir in dry ingredients to the wet ingredients to form a dough. Fold in chocolate chips. Chill the dough in refrigerator for about 30 minutes to 1 hour.
  5. Preheat the oven to 160ºC/325ºF. Line the baking sheet with parchment paper. Take about 2 Tbsp of dough, form it into a ball between your palms and flatten them with fingers or a fork. The cookies won’t spread much while baking so flatten how much ever thickness you like. Bake them for 14-15 minutes. Let them cool on baking sheet for 5 minutes before transferring them on cooling rack to cool completely. The cookies will stay fresh for 1 week at room temperature stored in an airtight container.

Shop the recipe:

Here are some items I used to make today’s recipe.


Some of the links above are affiliate links, which pay me a small commission for my referral at no extra cost to you! Thank you for supporting Cook By Book.

Share this recipe:

Strawberry Jalapeño Salsa

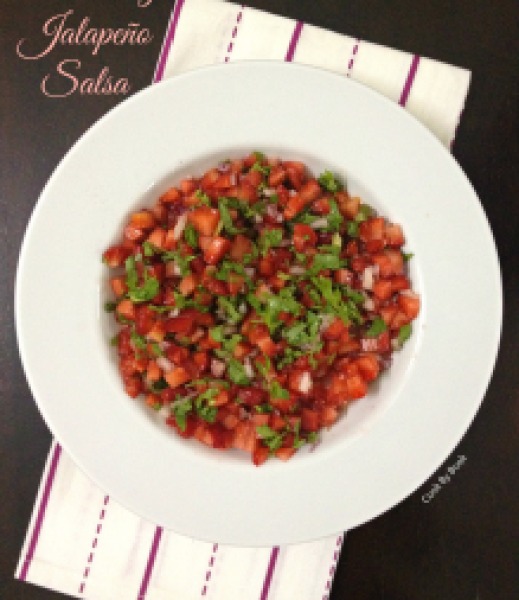
Strawberry Jalapeño Salsa1


This salsa is so so good. I made it the other night when few friends came over and I knew after the first bite that I had a winner. Thankfully I had clicked few pics beforehand (food blogger problems!) so I decided to make it a post.

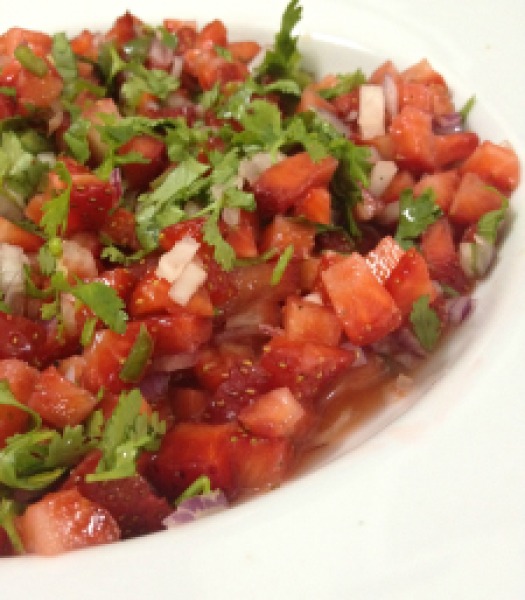
Actually, it is quite silly of me to be presenting this as a recipe with strict measurements because, really, you can just chop, drop and taste as you go! So consider this as a rough guideline. You may substitute orange juice in the recipe with lime or make it using pineapple instead of strawberries. Summer on your plate!


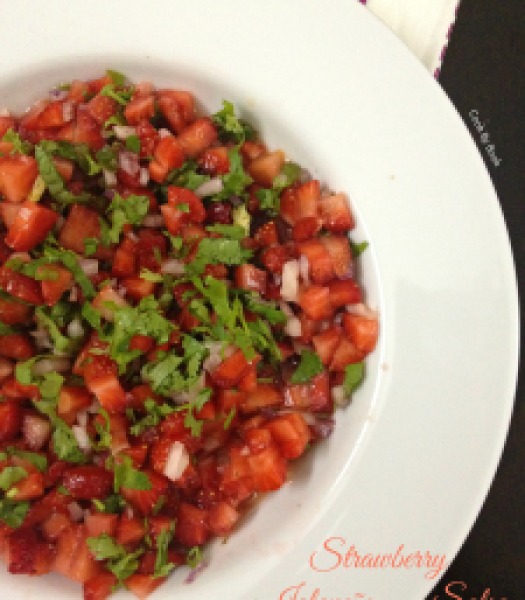
Strawberry Jalapeño Salsa3


This recipe here works so perfectly and you can use it on chicken, fish, meats, tacos, bruschetta, or just scoop it up with chips! Pretty versatile. Bring it to a pot-luck or a party and I bet no one has had it before! It is sweet, tangy, spicy and has a lot going on. Strawberries are in abundance right now, so go for it!

Brighten up your Monday with this simple yet cracking dish!
Have a great week ahead! 🙂


Strawberry Jalapeño Salsa2


Strawberry Jalapeño Salsa

Serves: 3-4 | Prep time: 10 minutes

Ingredients:

  • 1 small onion, finely chopped
  • 1 jalapeño pepper, seeds removed and finely chopped
  • Zest and juice from 1 medium orange
  • Around 20 fresh strawberries, chopped into small even dice
  • Fresh cracked black peppers
  • Handful of cilantro, rinsed and finely chopped

Directions:

In a large bowl, let onion, jalapeño, orange juice and zest steep till you prepare strawberries.
Add strawberries, pepper, cilantro and toss. Chill until ready to serve.

Note: Don’t make this much more than an hour or so before serving. Like all salsas, it will wilt and the fruit may get a little mushy. An hour is the optical amount of time for the flavors to meld and the juices to start flowing. Longer than that salsa will slowly start to lose its fresh appearance.

Share this recipe:

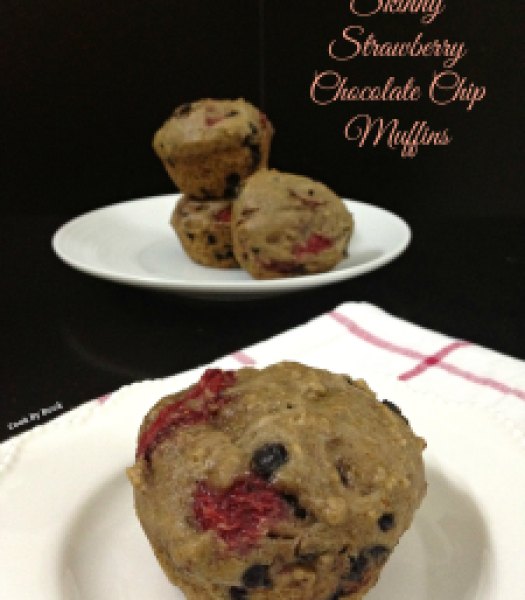
Skinny Strawberry Chocolate Chip Muffins ~ Eggfree

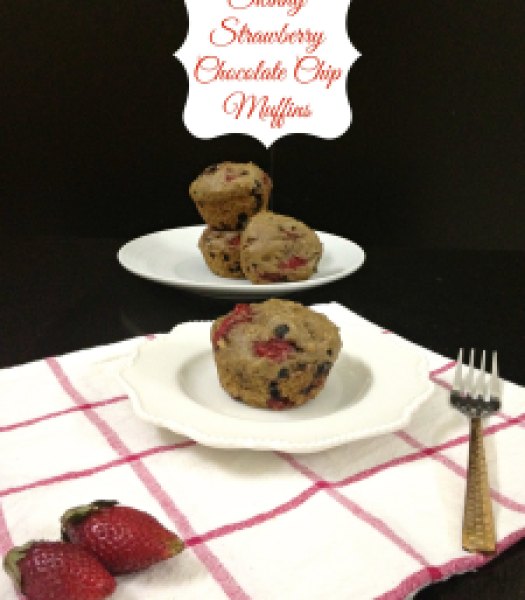
Skinny Strawberry Chocolate Chip Muffins1
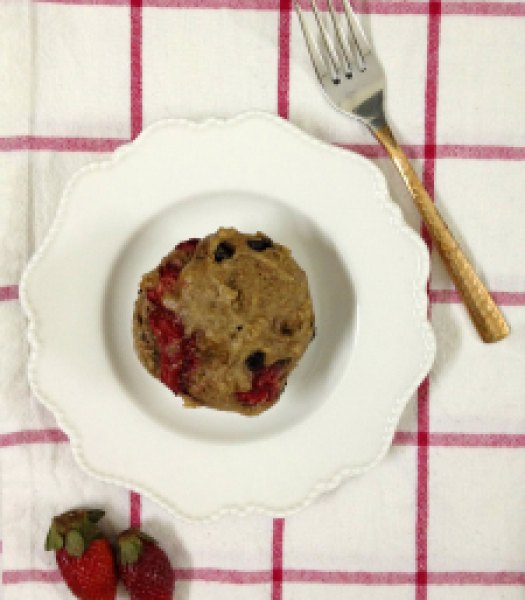
Skinny breakfast for your honey on Valentine’s day coming right up! It has lots of strawberries and just the right amount of dark chocolate… Match made in heaven! Indulgent yet skinny. Celebratory yet healthy. Befitting, don’t you think?
While posting these Skinny Muffins last week, I realized that I have few recipes posted here and wanted to set that right. Now that this sappy, lovey-dovey day is just round the corner, I had a perfect excuse to whip up this breakfast treat for the blog!
Skinny Strawberry Chocolate Chip Muffins3
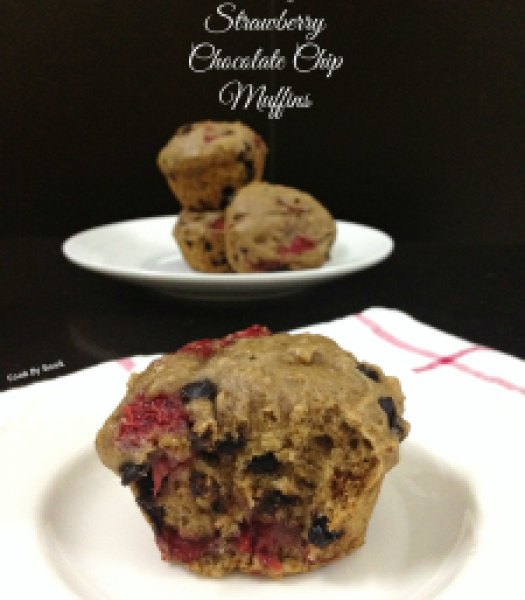
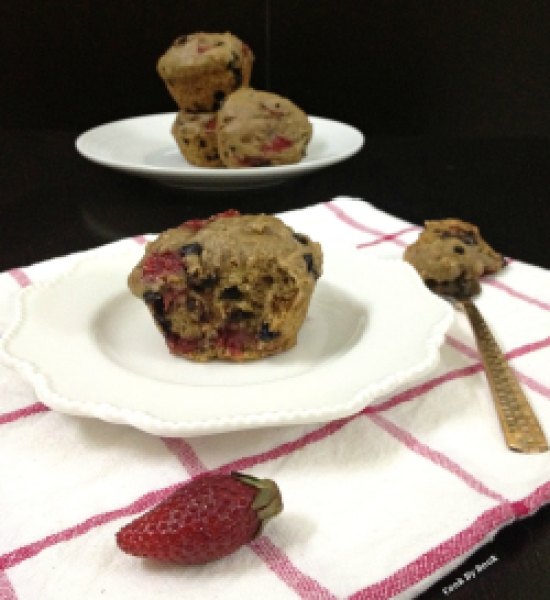
There is nothing better than a warm muffin served with a hot mug of coffee. It gets better if served in bed! This muffin is a flavor bomb! Bits of strawberries and chocolate chips in each bite is blissful. These muffins are soft, moist and surprisingly skinny. So flavorful and fluffy. No dry crumbs in sight here.
They need very few and simple ingredients. One of the most magical ingredient of them is applesauce. Unsweetened of course. Applesauce will make sure that you don’t need to use any oil or butter! I wanted to keep the refined sugar to the minimum without making them taste cardboard-like. So I used combination of brown sugar and honey to sweeten them. I’m glad to report they were perfectly sweet!
Skinny Strawberry Chocolate Chip Muffins4,jpg
The batter comes together quickly and so easily! No mixer required. The batter is going to be quite thick but don’t worry. You will be able to scoop it easily in the muffin pan with ice-cream scoop. Do not use muffin liners as muffins may stick to the liners. I filled the muffin moulds to the brim and got 6 large muffins but you may fill them till 3/4th mark and get about 8 regular-sized muffins. Do as you please. Just make them already as they certainly don’t need an occasion! 😉
Skinny Strawberry Chocolate Chip Muffins2
Skinny Strawberry Chocolate Chip Muffins5
Skinny Strawberry Chocolate Chip Muffins ~ Eggfree
Yields: 6 large or 8 regular-sized muffins | Prep time: 15 minutes | Bake time: about 20 minutes
Ingredients:

  • 3/4 cup all-purpose flour
  • 1/2 cup whole wheat flour
  • 1/2 tsp baking soda
  • 1/2 tsp ground cinnamon
  • 2/3 cup unsweetened applesauce (I used homemade)
  • 1/4 cup brown sugar
  • 1/4 cup honey
  • 1/2 tsp vanilla extract
  • 3/4 cup diced fresh strawberries (you may use frozen berries)
  • 1/3 cup dark chocolate chips (or semi-sweet)
Directions:
  1. Preheat the oven at 180ºC/350ºF. Spray 6-count muffin pan with oil*. Set aside.
  2. In a medium mixing bowl, whisk together flours, baking soda and ground cinnamon. Set aside.
  3. In another medium bowl, whisk together applesauce, sugar, honey and vanilla extract. Add the wet ingredients to the dry until *just* combined. Fold in the strawberries and chocolate chips.
  4. Divide the batter evenly between 6 muffin cups. Bake for 16-20 minutes. Mine took exactly 18 minutes. Let them cool for about 5 minutes before releasing from pan.

*Do not use muffin liners as muffins may stick to the liners.

Note: Do not use whole wheat flour entirely as the muffins may not be turn out as soft.

Share this recipe:

‘Light & Healthy’ ~ Whole Wheat Thin Crust Pizza Dough

Whole Wheat Thin Crust Pizza Dough2

You all remember, we had so much fun swapping cookies during the food blogger cookie swap last year(that was last year??! Humpph..). So, this new year my dear friend Roshni from The Vanilla Bean and I wanted to start something new on our blogs.

After exchanging multiple e-mails, Cook-Along sessions sounded like a brilliant idea to both of us! Yes, we stay in different cities so how exactly do we plan on doing this? Lemme explain. Every month we’ll select a theme and plan a lunch/dinner-dessert menu based on it. After selecting who cooks what cooking will happen in our respective kitchens and on 15th of every month we both will post the recipes and link them. This way you get to enjoy 2 recipes! Total win-win 🙂

Going with the season of new-year resolutions, this month’s theme was a no-brainer. ‘Light & Healthy’ it is! I chose to make lunch/dinner so Roshni chose to prepare a dessert. So get ready as it’s show-time! 🙂

I have a pizza dough recipe for you today. And trust me when I say this, you NEED this recipe in your life. I conquered my fear of working with yeast last year and made these amazing Strawberry Sweet Rolls. The next thing I on my list was making pizza dough using whole wheat flour. It had to be a thin-crust pizza as I love my pizza that way. I started looking for the recipes which did not use sugar and hit jackpot with this fool-proof recipe! I doubled the recipe and did little adjustments. The results were stellar!

You must be thinking why am I putting the pizza in a healthy and light category? When topped with fresh vegetables and minimal quantity of cheese or the toppings coated with low-fat cream cheese can definitely turn it into a more well-rounded and nutritious meal. This version is anytime lighter than the ordered stuff!

So wait no more and make the pizza your way at home! 🙂

Whole Wheat Thin Crust Pizza Dough1

Whole Wheat Thin Crust Pizza Dough3
Topping of Jalapeno & Cheese
Whole Wheat Thin Crust Pizza Dough4
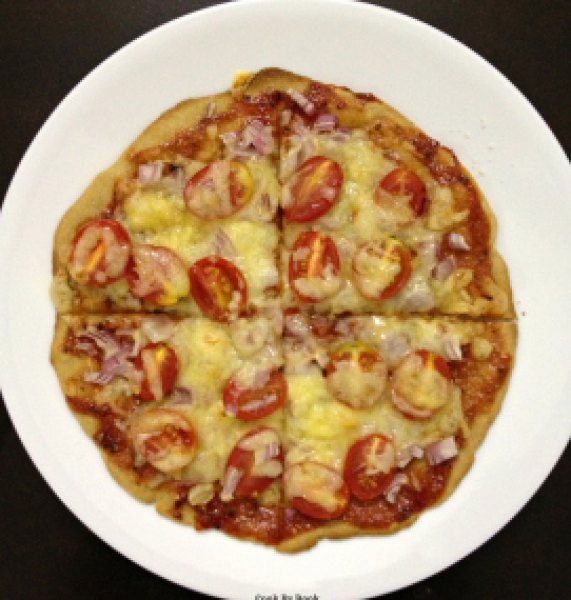
Topped with cherry tomatoes, onions and cheese

Whole Wheat Thin Crust Pizza Dough

Makes: 2 12-inches or 4 6-inches crusts | Prep time: 15 minutes | Resting: 1-2 hours

Recipe adapted from sugarfreemom.com

Ingredients:

  • 3 cups whole wheat flour, plus more for dusting
  • 1 tsp salt
  • 4 tsp instant dry yeast (I’ve used Gloripan)
  • 4 Tbsp extra virgin olive oil
  • 1 cup warm water (around 55ºC/110ºF)
  • 2 Tbsp honey

Directions:

  1. Fit the dough hook attachment to your stand mixer. In the stand mixer bowl, combine flour and salt. Make a well in the center of the dry ingredients.
  2. In a separate small bowl mix oil, honey, warm water. Add yeast and stir gently with a spoon, tillyeast dissolves. Let it sit for about 7-8 minutes until you see some foam form from the yeast.
  3. Pour the wet mixture into the dry ingredients and mix until well combined at setting 2 for about 2-3 minutes.
  4. Once combined change to your dough hook and keep setting at 2 and let the machine go for about 8 minutes or knead by hand for 10 minutes.
  5. Remove your dough and place into a bowl greased with oil. Cover with a towel and let rise for at least one hour.
  6. Once risen, knead by hand for a minute or so and spread dough by hand onto a baking sheet sprayed with oil and dusted with flour or use a rolling pin.
  7. Add your choice of toppings and bake in a 400ºF/200ºC preheated oven for 15-20 minutes until crust is golden brown.
*If you don’t own a stand mixer, you may knead the dough by hand.
Now hop on to Roshni’s blog for a fabulous Zabaglione recipe!
Share this recipe: