Month: June 2013

Skinny Devil’s Food Cake Mix Cookies – Funfetti Friday!

Skinny Devil Food Cake Mix cookies2

Hey fellas, I have been ranting singing about my birthday from the beginning of this week but today is the real deal!

Happy 28th Birthday to Me! 🙂

And Happy Funfetti Friday to you all!

I didn’t want to bake a cake for my own birthday so instead I baked these cookies a day before to commemorate the celebration! I was feeling super lazy yet wanted a chocolate cookie and sprinkle on my birthday eve so decided to settle for these!

Skinny Devil Food Cake Mix cookies3

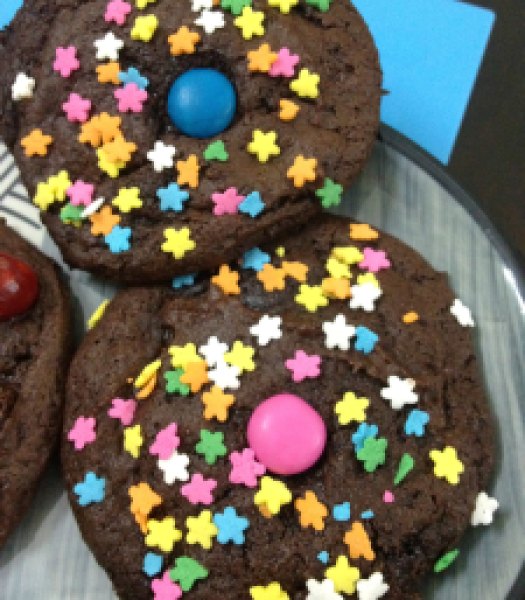
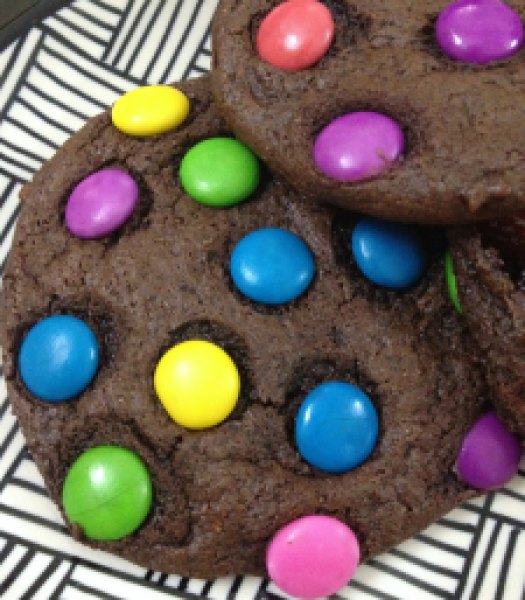
I kept them skinny by omitting butter with fat free yogurt. They were not crunchy but instead soft and moist but that is how I like my cookies so no complains! They almost tasted like fudgy brownies so bake them as brownies if you like and adjust the baking time accordingly.

It is a one-bowl treat so less dishes! The dough requires quite a bit of elbow grease to whip up so use sturdy spoon for mixing, preferably wooden spoon. The dough is quite sticky so put it in refrigerator for half an hour if you’re making cookies.

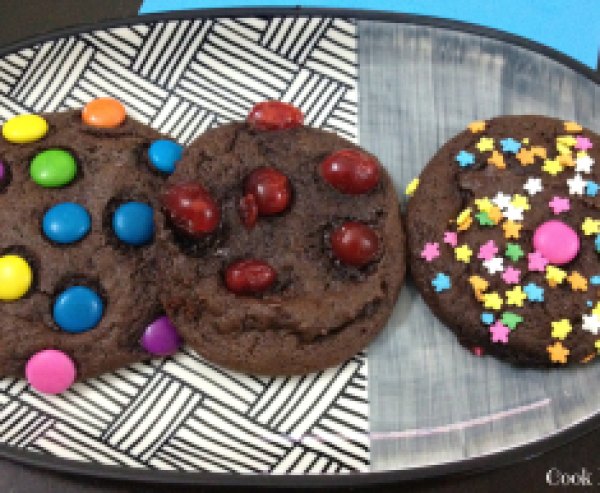
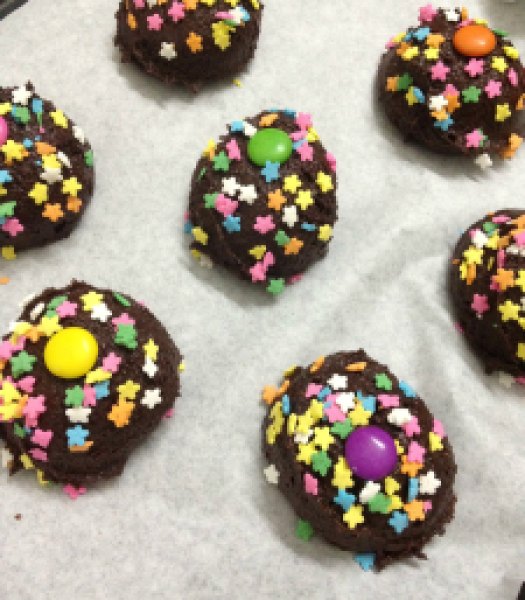
Use ice-cream scoop to form cookie balls and top them with sprinkles or M&Ms or candied cherries.. I used all 3 of them and loved how candied cherry tasted almost sinful with rich chocolate!
Skinny Devil Food Cake Mix cookies1
Dough chilled in refrigerator for half an hour & then scooped on to cookie sheet

You must be able to palpate the haste in my writing as you are reading down the post but that is exactly how this was typed. In a hurry!

So let’s not waste more time and get to the recipe!

Skinny Devil Food Cake Mix cookies4

Skinny Devil’s food Cake Mix Cookies

Yields: Around 12 large cookies

Ingredients:

  • 1 box (500 gm) chocolate cake mix (I used Betty Crocker Devil’s Food Cake Mix)
  • 2 large eggs
  • 1/3 cup fat free vanilla yogurt
  • sprinkles, M&Ms or candies cherries for topping

Directions:

  1. Preheat the oven to 350 F/170 C. Line a cookie sheet with parchment paper.
  2. Mix all the ingredients in one large bowl and chill in refrigerator for half an hour.
  3. Using ice-cream scoop, drop cookie balls on parchment paper. Decorate them with the topping of your choice.
  4. Bake for 11-12 minutes or till sides have firmed up. the center will still be gooey but will firm up once cookies cool down. Do not over-bake. Let rest on cookie sheet for 3-4 minutes before transferring on a wire rack to cool completely.

*If using plain yogurt then add 1 tsp vanilla extract to the dough.

Enjoy!!

Share this recipe:

Lemony Peas & Mushroom Pasta & My Random Thoughts

“When you want something, all the universe conspires in helping you to achieve it.”
– Paulo Coelho in The Alchemist

And it really happened to me! Something really tiny, to prove it right. But it did happen and now I have altered perspective.. Of course you would have read about this in the book ‘The Secret’ but it is hard to believe anything till you experience it personally.

Let me come straight to the point and tell you what exactly happened. There is a place close to my house where my friend once saw a snake and after she told me about this incident when ever I used to pass from that place I used to think about a snake crossing my path. I am pretty scared of snakes and I mean who isn’t! So that anticipation, that fear was always there in the back of my mind. I used to imagine about snake coming out of nowhere and crossing my path every single time! It was and is crazy till now! So this thinking continued for around 4-5  months. And on one rainy evening finally my vision came to life! Instead of one I saw two snakes, intertwined with each other, dancing at tunes being played by rain gods. Oh yeah, there it was! In front of my eyes! I stared in bewilderment! I thanked my lucky stars fervently that I was not on foot and was protected by my car. And even till date, whenever I pass by I still think about the snakes crossing my path. You know how human mind works (or at least mine seem to!)… I try not to think about it but it’s there! So much that I have started skipping that area altogether!

So if you are still with me on my randomness (WOW, you are!) let me ask you something.. Is it only me or does it happen with you too? You would want to know why I am writing about it on my blog today?!! As mentioned in my last post I am turning 28 tomorrow and I was just reflecting on what all happened in last year and how I want my life to be in next year.. If our mind and thoughts have power to make it real, why not use it positively? I can constantly think about good things to happen and shape my life accordingly! Isn’t it just genius?!… Things to ponder!

So I’ll stop talking now about random stuff (Finally!!!). I sincerely thank you for being there in front of the screen and I love you for reading this post (longest till date!). I really do! 🙂

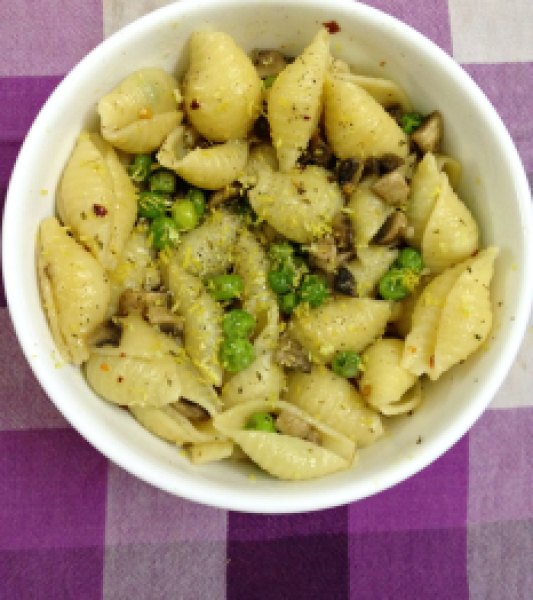
 It’s my birthday week so I am cooking all of my favorite things and you all know how much I LOVE pasta! So I made this simple pasta dish with peas and mushroom.

Lemony Peas & Mushroom Pasta1

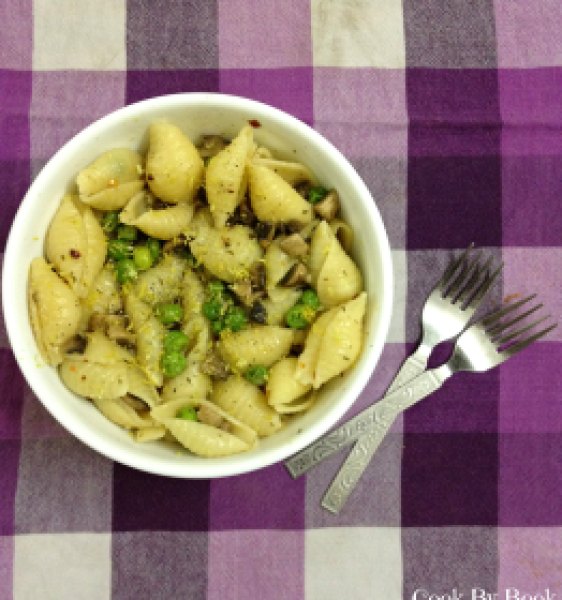
I used Conchiglie pasta in this recipe but you can use any other short pastas you have like Fusilli, Orecchiette or Farfalle.

Peas have been mildly blanched so you get the crunchy texture. Tad bit of Cheddar is added to make it perfectly cheesy. Addition of lemon zest just takes it to another level! It is light, buttery and perfect for quick lunch/dinner.

Lemony Peas & Mushroom Pasta2

Lemony Peas & Mushroom Pasta

Serves: 2

Ingredients:

  • 2 cup Conchiglie
  • 1 cup peas, fresh or frozen
  • 1 cup button mushrooms, diced
  • 1 Tbsp butter
  • 3-4 cloves of garlic, minced
  • 1/2 tsp red chili flakes
  • 1/2 tsp onion powder
  • salt and pepper, to taste
  • 2 Tbsp grated Cheddar
  • zest of 1 lemon
  • fresh parsley, chopped finely, optional

Directions:

  1. Cook pasta as per the manufacturer’s instruction. Reserve 1 cup of pasta water. Pour the remaining pasta water over the peas in colander so that peas will get blanched and pasta will get drained. If you want more tender peas then add them to the pasta pot 1-2 minutes left of cooking time.
  2. Heat the butter over medium heat in a large saucepan and add minced garlic. Saute it for about a minute, then add mushrooms and saute it for 4-5 minutes until tender.
  3. Add onion powder, chili flakes, salt and pepper. Then add 1/4 cup of pasta water and cooked pasta and peas to the pan. Add little more pasta water if required. Turn off the heat.
  4. Finish it off with grated Cheddar and lemon zest. Garnish with fresh parsley and serve.
Share this recipe:

Skinny Basil Veggie Kebabs with Corn Salad

Skinny Basil Veggie Kebobs with Corn Salad4

This week is going to be fun, though I will have to wait for the weekend for really good stuff to begin. I am celebrating my 28th birthday this Friday! I think birthdays should be a month-long celebration but we are all time-pressed in life! Not that it’s any excuse to ignore the small joys life brings our way but sadly, that’s the cruel reality!

Still nothing can slow down the excitement which is coursing through me! Another year has passed by and this year I am feeling more grown-up than ever! It is true that at the moment I am amongst the mayhem in my life as career transition and so much more is happening. Life is a mess right now.. nonetheless a beautiful mess!

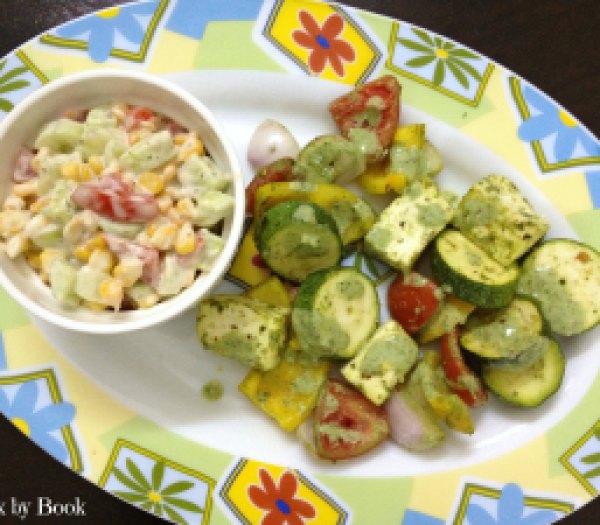
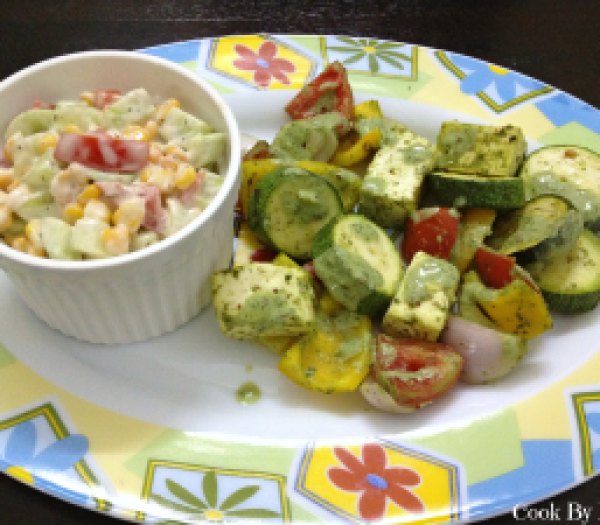
Let’s leave it at that and talk about our today’s recipe. It is a very simple yet delicious way to include so many veggies in your dinner. A light yet filling. I made this last week for dinner and it was so gratifying to get to eat it between the all-week ice-cream madness happening in the house!

Skinny Basil Veggie Kebobs with Corn Salad1

Skinny Basil Veggie Kebobs with Corn Salad2

Skinny Basil Veggie Kebobs with Corn Salad3

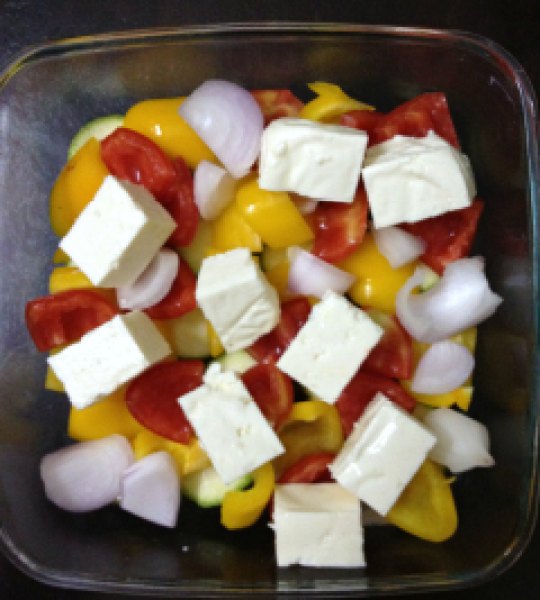
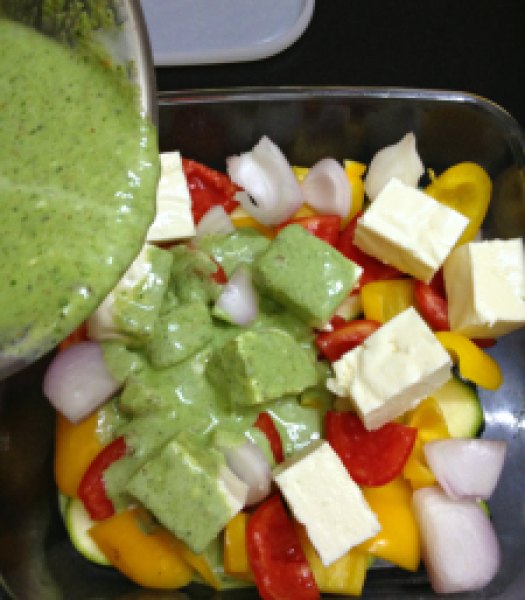
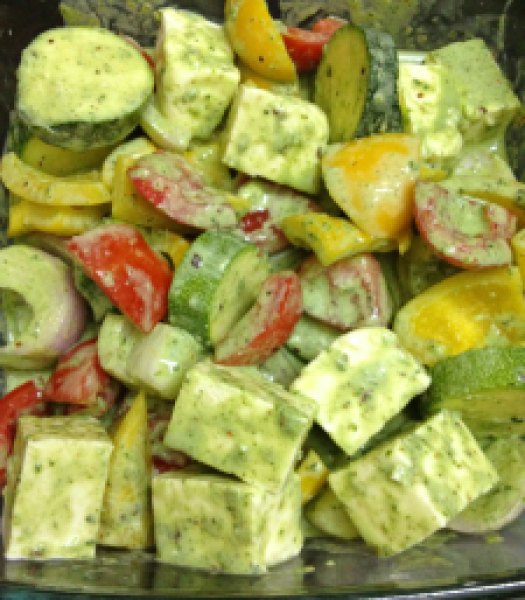
It was kind of cleaning-my-refrigerator day so whatever I had on hand I put that under the marinade and I was glad I did! You can also throw in whatever you have at home. Button mushrooms would be a great addition! I prepared the marinade the night before so the flavors were super-intense. But you can do this at least 4 hours before grill time. It makes a super-quick week-night dinner!

I don’t own a grill so I used my convection oven which came with rotisserie. Veggies could not get charred at all in the oven but they cooked perfectly. Nice and juicy! But if you own one (needless to say in that case, I’m totally J), it will make a great recipe for a BBQ party and the veggies will char beautifully!

Skinny Basil Veggie Kebobs with Corn Salad5

Skinny Basil Veggie Kebabs with Corn Salad

Serves: 2-3

Prep time: 15 minutes | Cook time: 20-25 minutes

Ingredients:

Marinade:

1 and 1/2 cup basil leaves
1/4 cup yogurt (I used home-made)
4-5 cloves of garlic
salt and freshly cracked pepper, as per taste
1 tsp garam masala powder
dash of lemon juice

Kebabs:

1 zucchini (medium sized)
1 bell pepper (I used yellow)
1 large red onion
1 large tomato (de~seeded)
200 gm cottage cheese

Corn Salad:

1 cup boiled sweet corn
1 small cucumber, diced
1 medium tomato, diced
1/4 tsp onion powder
1/2 tsp dry basil
salt and pepper, to taste
1 Tbsp mayonnaise
1 Tbsp yogurt

Directions:

  1. At least 4 hours before, blend all the ingredients for marinade to a smooth puree. Adjust the seasoning as per your taste. Cut veggies into 1″ cubes and toss with marinade in a bowl. Cover it and refrigerate until ready to cook.
  2. When ready, light grill. Using the wood or skewers, insert the veggies. Place on grill and cook on each side for 3-4 minutes till the veggies are uniformly charred.  *I don’t have grill so I used rotisserie function of my convection oven and cooked as per the instruction manual. Hence the char was missing but kebabs were cooked beautifully.
  3. While veggies cook, mix the ingredients for corn salad in a bowl and toss thoroughly.
  4. Serve skewers topped with remaining marinade (if any) alongside the corn salad.

*You can make this recipe vegan – by replacing yogurt with soy yogurt in marinade, replacing cottage cheese with tofu and in corn salad, omit mayonnaise and use soy yogurt instead.


Share this recipe:

Caprese Ice-cream

Does the title of this post shock you? Do you think it’s a typo? Nope… It is exactly what you read it is. Caprese Ice-cream… It has tomatoes, basil, Mozzarella cheese and whatever else an authentic Caprese Salad is supposed to have!

Caprese Ice-cream1


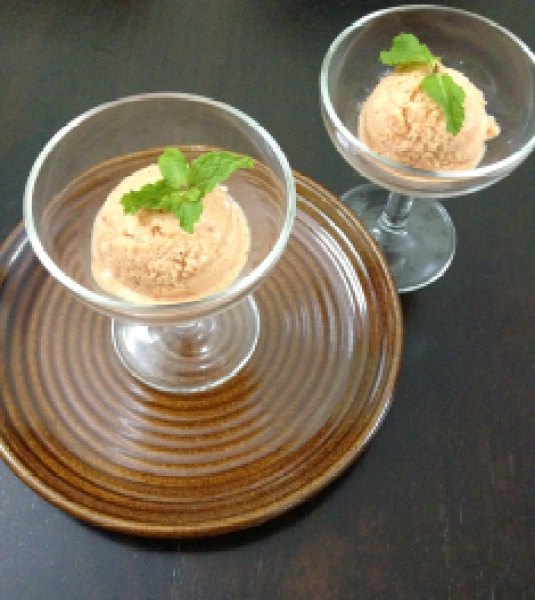
A perfect summer entrée for your guests!

It is the last day of the week-long ice-cream marathon going on here and I wanted to come up with an out-of-the-box flavor! A unique ice-cream which you have never read about on any other blog or probably (I’m just guessing) have never had it at any of the sophisticated restaurants! A treat I have specially created for you!

Our favorite summer salad made into an ice-cream!

It is actually a mix between ice-cream and sherbet.

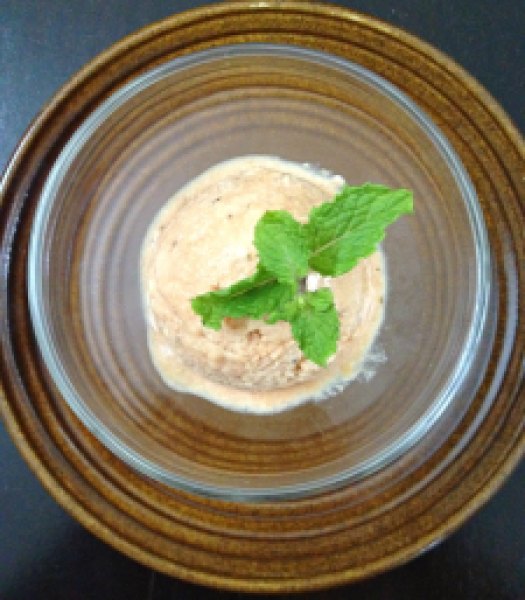
It’s beautiful pink color will be a complete deception for your guests till they take a first bite of it!

It has a very refreshing kick from basil and is light on palate due to tomatoes.

We cook the tomatoes and basil leaves with olive oil on low-heat thus extracting basil flavors completely. The sieved puree is then mixed with Mozzarella cheese, salt, pepper, sugar mayonnaise and whipped cream.. Freeze it overnight and just before serving blend it to a smooth consistency like how we made our frozen whip and serve immediately!

You can even add roasted~peeled~pureed red bell paper to add a different dimension to it!

Trust me it is a perfect start to your elaborate dinner party. Just double the recipe if serving a larger crowd.

Caprese Ice-cream2

Caprese Ice-cream

Serves: 4 | Serving: 1 scoop | Yields: 4 scoops

Ingredients:

  • 15-17 cherry tomatoes
  • 1/2 Tbsp extra-virgin olive oil
  • 4-5 basil leaves
  • salt and freshly cracked pepper, as per taste
  • 1 Tbsp finely grated Mozzarella cheese
  • 1/2 tsp mayonnaise
  • A dash of lemon juice
  • 1 Tbsp caster sugar
  • 3 Tbsp fresh Medium fat cream (40%)

Directions:

Add tomatoes, olive oil and basil leaves in a saucepan and cook it covered on a low-flame for about 4-5 minutes till the tomatoes have soften, stirring occasionally. Pass them through sieve to remove the skin, seeds and leaves.

Season the puree with salt and pepper. Add grated Mozzarella, mayonnaise and lemon juice to it.

In a separate bowl, whip the cream and sugar together till you get a soft peak. Fold in the tomato mixture in a cream mixture and scoop it in a airtight container. Freeze it overnight.

Just before serving, add the frozen ice-cream to your blender and process it till you get a smooth consistency. Scoop and serve in individual glasses topped with basil or mint leaves.

*The last step of blending before serving is MUST as the tomatoes have high water content and therefore the ice-cream straight out of the freezer will be icy.

Enjoy!

Share this recipe:

Zesty Lemon Ice-cream with Blueberry Swirl

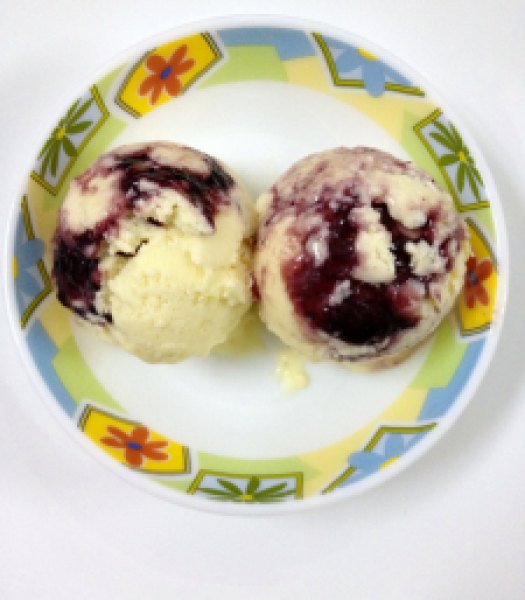
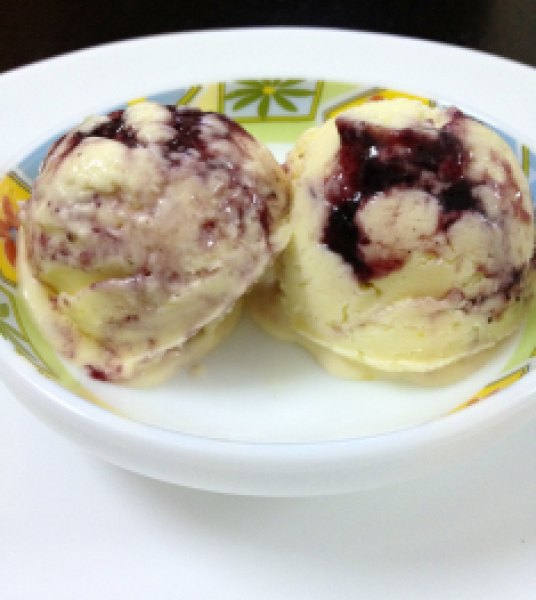
Zesty Lemon Ice-cream with Blueberry Swirl1

I have a declaration to make. This is by far THE best ice-cream I have ever made! Seriously!!! It’s so good that I could not believe this was made by me at home without the use of ice-cream maker. It came out so perfect, it was definitely to die for!

It was tart, light, refreshing, tangy, sweet, velvety… Lick-your-bowl good if you still don’t get what I mean! Everything you want your lemon ice-cream to be and more!

This ice-cream definitely screams SUMMER!

We are making this one little bit differently than how we were doing with our previous ice-creams. First, we need to make lemon curd for the base and then fold it in with whipped cream. That’s it!

Lemon curd is wonderful and super easy to make. It is so versatile that apart from using it in this ice-cream, you can use this as a filling for your tarts, pies and cakes or simply as a spread for your scones!

We are going to cook the lemon curd in a stainless steel bowl placed over a saucepan of simmering water aka double boiler. It will only take about 3-4 minutes to cook.

I have scaled down the recipe to make ice-cream for just 2 people. I have been whipping ice-cream daily so you can understand why I would do this! But I regretted my decision as soon as I had its first bite.. It was heavenly! And I wanted more!! 🙁

So let’s get down to the business!

Zesty Lemon Ice-cream with Blueberry Swirl2

Zesty Lemon Ice-cream with Blueberry Swirl

Yields: around 6 scoops

Ingredients:

  • 1 small egg
  • 1/4 cup granulated white sugar
  • 1 Tbsp lemon juice, sieved so that it is free from pulp
  • 1 Tbsp unsalted butter, room temperature
  • Lemon zest from 1 lemon
  • 1/2 cup fresh medium fat cream (40%), chilled
  • 2 Tbsp blueberry compote

Directions:

  1. In a stainless steel bowl placed over a saucepan of simmering water, whisk together the egg, sugar and lemon juice until blended. Cook, stirring constantly (to prevent from curdling), until the mixture becomes thick. This will take about 3-4 minutes to cook.
  2. Remove from heat and immediately pass the mixture through the sieve to remove any extra lumps. Whisk in butter and lemon zest. Let cool. It will continue to thicken as it cools down further. Freeze it till cream is ready.
  3. Whip the fresh cream till soft peaks form. Gently fold in the chilled lemon curd. If it is too tart for you then add more cream as per your taste.
  4. In a small airtight container, spoon in half the mixture and top it with blueberry compote, top with rest of the mixture and freeze for 4-5 hours before serving. Serve it topped with fresh blueberries and dig in!

*Tips: Lemon curd has to be made with fresh lemons. Juice lemons at room temperature to get more juice and strain the juice to remove any pulp from it. While grating the zest from the lemon, be sure not to remove pith (white membrane) from the lemon as it is very bitter tasting. Cold lemons are much easier to zest. You can use a zester or fine grater for this. Do this just before using as the zest will lose moisture if it sits out too long.

Lemon curd recipe scaled down and barely adapted from Joy Of Baking

Share this recipe: