Month: October 2013

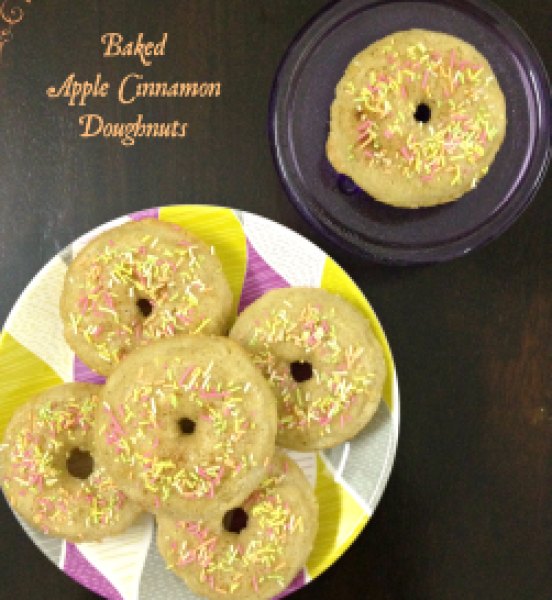
Baked Apple Cinnamon Doughnuts

Baked Apple Cinnamon Doughnuts1

I’ve got some good news for ya all!!!

I FINALLY bought doughnut pan! Eeeeeeep!!!

I was so EXCITED the day it arrived that I wanted to put it to use immediately (As if it’s any surprise!). The stars and planets united and I was faced with early Diwali gifting occasion.. Happiest me! Without any second thoughts I knew it had to be freshly baked doughnuts.

I wanted to make chocolate doughnuts as my first doughnuts in this pan but these were for gifting so I decided against it. I mean, I can’t trust myself around chocolate and the gift couldn’t be an empty box so, smart move I thought! 😛

With the weather we are experiencing and soooo many apples sitting in my pantry, these adorable beauties were born. And I was absolutely pleased with my decision making ability this time around!

Baked Apple Cinnamon Doughnuts2

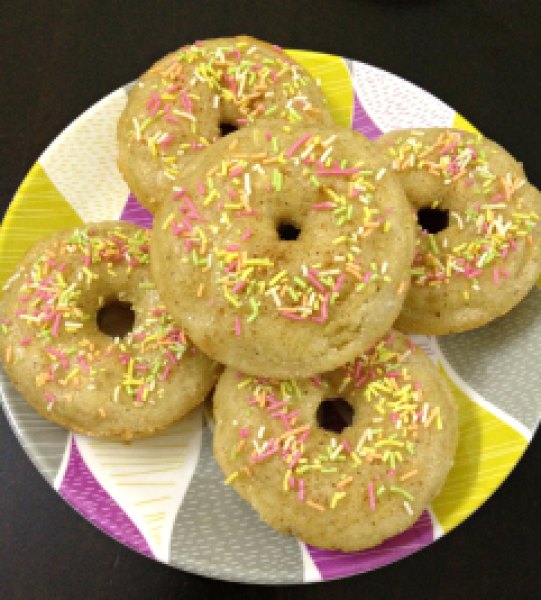
They were just So So Good, I wanted to eat the whole batch myself… No kidding!! I mean can you imagine anything better where you can have apple, cinnamon and sprinkles, all together?! Oh… our house smelled Dee-vine!

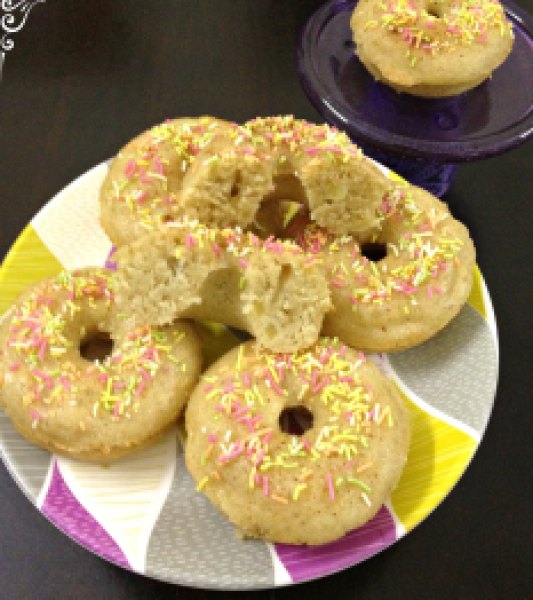
Needless to say that the doughnuts were so soft and moist plus a healthier breakfast option compared to the store-bought deep-fried version. Win-win!

So buy the doughnut pan right away if you don’t already have it. I got mine from here. You NEED it in your life… Trust me! Plus these make such cute gifts for this festive season too!

Baked Apple Cinnamon Doughnuts3

Baked Apple Cinnamon Doughnuts

Yields: 8 to 9 doughnuts

Ingredients:

  • 1 cup all-purpose flour
  • 1/4 cup whole wheat flour
  • 1/2 tsp baking powder
  • 1/4 tsp baking soda
  • 1/4 tsp salt
  • 1 tsp ground cinnamon
  • 1/4 tsp ground nutmeg
  • 4 Tbsp unsalted butter, melted
  • 1/2 cup white granulated sugar
  • 1 large egg
  • 1 tsp vanilla extract
  • 1/2 cup milk
  • 1 medium granny smith apple, peeled and finely chopped

Glaze:


  • 1 Tbsp melted butter
  • 2 Tbsp caster sugar + 1/2 tsp ground cinnamon, mixed together
  • sprinkles (optional)


Directions:

  1. Preheat the oven to 180ºC/350ºF. Lightly grease the doughnut pan and set aside.
  2. In a medium bowl, mix together flours, baking powder, baking soda, salt, cinnamon and nutmeg. Set aside.
  3. In another bowl, mix together butter, sugar, egg and vanilla extract. Whisk in milk to this mix.
  4. Make a well in the middle of the dry ingredients and add wet ingredients all at once to it. Add finely chopped apples. Stir together until no flour pockets remain but be careful not to over-mix.
  5. With a small spoon, dollop batter into the prepared pan. Fill each doughnut pan three-quarters full with batter. Bake for 11-12 minutes or until doughnuts are puffed up and lightly golden brown. Remove from the oven, allow to cool in the pan for a while before inverting onto a wire rack to cool completely.
  6. While doughnuts are still warm, brush melted butter on each doughnut. Sprinkle some sprinkles on each doughnut followed by cinnamon-sugar.

*These doughnuts are best served the day they are made.
*Feel free to grate the peeled apple if you do not like chopped pieces in every bite!
*Make the recipe eggless by simply replacing egg with 1/4 cup unsweetened applesauce.

Happy Baking!!


Share this recipe:

Oven Roasted Asparagus & Potatoes with PeanutButter & Buttermilk Dressing

Oven Roasted Asparagus & Potatoes with PeanutButter & Buttermilk Dressing4
Past 10 days were a blur at our house.. Between Karva Chauth party and my girl gang gathered at the house for the wedding, I hardly had time to squeeze in a blog-post. Those were such good days and in all honesty, I didn’t want them to end! Exciting times filled with fun, laughter and so much joy!! I’m going to cherish the precious memories of this time spent with friends and family forever. Moments like these is what makes our life worthwhile.
Between all the festivities of the past weekend and coming weekend, I am doing a detox of my own with fruits, soups, stir-fries and salads. Gearing up for the next big weekend, you see! You won’t believe how many great recipes I have lined up for you all! But before that enjoy this humble dish which truly deserves a place in your repertoire! 🙂
Oven Roasted Asparagus & Potatoes with PeanutButter & Buttermilk Dressing2
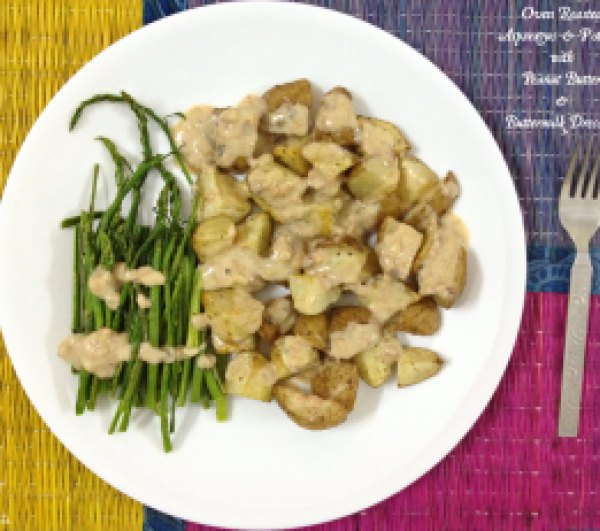
Today’s recipe is simple but totally lip-smacking.
I mean it has potatoes & peanut butter in it so of course! 😉
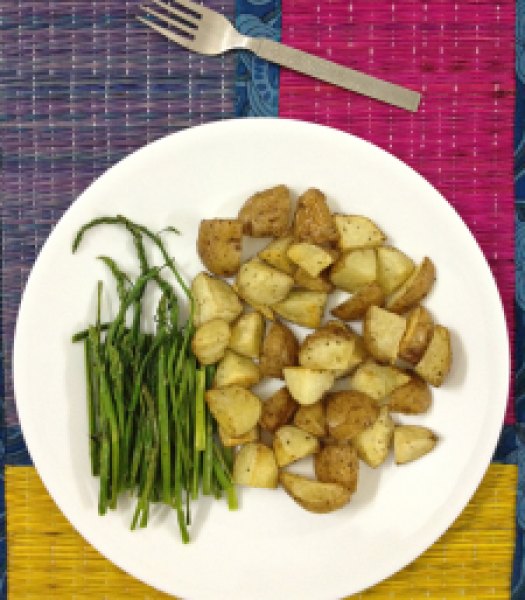
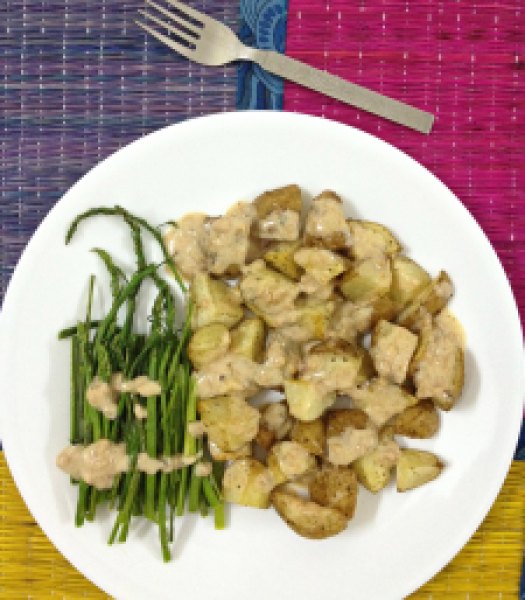
Just some roasted veggies with healthy yet delicious dressing. Perfect for the ‘touch of cold’ weather we are experiencing here.. It is great as a side dish or as a whole meal in itself.. I had it for dinner and could not finish it entirely. The recipe can easily be doubled, tripled or quadrupled as per your needs. I used regular potatoes but baby potatoes would be amazing too!
Oven Roasted Asparagus & Potatoes with PeanutButter & Buttermilk Dressing3
Roasted Asparagus & Potatoes with Peanut Butter & Buttermilk Dressing
Serves: 2 as a side-dish or 1 as a lunch/dinner
Ingredients:
Roasted vegetables:
  • 4 small potatoes, cut into 1-inch cubes or 12 baby potatoes, halved
  • 20 spears of asparagus cut into 5-inch pieces, hard woody ends discarded
  • 1 tsp olive oil
  • Salt & pepper, to taste

Dressing:

  • 4 Tbsp buttermilk
  • 1 Tbsp + 1/2 tsp crunchy peanut butter
  • 1/4 tsp honey
  • 1/4 tsp red chilli flakes
  • 1/2 tsp lemon juice
  • salt & pepper, to taste

Directions:

  1. Preheat the oven to 200ºC/400ºF. Arrange prepared potatoes and asparagus on the baking tray. Sprinkle with oil, salt and pepper and toss together. Let it bake in the oven for 10-12 minutes. Remove the asparagus from baking tray and return the tray to oven. Let the potatoes bake for another 15 to 20 minutes till fork-tender.
  2. In a small bowl, mix together all the ingredients for the dressing.
  3. Serve the roasted vegetables smothered with the dressing.

Enjoy!!

Share this recipe:

(Fudgiest!) Chocolate Brownies

(Fudgiest!) Chocolate Brownies2
Brownies!
Hmmm.. Where do we even begin…!
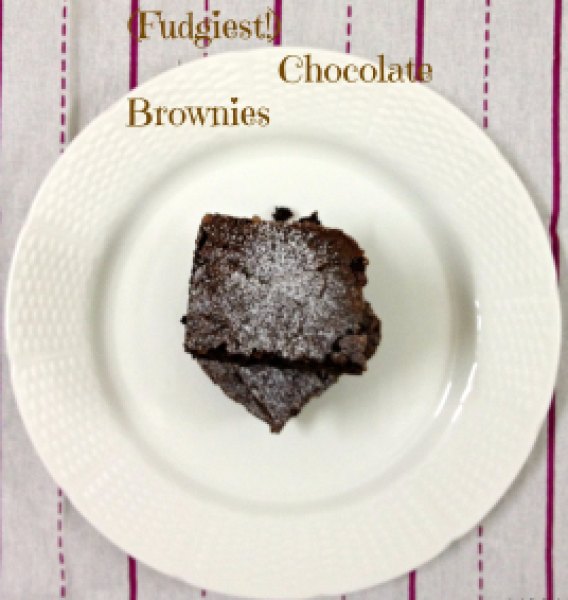
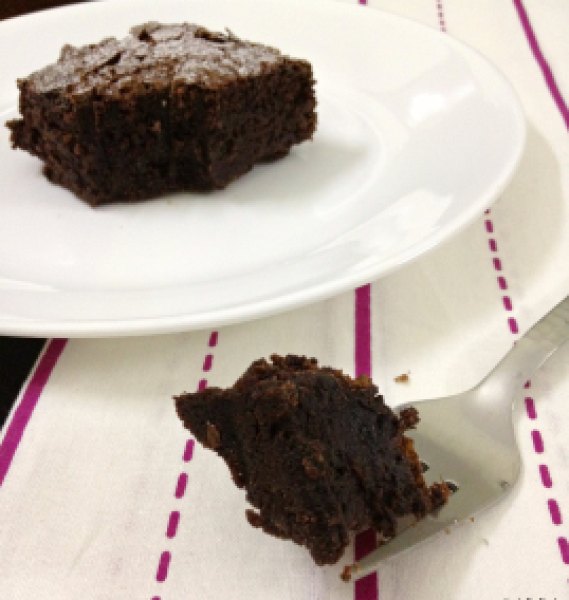
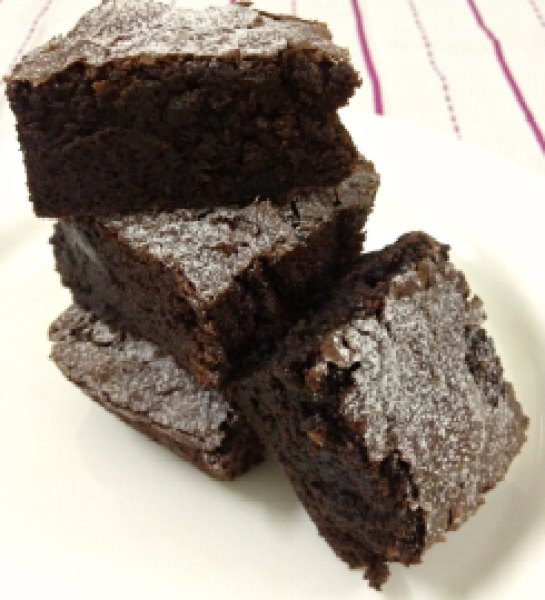
Cute, little squares so rich in chocolate that they taste like heaven on your plate. They’re adored pretty much universally. Every chocolate-lover’s dream! At least I’m yet to meet a person who DOESN’T like brownies. Do you know anyone?!! 😛
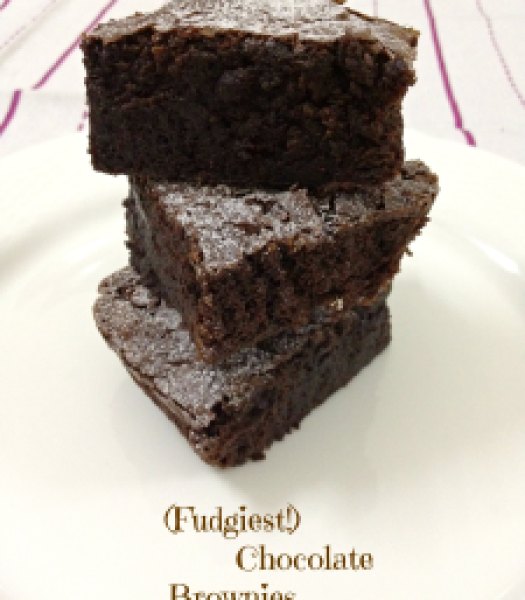
I’m very particular about the kind of brownies that goes in my tummy. It has to be thick, super-fudgy, moist and decadent. Not crumbly, dry or over-the-top-rich. I also like my brownies plain… Yep! Without any nuts, raisins, sultanas or chocolate-chips. Just plain…
(Fudgiest!) Chocolate Brownies1
(Fudgiest!) Chocolate Brownies4
I had posted a recipe for Brownies previously. That was an excellent recipe but a bit thin and more buttery for my liking. So I started testing for my go-to-recipe… And I can say that I have found it! Husband said that these are THE BEST brownies he has eaten in his entire life! Certainly made my day 🙂
This recipe turned out to be everything I want my perfect brownies to be. And they are quite fuss-free. Just 2 bowl required. No need to set-up a double boiler unless you do not own a microwave. Ready in about 45 minutes! Totally perfect to satisfy the chocolate/brownie cravings. So good that I can eat an entire pan by myself! (I haven’t though!) I only made them yesterday and I had to share it with you immediately! So stop drooling and MAKE these right away!! 🙂
(Fudgiest!) Chocolate Brownies3
(Fudgiest!) Chocolate Brownies
Makes: 9-12 squares | Prep time: 15 minutes | Bake time: Approximately 30-35 minutes
Ingredients:

  • 250 gm / 9 oz dark chocolate, roughly sliced
  • 1/2 cup unsalted butter, roughly sliced (approximately 115 gm)
  • 1/2 cup brown sugar
  • 1/2 cup white granulated sugar
  • 3 large eggs, cold
  • 1 tsp vanilla extract
  • 3 Tbsp Rum (optional)
  • 1 cup all-purpose flour
  • 1/2 tsp salt
  • 1 Tbsp Hershey’s unsweetened cocoa powder
Directions:

  1. Preheat the oven to 180ºF / 350ºC. Grease an 8×8-inch square pan; line base and sides with parchment paper. (I used foil.)
  2. In a large microwave-safe bowl, melt chocolate, butter and brown sugar in a microwave for 1-2 minute, stirring every 30 seconds. The mixture should be lump-free and glossy. Set aside and let cool for about 10 minutes.
  3. Once chocolate mixture is cooled down, stir white sugar, eggs, vanilla extract and rum into it.
  4. In a separate bowl, sift together flour, salt and cocoa powder and fold into chocolate mixture with wooden spoon or rubber spatula. Pour the batter in a baking pan and bake for 30-33 minutes until the toothpick inserted in the center comes out clean or with a few moist crumbs. Let cool completely in pan over a cooling rack. (If you’re in a hurry, throw it in a refrigerator or freezer for a while for easy cutting.)
  5. Lift up the ends of parchment or foil liner, transfer the brownies to cutting board and cut into 9 or 12 squares. Store it in an air-tight container for 3-4 days at room temperature or refrigerate for a week.

*Feel free to add nuts, raisins or chocolate chips if you like. 1/2 cup should be a good amount.

Share this recipe:

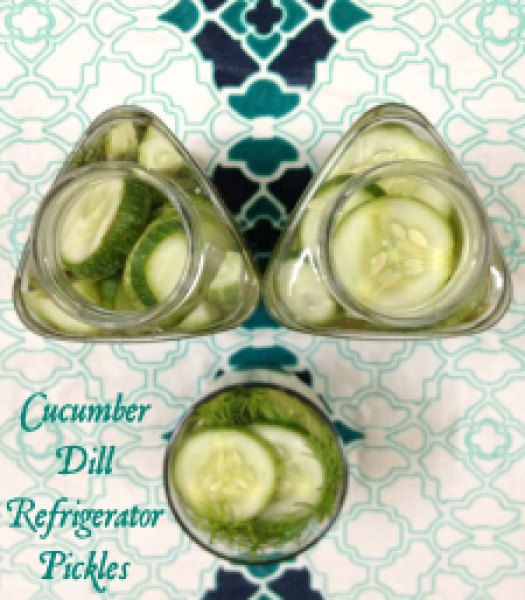
Cucumber Dill Refrigerator Pickles

Cucumber Refrigerator Dill Pickles2

This post was supposed to happen last weekend. But life happened, I fell sick and it took me a week to recover so here I am again with the list of never-ending excuses! But I’m sure you guys understand. Anyways… Let’s get on with the post. You’ve waited long enough!

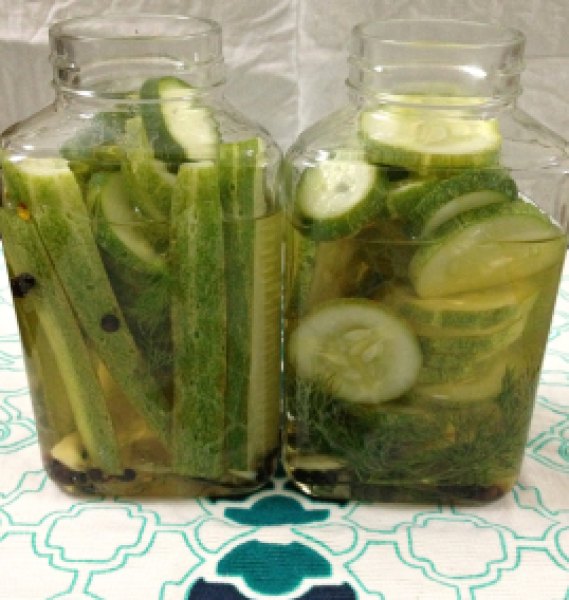
You would think that I am a little late with this particular post.. Summer is the time for pickling. But don’t you worry… I’ve got this covered for ya! This refrigerator pickle can be made any time of the year. As long as you get cucumbers and fresh dill! And if you’re in super-cold parts of the world, then dill seeds would work perfectly too! Don’t like cucumbers? (As if it’s even possible!!), use jalapeno peppers, beetroots*, carrots* or red peppers. They would be equally delicious if not more!

*These vegetables will need 30-60 seconds of quick blanching in boiling water before they can be pickled for better flavor-absorption.

Cucumber Refrigerator Dill Pickles3

This was my first time making pickles. Little veggies in jars with vinegar. So much happiness!! I was quite nervous and excited at the same time, so I started reading a lot on the subject (In short, I Googled a lot!) before taking the plunge. I suggest you do the same. It’s a whole new world! Thankfully I was not canning. Made just a small batch considering small size of my refrigerator. It turned out to be pretty easy! Nothing to be afraid of.. So rinse away some glass jars and ease our way in this new world of quick pickles.

The only place you’ll struggle is waiting before digging in. Yes, 48 crucial hours before you can munch on these. Have patience and this too shall pass! 🙂

I short-listed 2 recipes online. Both seemed easy and great but different in terms of the usage of vinegar. I like my pickles tart hence I used the recipe calling for more vinegar. The changes I made are, I used fresh dill instead of dill seeds and added some sugar to the brine and that is how I liked it. You can click on the link below to check the original recipe. I would try the second recipe next time around. It will please those who thinks there is ridiculous amount of vinegar used in my recipe below. 😉 The link for less vinegary recipe is at the end of the post.

Enjoy! Happy Weekend!

Cucumber Refrigerator Dill Pickles1

Cucumber Dill Refrigerator Pickles

Recipe adapted from The Kitchn

Yields: 2 pints

Ingredients:

  • 600 gm / 1.5 pounds cucumbers (Around 3 medium sized)
  • 1 cup apple cider vinegar
  • 1 cup water
  • 1 Tbsp pickling salt (I used sea salt)
  • 2 Tbsp sugar
  • 6 garlic cloves, peeled (2 per jar)
  • 1/4 tsp red chili flakes per jar
  • 10-12 sprigs of fresh dill per jar
  • 1/2 tsp black peppercorns per jar

Directions:

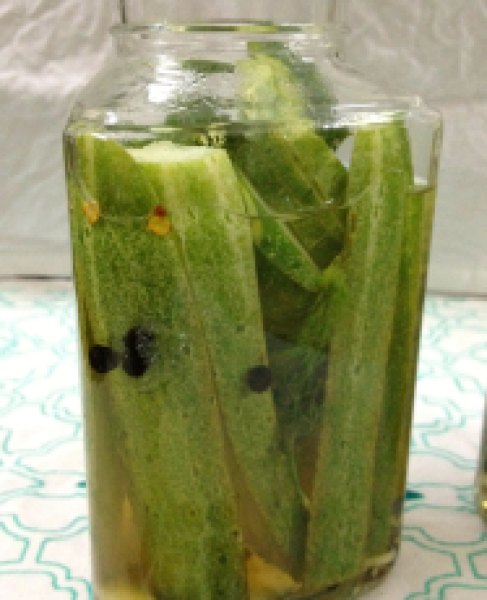
  1. Wash and cut the cucumbers. Leave the skin on but wash thoroughly to ensure that there’s no dirt on them. Cut them in either slices or spears.
  2. In a medium saucepan, bring vinegar, water, pickling salt and sugar to a simmer. Once simmering, remove from heat.
  3. Divide the spices and dill sprigs among 2 or 3 clean glass jars. The number of jars depend upon the size of the jar you’re using.
  4. Add the sliced cucumbers and pack tightly. Do not pack very hard to bruise the cucumbers. Pour warm brine in each jar, leaving approximately 1/2-inch headspace.
  5. Tap jars gently on countertop to dislodge any trapped air-bubbles. Apply lids and let jars cool to room temperature. Place jars in refrigerator and let them sit for at least 48-hours before eating. Pickles will last for up to 1 month at least.

You may also want to try: Refrigerator Dill Pickle from Annie’s eats

Share this recipe: