Month: April 2013

Mountain Dew Cupcakes with Mountain Dew Buttercream Frosting

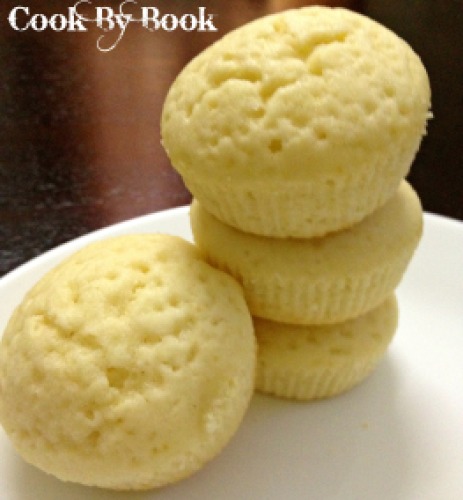
Mountain Dew Cupcakes3

Nowadays I am baking practically everyday!!! I have become a baking fanatic! 😉

I have been mentioning in all my recent posts about how its Summer already and this year around Bangalore has become a magnet for scorching heat!!! I am exhausted! All I wanna do is drink anything and everything from refrigerator and sleep under a fan. I wish!!! A girl can dream, right?! 😉

But my crazy work hours forces me to get out of the house at 1 in noon when its especially terrible.. I am not a morning-person so the timing suits me perfectly but I can’t take this torturous heat anymore! HELP… Is anyone listening to me?! I guess not!!

I seem to have no option other than cribbing in front of you guys and this is when baking came to my rescue! I am baking all refreshing treats which can be eaten chilled! So if you are facing same problem as me then summon your spatulas and heat up your oven! We will face the sun with smile on our face! And don’t forget to whip it good! 😉

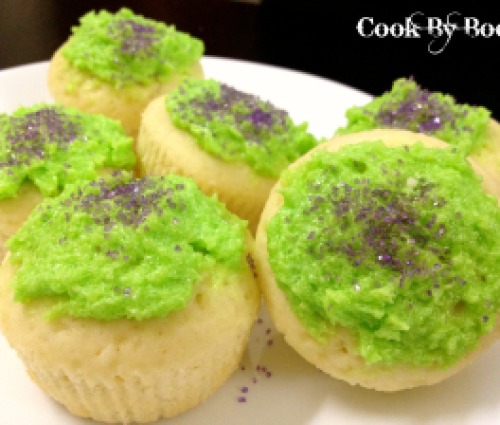
Today I am sharing with you all my recipe for Mountain Dew Cupcakes with buttercream frosting. These have a very prominent flavor from Mountain Dew but not over the top.

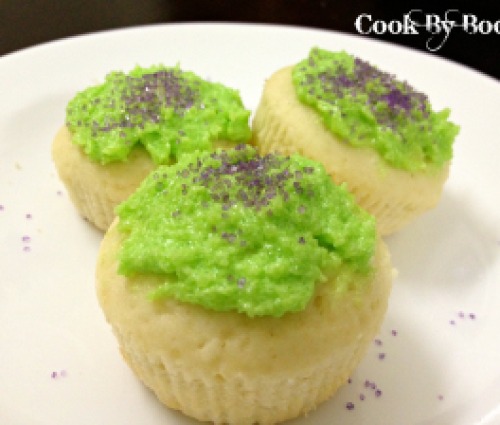
Mountain Dew Cupcakes1

There is lemon and lime juice and zest in both the batter and frosting, giving them a good kick. The cupcakes are soft and moist. The frosting is velvety and buttery. And they’re perfect for toting along to picnics and cook-outs all summer long!

Mountain Dew Cupcakes2

Serves: 6

Ingredients:

Mountain Dew Cupcakes

  • 1/4 cup butter, softened to room temperature
  • 1/4 cup sugar
  • Zest from 1 lemon
  • Zest from 1 lime
  • 1 egg
  • 3/4 cup all purpose flour
  • 1/2 tsp baking powder
  • 1/8 tsp salt
  • 1/4 cup Mountain Dew
  • 1 Tbsp lemon juice
  • 1 Tbsp lime juice
  • 1/4 tsp pineapple extract

Mountain Dew Buttercream Frosting

  • 1/4 cup butter
  • 1/3 cup powdered sugar
  • 1 Tbsp Mountain Dew
  • 1/2 tsp lemon juice
  • 1/2 tsp lime juice
  • zest from half a lemon
  • zest from half a lime
  • light green food coloring

Directions:

  1. Preheat the oven to 350ºF/180ºC. Line a 6-count muffin tin with paper liners. Set aside.
  2. In a small bowl, whisk together flour, baking powder and salt. In a small cup, stir together Mountain Dew, lemon juice, lime juice and pineapple extract.
  3. In a large bowl, cream together butter and sugar. Add lemon and lime zest and then add egg, give it a good whisk.
  4. Add half of the dry ingredients to the batter. Stir in the wet ingredients and finish off with the rest of the dry ingredients, mixing until just combined. Do not over-mix.
  5. Fill each baking cup 2/3 of the way full. Bake for 15-17 minutes, or until a toothpick inserted in the center comes out clean. Let cupcakes rest in muffin tin for a few minutes before removing. Transfer to a wire rack to cool completely before frosting.
  6. For the frosting: Cream together butter and sugar. Add mountain dew, lemon juice, lime juice and zests. Stir in one or two drops of food color. Add more sugar if required depending upon the consistency and whisk. Frost the cupcakes once they are completely cool.

Share this recipe:

Margarita Cupcakes

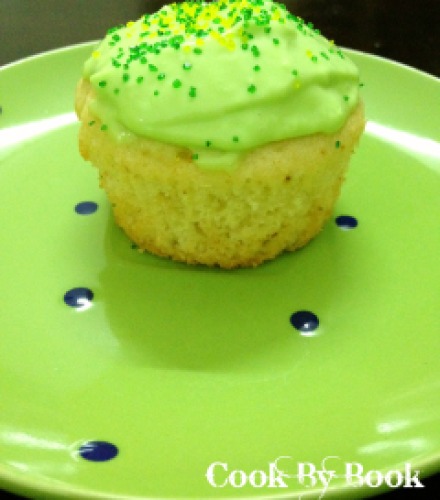
Margarita Cupcakes2

Anyone for a Margarita? Oh, Yeah! And anyone for Margarita cupcakes? Hell, Yeah!!! Monday night does not get any better than this! I mean, what’s not to like?

Cupcakes + Margarita = Match made in Heaven!

These cuppies are made from scratch. No cake box involved. The homemade margarita cupcakes are perfectly soft, fluffy, and bursting with margarita flavor! Plus each bite has a refreshing zest of citrus flavor!

Imagine them topped with margarita cream cheese frosting! Gosh! I mean how can you not smile sinking your teeth into one of these?

Margarita Cupcakes1

The margarita cupcake recipe is laughably easy! Like most of my dessert recipes, I used simple, everyday ingredients. I didn’t even need to go to the store before I made them on Saturday! And that is saying something as I didn’t even have an onion in my pantry that Saturday! I am serious.. Don’t laugh, okay?!.. Stop making fun of me! I am not lazy… Have just been busy! 😛

Margarita Cupcakes3

The cupcakes took me less than 1 hour start to finish. I cheated a bit and stuck the cupcakes in the refrigerator to speed up the cooling process. I have no patience when it involves Margarita! Love it!!! Wait, didn’t I say that already? 😉

Margarita Cupcakes5

These can be stored at room temperature for 1 day in an airtight container and 4 days in the refrigerator.

I loved eating them chilled! It was so refreshing!

Its booming summer and Margarita cupcakes, made from scratch are totally on dessert menu! And breakfast menu. Come on, they have egg and milk in them… Totally acceptable first thing in the morning! 😉

You can brush the cupcakes with straight tequila if you want a boozy dessert before frosting them. And if you are one who enjoys salt on the rim of your margarita glass, you might consider a sprinkle of coarse salt over the top of the cupcake to incorporate that flavor. Are you running towards your kitchen to make these already? 😉

Serving: 6

Ingredients:

Margarita Cupcakes:

  • 1/4 cup butter
  • 1/4 cup sugar
  • 1/2 tsp vanilla extract
  • zest of 1 lemon
  • 1 egg
  • 2/3 cup all purpose flour
  • 1 tsp baking powder
  • 1/8 tsp salt
  • 1/4 cup milk
  • 1/4 cup Margarita Mix

Margarita Cream Cheese Frosting:

  • 1/2 package cream cheese
  • 1/4 cup butter
  • 2 Tbsp powdered sugar
  • 1 Tbsp Margarita Mix
  • zest of 1 lemon
  • a drop of green and yellow food coloring

Directions:

  1. Preheat the oven to 350ºF/180ºC. Line 6-count muffin tin with paper liners. Set aside.
  2. Combine salt, baking powder and flour in a small bowl.
  3. Combine the milk and margarita mix in another small bowl (the mixture will curdle, but it’s okay).
  4. Cream butter and sugar with the stand or handheld mixer. Add egg and mix to incorporate and then add lemon zest.
  5. Gradually beat in the flour mixer and the liquid mixer, alternating them, making sure to start and end with flour mix. Beat as little as possible, just until the batter come together.
  6. Fill the paper liners till 2/3rd of the cups are filled. Bake for 15-17 minutes, or until a toothpick inserted in the center of a cupcake comes out clean. Let cool.
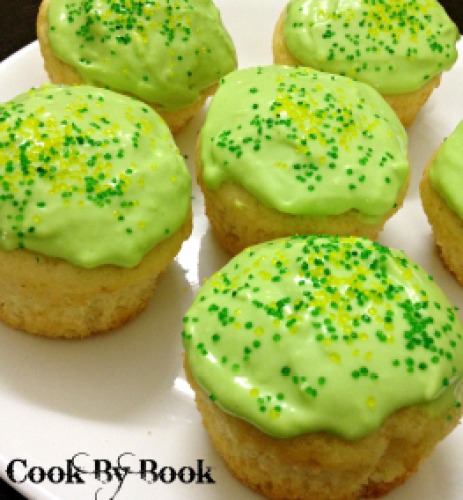
  7. To make frosting: Whip everything together, adding a drop of green and yellow food coloring for effect. Add more powdered sugar if frosting is thin. Pipe onto the cooled cupcakes. I simply smothered mine with the spatula and decorated them with green and yellow colored sugar. There may be leftover frosting depending upon how much you use on each cupcake.

Make a toast and Enjoy! 😀

Recipe source: cookbybook.wordpress.com

© Cook By Book

Share this recipe:

Funfetti Cake Mix Cookies

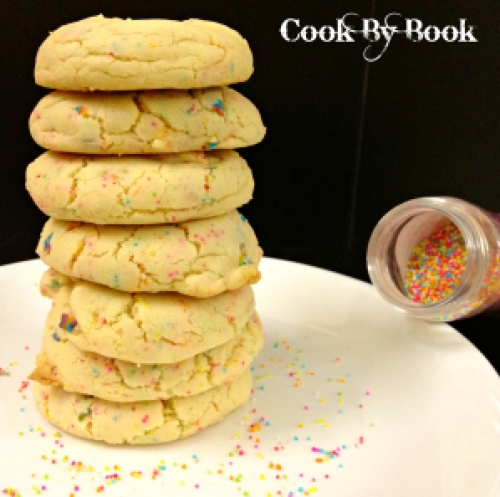
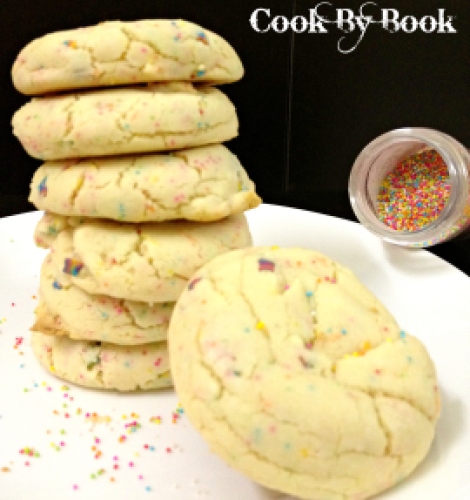
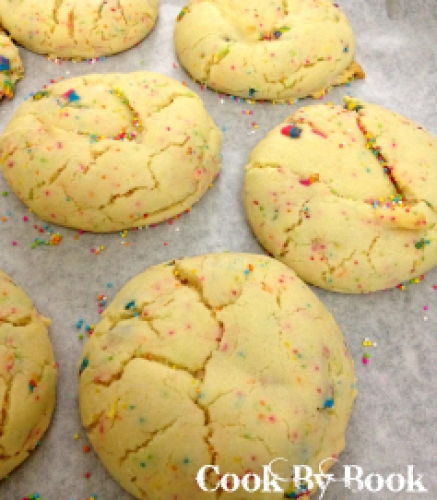
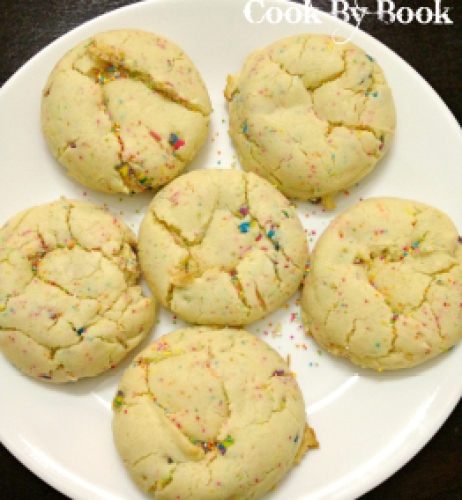
Funfetti cake mix cookies

My today’s post is dedicated to all the sprinkle lovers out there!

By the love for sprinkles, we unite!

This time I made you a cake mix cookie.

Cake mixes are so handful when you are making cake batter flavored desserts. But of course it is just *not* the same thing as making something from the scratch!

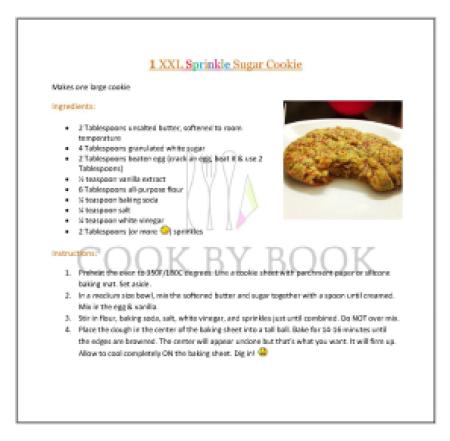
So if you are not a fan of cake mix, make my Sprinkle Sugar Monster Cookie (from scratch!!!) instead of today’s recipe. 😉

1 XXL Sprinkle Sugar Cookie_1

But hey… let me warn you, if you do not try these cake mix cookies, you are seriously missing out on some heavenly stuff! Its not a one bit cakey! In fact, it is so soft that it melts in your mouth.

I loved using cake mix for this recipe because it made my job so much easy. These babies were ready in under 20 minutes. That’s it! Don’t believe me? Okay, go ahead.. Read on… 😀

Funfetti cake mix cookies7

Seriously, it will make you think HOW on EARTH something so good (or should I say sprinkly!!!) can start from a box! Oh well,it does! 🙂

The dough comes together easily by hand. No mixing required. No extra clean-up required! Woohooo…. All you need is a bit of elbow grease to mix all the ingredients.

And to give it a ‘healthifying twist’, you can skip the oil from recipe and add low-fat yogurt to it! And voila… you will have a light ‘fudgy’ cookie!

So let’s get you started right away!

Makes 8-9 thick HUGE cookies

Ingredients:

  • 1 box (250 gm) vanilla cake mix (I used Pillsbury Moist Supreme Vanilla)
  • 1/2 tsp baking powder
  • 1 egg
  • 2 and 1/2 Tbsp olive oil
  • 1/2 tsp vanilla extract
  • 1/2 cup sprinkles (combo of long thin and tiny balls sprinkles)

Directions:

Preheat oven to 350F/180C. Line a baking sheet with parchment paper or silicone baking mat. Set aside.

Funfetti cake mix cookies1
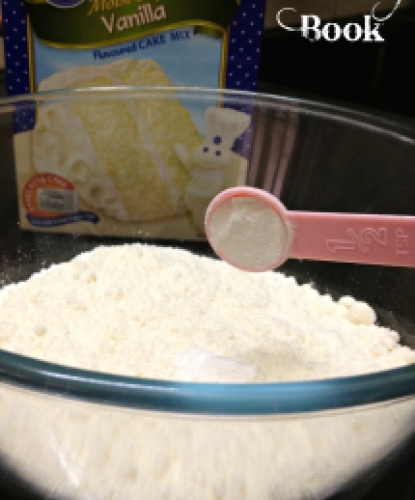
In a large bowl, mix together the cake mix and baking powder.
Funfetti cake mix cookies2
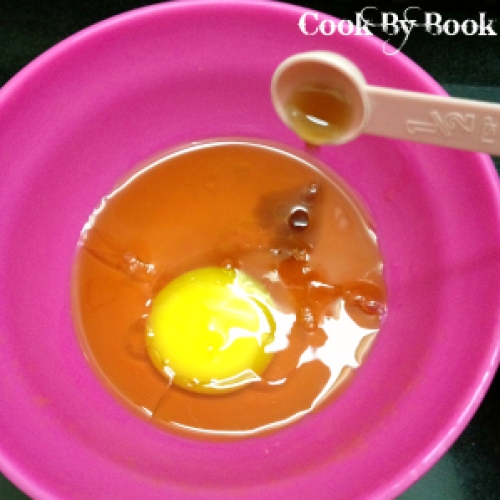
In a smaller bowl, whisk together egg, oil and vanilla by hand.
Funfetti cake mix cookies3
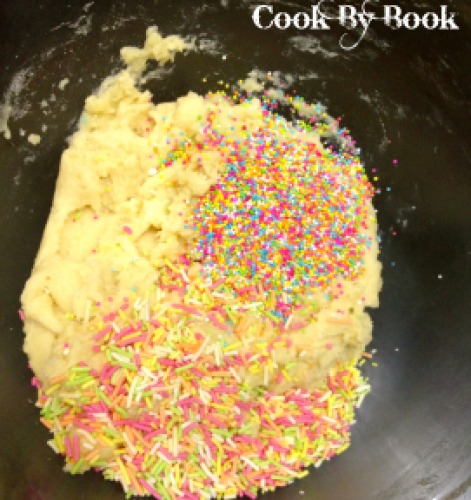
Add the wet ingredients into dry ingredients and stir to form a dough- stir vigorously until all the pockets of dry cake mix are gone. Gently mix-in the sprinkles- do not overmix or it will dye the cookie dough.
Funfetti cake mix cookies4
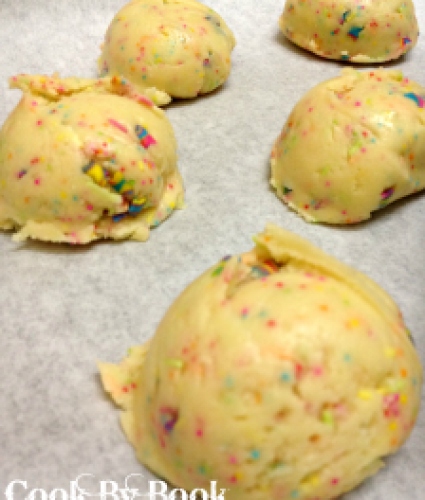
Using an icecream scoop, scoop cookie dough onto baking sheet, about 1 1/2 inch apart. Bake for 9 minutes.
Funfetti cake mix cookies5
Allow to cool on baking sheet for 3-4 minutes.


Funfetti cake mix cookies6
They will be very soft at first. As they cool, the tops will settle down so you will not have to press them down yourself. Transfer to a wire rack to cool completely. Store in an airtight container up to 4 days.

Note:  Wanna bake Funfetti cookies without using cake mix, I have got you a perfect recipe here: http://www.fatgirltrappedinaskinnybody.com/2012/04/funfetti-cookies/

Share this recipe:

Ooh-So Healthy Spinach & Cottage Cheese Pancakes

pancakes5

I am a huge fan of breakfast for dinner. Mainly because I love the simplicity of it. Plus our work schedules do not allow us to have an early dinner hence eating light at night is a way to go for me.

My Sunday was jam-packed with activities so I couldn’t stock the fridge for the coming week but luckily my favorite soppu (is a Kannada word & in English it simply means ‘greens’!!) vendor knocked on our door Monday morning to deliver fresh spinach and that saved me an impromptu visit to supermarket. 🙂

I wanted to make something new from this super-fresh spinach but I simply didn’t have time to get my mind around it until dinnertime! I was tired of eating same old Spinach-Cottage Cheese Gravy with flat-bread. Plus I wanted it to be quick (as usual!!! 😉 ) hence I decided to make one simple dish with the combination of Spinach, Cottage Cheese and Flour! And this is how Spinach & Cottage Cheese Pancakes were born! And of course I HAD to healthify them!!! 😉

Serves: 2, Makes around 10 pancakes

Ingredients:

  • 1 bunch fresh spinach rinsed thoroughly and dried, approximately 200 gms
  • 5-6 big cloves of garlic
  • 2-3 green chilis
  • 100 gms cottage cheese
  • salt and pepper to taste
  • 2 Tbsp chickpea flour
  • 2 Tbsp millet flour
  • 1 tsp flax-seed powder
  • 1/4 tsp baking soda
  • 1/2 tsp red chili flakes
  • 2 tsp oil, plus more to grease the skillet

Directions:

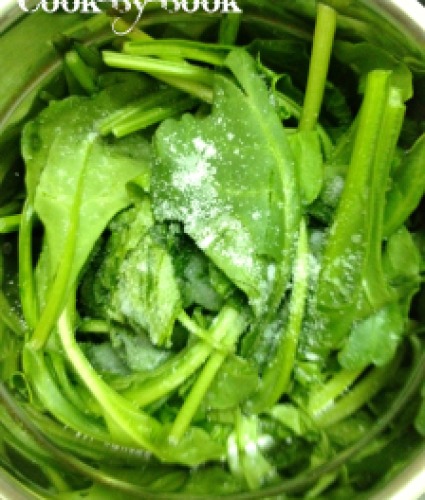
pancakes
Place the green chilis, garlic and spinach in a blender. Sprinkle a bit of salt and blend them till pureed smooth. *Add water gradually as required.

pancakes1
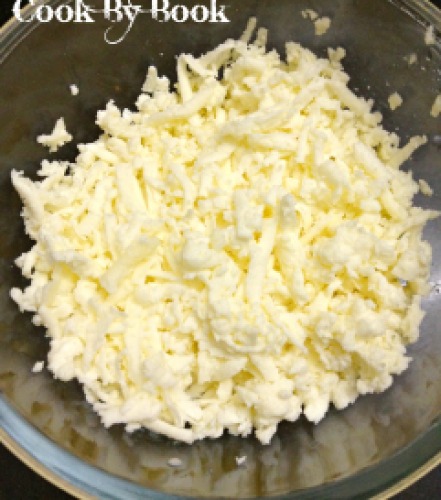
Grate cottage cheese
pancakes2
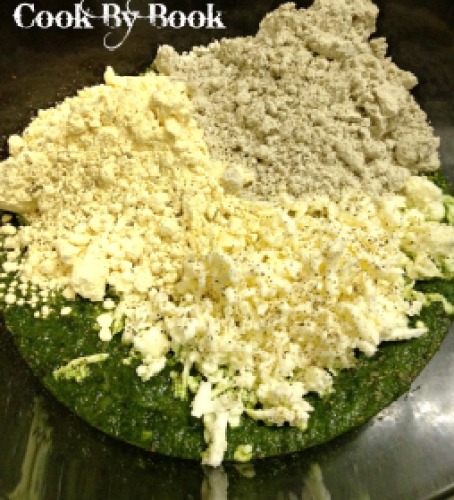
Mix spinach puree, cottage cheese, chickpea & millet flour, flax-seed powder, chili flakes, baking soda, oil, salt and pepper in a large mixing bowl. Add water gradually till pancake-styled batter is formed.
pancakes3
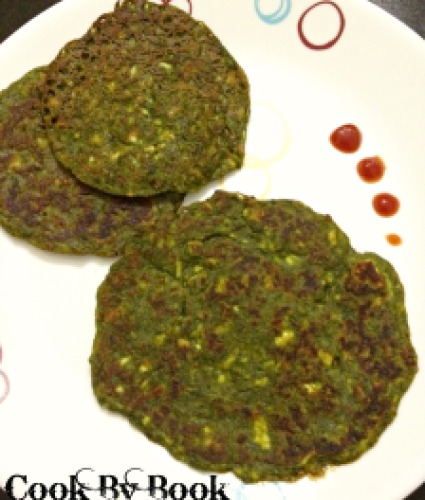
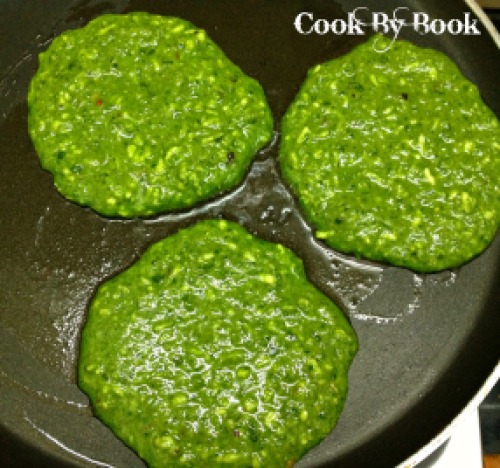
Spread the ladle-full of batter on a greased skillet and spread it evenly. You can keep the size as per your comfort zone. See the color?!! 🙂

pancakes4
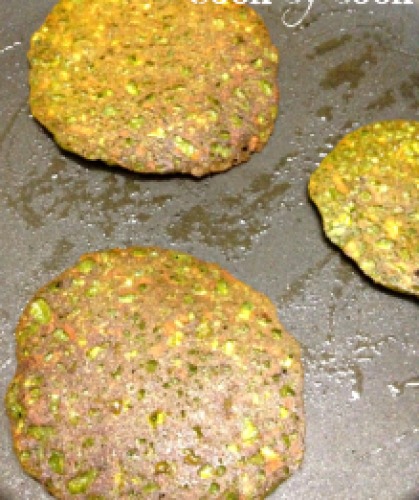
Turn them very carefully after 2-3 minutes of cooking on one side over a medium flame.
pancakes5
Serve them simply with tomato ketchup or dollop-full yogurt along with a bowl of soup or as is!

*Note:

You can have number of variations with this recipe:

  1. You can add a bunch of mint leaves along with spinach for added freshness and zing.
  2. You can add grated carrots and/or boiled corn in the batter.
  3. You can use these pancakes as a base and make a mix-vegetable filling or egg filling to stuff it with.

Possibilities are endless! So keep thinking and improvising!

Enjoy!!! 🙂

Share this recipe:

Low-fat Mango Banana Nut Bread

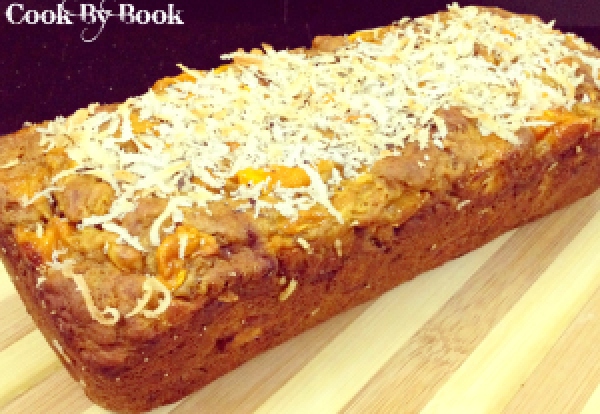
Low-fat Mango Banana Nut Bread2

Its summer time and it always bring back the fond memories of my childhood. Thoughts of leisurely spent summer holidays, visits to my grandparents’ house, having fun with the cousins and eating lots n lots of MANGOES gets me nostalgic!!!

We Indians pride ourselves on our mangoes. All the variations we get throughout the country, the most delish of ‘King of Fruits’ is Alphonso from Ratnagiri. (According to me, of course!) And in today’s recipe I have used premium quality Alphonso mangoes.

If there is one thing I would never get tired of eating my whole life, it is MANGO!!! Not chocolate, cookies or ice-cream. Not Margarita pizza (loveee!!), not Oreo Milkshake (obssessed!!!), not Blueberry Cheesecake (I swear!!!!) or even Pasta. Nope, none of these things are even in same proximity as my questionably crazy love for mangoes.

And when mangoes joined forces with some toasted coconut, over ripe bananas and walnuts… well, it’s safe to say that it will be a KILLER recipe!

Mangoes being super-juicy and super-ripe bananas being super-sweet, the end result is quite moist and sweet (even without adding too much sugar). So mangoes in the form of low-fat loaf… what can I say! All in all it’s a win-win! 🙂

In addition to the fresh mangoes, I added super-creamy secret ingredient: Low-fat Mango Yogurt! The thick, luscious yogurt gives the bread an unbelievably soft texture. So much that each bite practically melts in your mouth.

This bread has THRICE the mango flavor from fresh mangoes, mango yogurt AND fresh mango puree. Yes! To omit the eggs from the bread I decided to use mango puree and made it even more MANGOLICIOUS!!!

I added walnuts in the loaf to give it a crunchy texture. They pair quite well with the mangoes actually. You can easily replace the walnuts with the white chocolate-chips (recipe on sally’s baking addiction). Its will be a heavenly combo! But I am trying to make a low-fat version here so I am stuck with walnuts. Not that I am complaining! 😛

As if the fresh mangoes, mango yogurt, mango puree and ripe bananas weren’t enough, I sprinkled the loaf with the desiccated coconut. The coconut gets toasted in the oven and provides a pleasant, almost-caramelized coating on the top. Plus, it gives pretty snow-flaked effect.. no? 😉

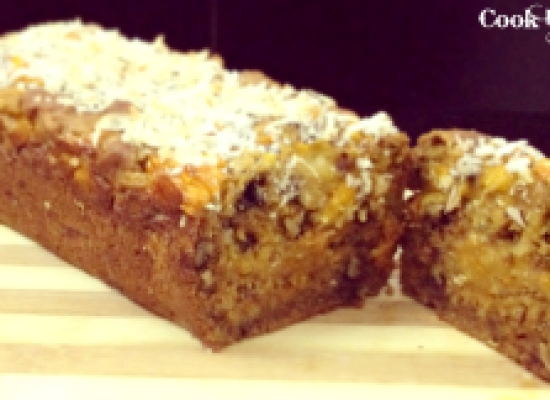
Low-fat Mango Banana Nut Bread3

Cut the slices nice and thick and gobble it up!!!

So what are you waiting for? This recipe is a MANGO BONANZA!!!

Preheat your oven right away!!!

*Be sure to read the recipe entirely before making, coconut is added mid-baking – not when you first put the loaf in the oven.

Ingredients:

  • 2 cups whole wheat flour
  • 1 tsp ground cinnamon
  • ¾ tsp baking soda
  • ½ tsp salt
  • 1/3 cup plus 2 Tbsp white granulated sugar
  • 4 Tbsp unsalted butter, softened to room temperature
  • 1/3 cup mango puree
  • 1 and ½ cups mashed very very ripe bananas (about 3 bananas)
  • 1/3 cup low fat mango yogurt
  • 1 tsp vanilla extract
  • 2/3 cup chopped walnuts
  • 1 cup chopped mango
  • 2 Tbsp shredded desiccated coconut

Directions:

  1. Preheat oven to 350F/180C. Grease 9×5-inch loaf pan with oil.
  2. In a medium bowl, whisk together the flour, cinnamon, baking soda and salt. Set aside.
  3. In a separate large bowl, beat the sugar and butter with stand or handheld mixer on medium speed until well-blended – about a minute.
    Add the mango puree, mashed bananas, yogurt, and vanilla. Continue beating until blended.
  4. Slowly stir in the flour mixture by hand, until ‘just combined’ – do not overmix.
    Fold in walnuts and then gently stir in the chopped mangoes. You may sprinkle a few mango pieces and walnuts on top for looks as well.
  5. The batter will be very thick, so spoon it into prepared pan rather than pouring it. Bake for 30 minutes. Remove and sprinkle with shredded coconut. Bake for 25-30 minutes longer or until wooden toothpick inserted in center comes out clean. My bread took exactly 60 minutes.
    Cool 15 minutes in the pan on a wire rack. Remove from pan and cool completely on the wire rack.
Share this recipe: