Skinny Banana Zucchini Chocolate-Chip Buttermilk Pancakes

Skinny Banana Zucchini Chocolate-Chip Buttermilk Pancakes1

Such a long title… huh?!

Don’t get scared!

Today’s recipe is just filled with way too many nice things! 🙂

I love my breakfast so much! That is the best meal of the day for me.. I love it so much that we usually end up having breakfast-for-dinner more often than I would like to admit… not that I’m complaining! I had made these pancakes on one of such nights. They were so so so good!

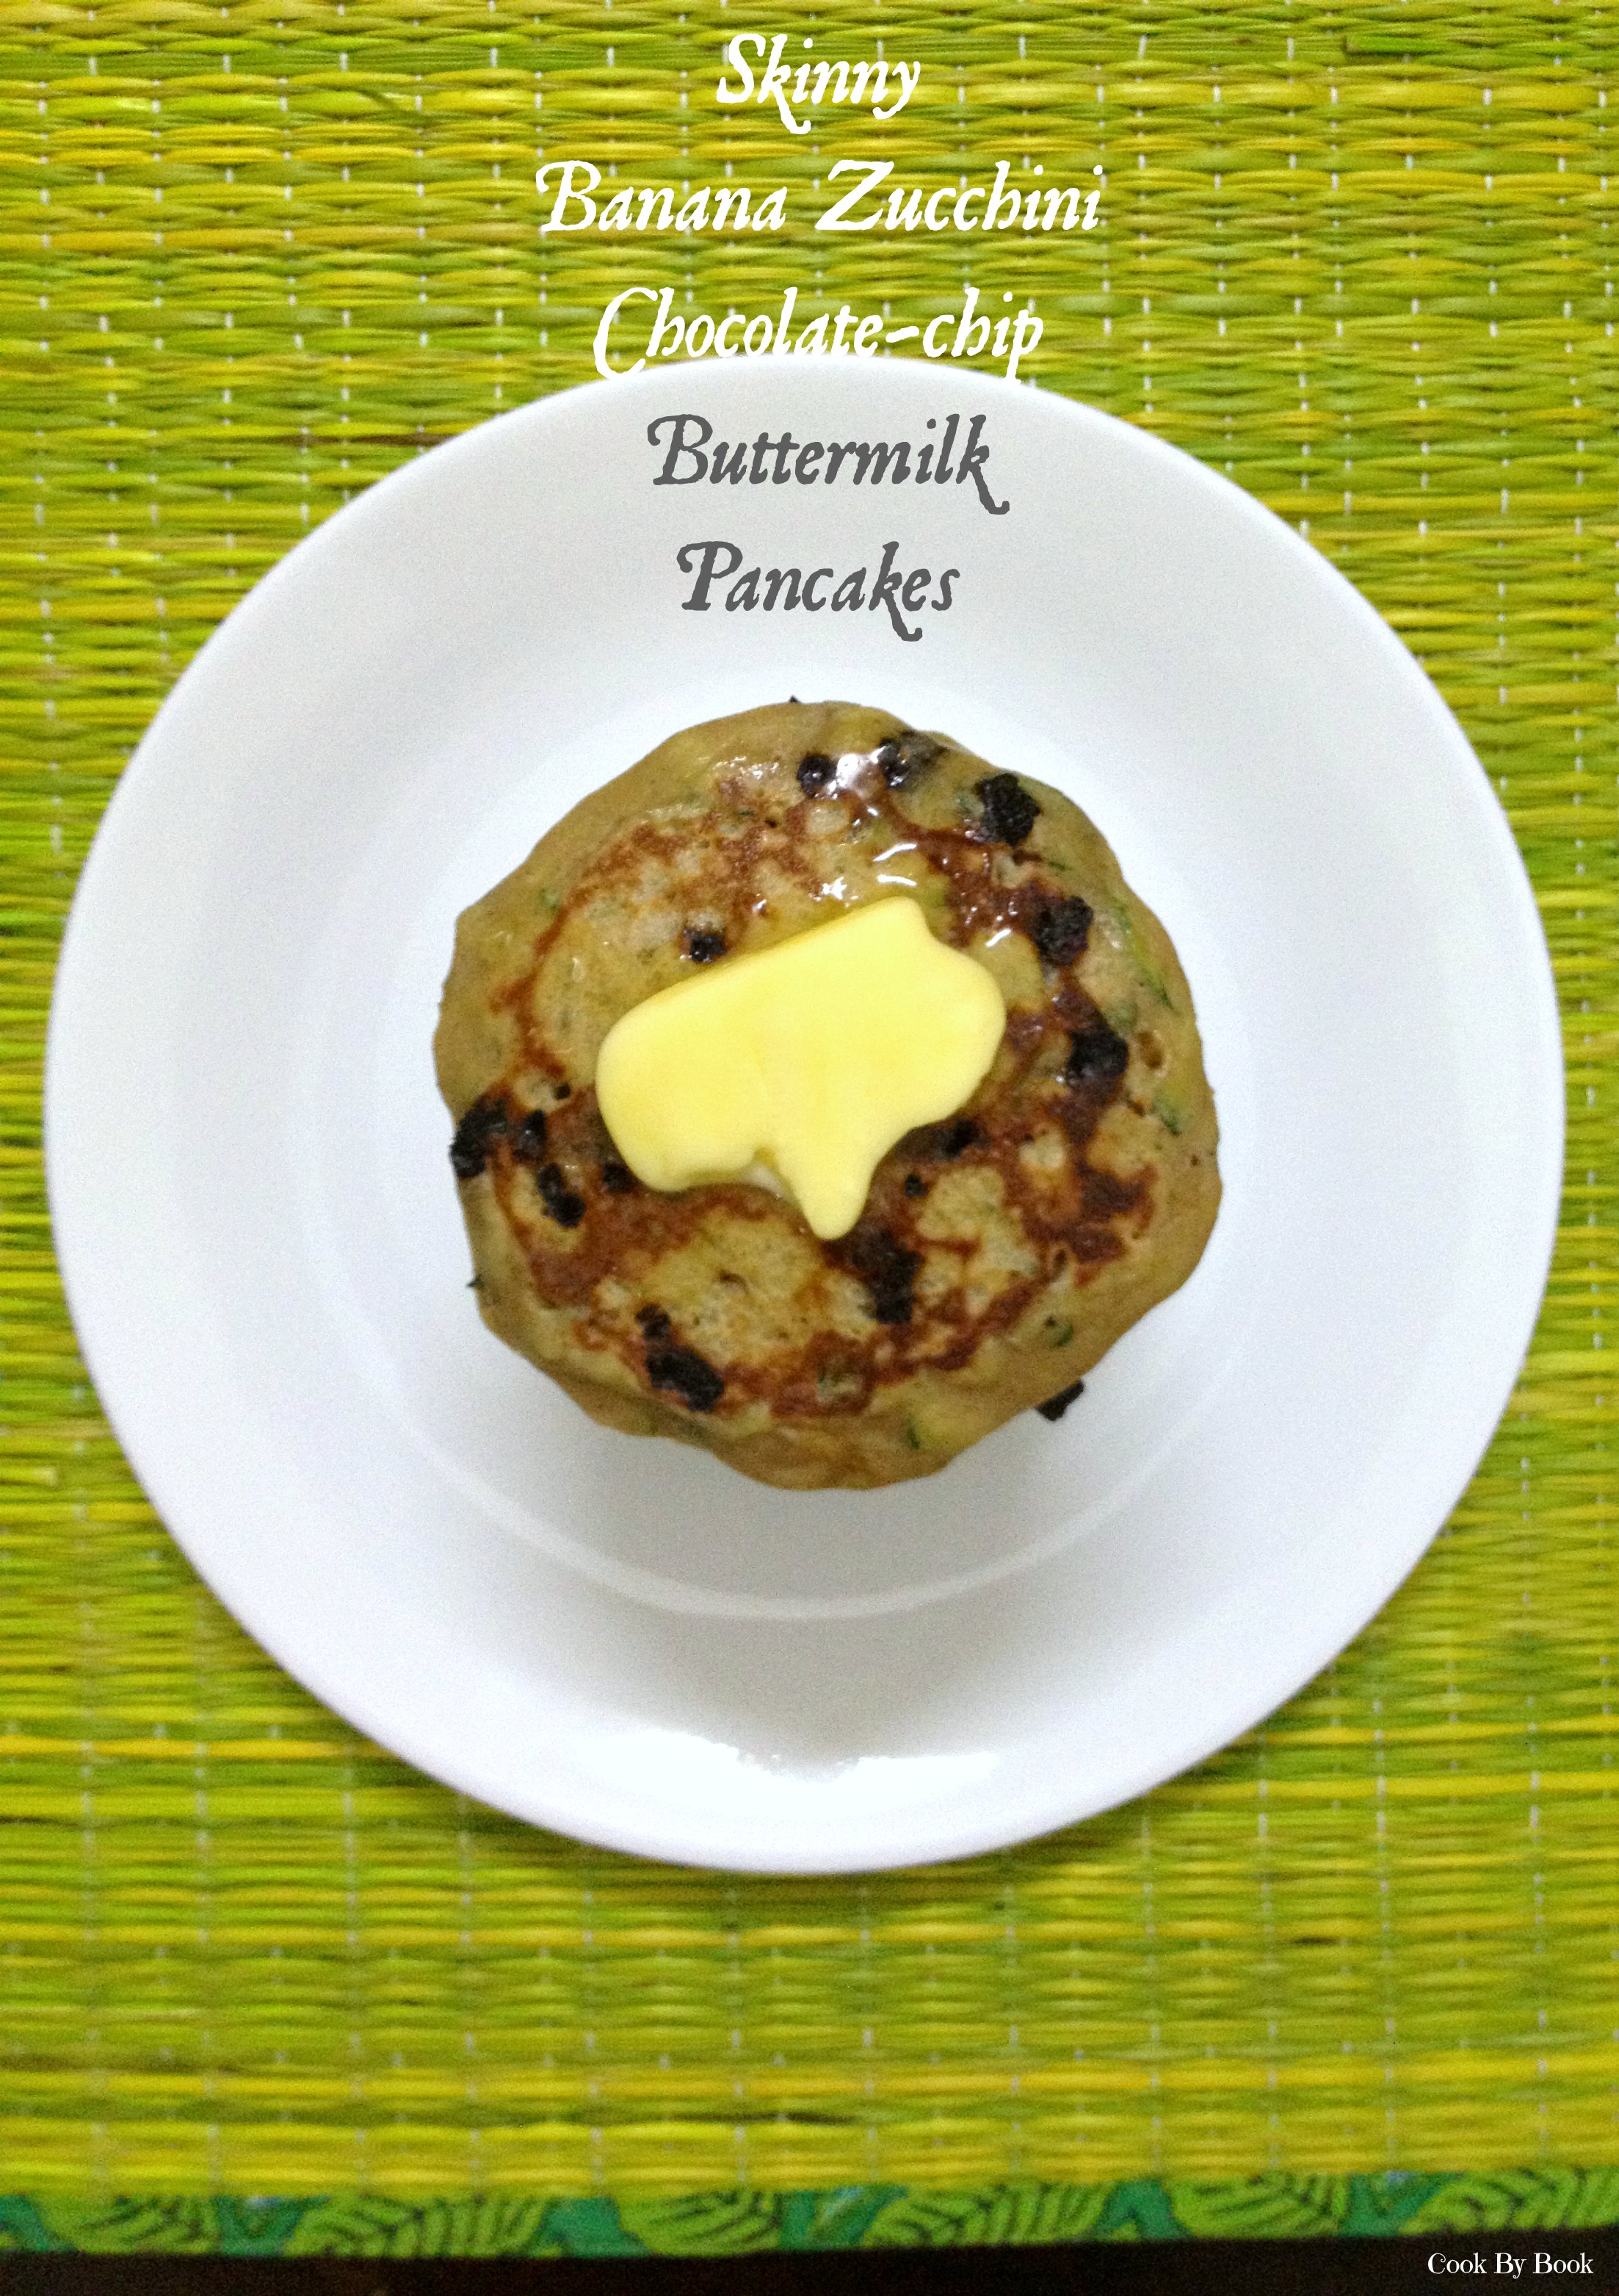
These healthy yet delectable pancakes are laden with chocolate-chips. Mashed banana and shredded zucchini are folded into the batter for a nutritious breakfast treat. These taste best served the traditional way with butter and maple syrup. If you’re even more calorie-conscious then use the light butter or skip it completely but maple syrup is a must. Because there is hardly any sugar added in the batter itself.

These pancakes have no eggs or butter in them.

Yup… Zero. Zip. Zilch. 😉

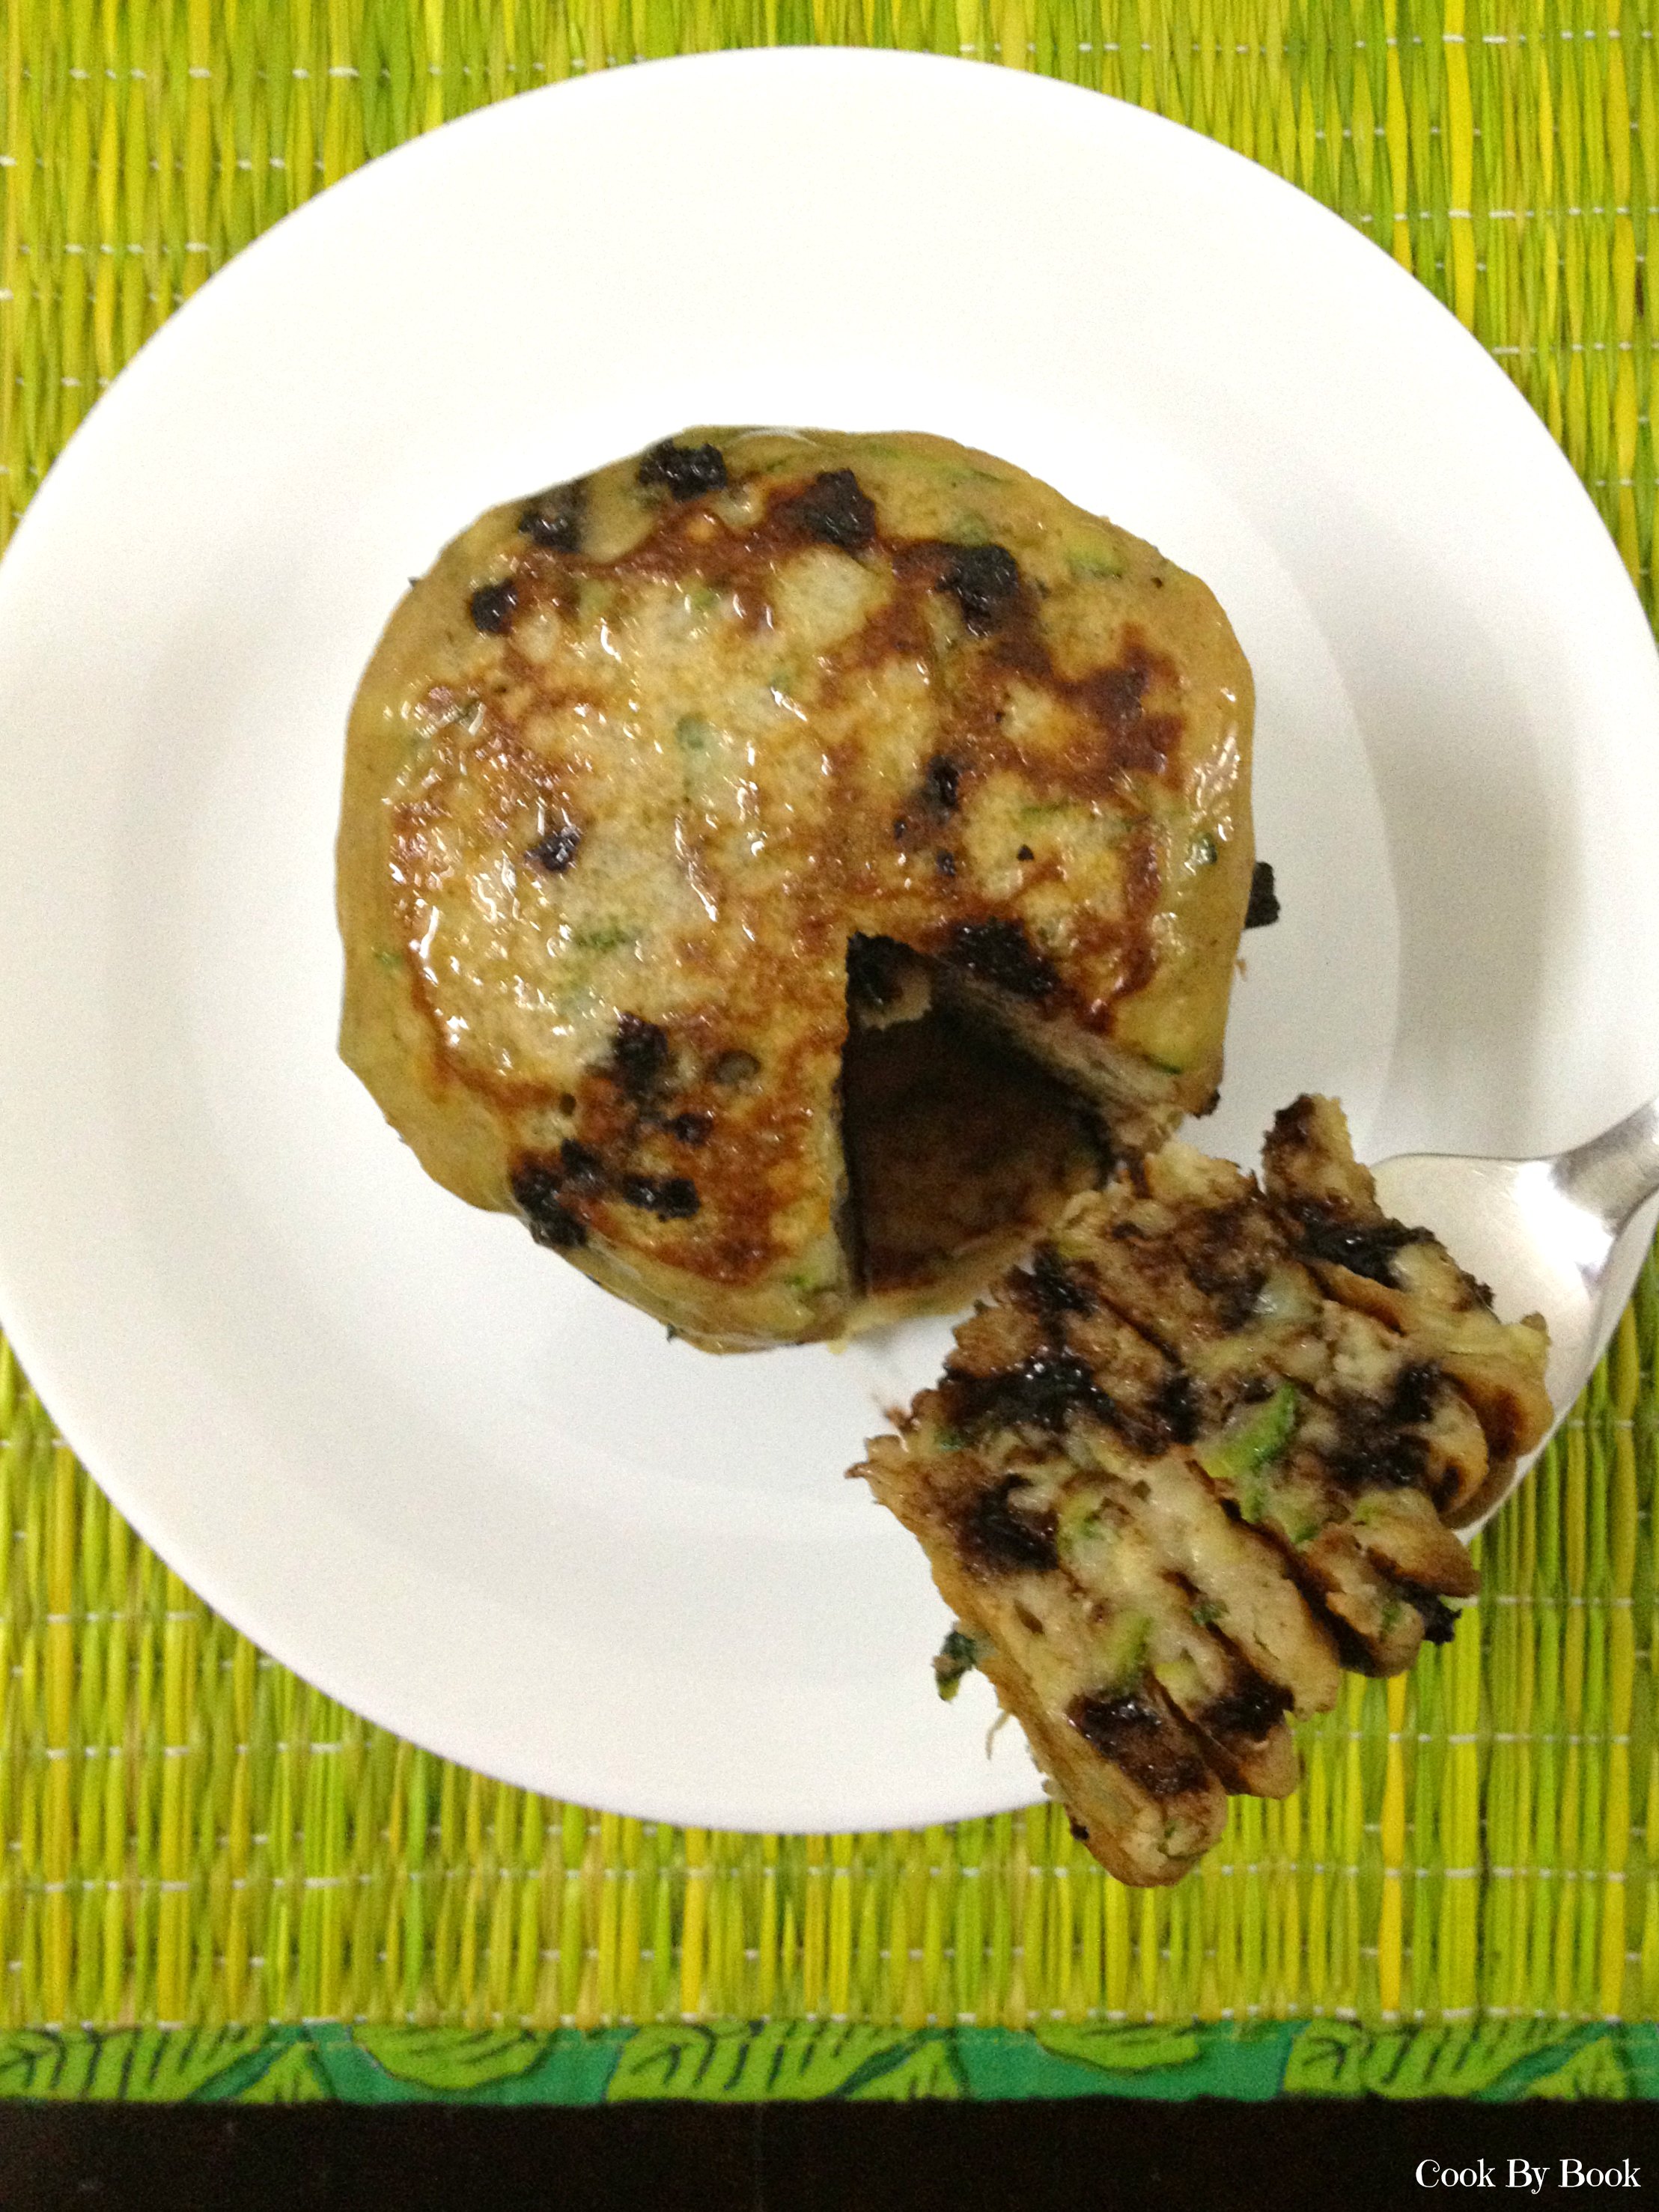
They are still quite fluffy, soft and aerated because of these ingredients ~ banana and buttermilk-baking soda. They create magic and make these pancakes possible without addition of butter or eggs.

Skinny Banana Zucchini Chocolate-Chip Buttermilk Pancakes2

Not a zucchini fan? Worry not… Banana successfully masks the tasteless zucchini for you! Trust me… these pancakes will rock your world!

They are so easy to whip up and hardly requires any prep time. The recipe makes enough for a small family and if you’ve any spares than freeze them for quick grab-n-go breakfast! I’m a zucchini fanatic so I love to have them about any time of the day! 😉

So go grab some zucchinis before they disappear!

Skinny Banana Zucchini Chocolate-Chip Buttermilk Pancakes3

Banana Zucchini Chocolate-Chip Buttermilk Pancakes

Yields: around 15 pancakes (4-inch size) | Prep time: 10 minutes

Ingredients:

  • 1 + 1/2 cup shredded zucchini
  • 1 + 1/4 cup whole wheat flour
  • 1 tsp baking powder
  • Pinch of baking soda
  • Pinch of salt
  • 1 tsp ground cinnamon
  • 2 very ripe bananas, mashed with fork
  • 3 Tbsp brown sugar (dark/light)
  • 1 + 1/2 cup buttermilk
  • 1 tsp vanilla extract
  • 3/4 cup dark chocolate chips
  • butter, for greasing the skillet

Directions:

  1. Put shredded zucchini in a cheese cloth or muslin cloth and give it a good squeeze to remove extra liquid.
  2. In a large bowl, whisk together flour, baking powder, baking soda, salt and cinnamon.
  3. In a separate bowl, whisk the mashed bananas, sugar, buttermilk and vanilla together.
  4. Make a well in the center of the dry ingredients and pour in the wet ingredients. Stir to combine and then fold in zucchini.
  5. Heat a large non-stick or cast iron skillet over medium-low heat and grease with butter. Work in batches. pour scant 1/3 cup batter for each pancake into the skillet and sprinkle the uncooked top all over with chocolate-chips. When the edges begin to look dry and cooked and bubbles dot the top, flip and cook until golden on the other side.
  6. Serve hot with butter and maple syrup.
Share this recipe:

Pear Studded Life By Chocolate Cake

Pear Studded Life By Chocolate Cake1
I was retrospecting and I had a simple realization… I do not have a single recipe for a chocolate cake on my blog yet! Very shocking for a chocoholic like me! This, this & this simply does not qualify. I’m a strong believer of “A chocolate a day keeps a doctor away!” And this is how this ultimate chocolate cake I’m posting today was born.
The universe conspired and the stars aligned!
It was not as dramatic but you can imagine how delighted I must be after I nailed the recipe.
It is made with simplest of ingredients. You will have everything required in your pantry at any given day or time. Except pears. And you can substitute them depending upon what you have at hand. Substitutes are mentioned at the end of this post.
Pear Studded Life By Chocolate Cake2
As the name suggests this cake is studded with pears. And they are not alone! Cinnamon sprinkled pears! Cinnamon enhances the pears’ sweetness and this combo is truly heavenly. You can smell the magic of Fall in your kitchen! The weather here has been just perfect for this. I used Red Anjou pears as that is what I had at the moment and they went perfectly with this cake. Comice pears would be excellent choice too!
Pear Studded Life By Chocolate Cake4
Pear Studded Life By Chocolate Cake3
I chose to call this cake Life By Chocolate Cake. You gotta eat it to know why but I’ll try telling you in words why?! First of all it is not one of those overly rich, heavy, cocoa powderish death by chocolaty cakes you’re so accustomed to seeing/eating around. Nope… This tastes nothing like those which makes you stop eating half-way because it is just too-over-the-top-chocolaty. THIS is a stark opposite of it. This cake is moist, light yet chocolicious, silky, melt in the mouth, perfect piece of chocolate cake ever produced in my kitchen! No one can eat just one slice of it. Chocolate heaven! And if you get a chance to make this, i can guarantee that this will be the best chocolate cake you’ll ever make! Trust me on this one…
So wait no longer… You NEED this chocolate cake in your life, like RIGHT NOW!!
Pear Studded Life By Chocolate Cake5
Pear Studded Life By Chocolate Cake
Yields: 6-8 slices
Ingredients:

  • 1/3 cup butter
  • 100 gm dark chocolate, roughly chopped
  • 2 tsp vanilla extract
  • 3/4 cup + 1 Tbsp all-purpose flour
  • 1 Tbsp unsweetened cocoa powder
  • 1/2 tsp baking soda
  • 1 pinch salt
  • 3 large eggs
  • 1/2 + 1/3 cup brown sugar
  • 4 Red Anjou/Comice pears, peeled, halved and cored
  • 1 tsp ground cinnamon
  • icing sugar, for dusting
  • To grease the tin: 1 Tbsp melted butter and 2 Tbsp caster sugar

Directions:

  1. Cut a circle of baking parchment to fit the base of 9-inch round spring-form tin. Melt 1 Tbsp butter and brush the base and sides of the tin, then line the base with the parchment and brush again with more butter. Dust 2 Tbsp of caster sugar to coat the base and sides, then tip out any excess.
  2. Preheat the oven to 180ºC/350ºF. Take roughly chopped chocolate and butter together in a heat-proof bowl and microwave it for about 1 minute or less till the chocolate has melted completely, stirring in between at the interval of 30 seconds. Whisk in vanilla extract and set aside to cool a little.
  3. In another smallish bowl, sift together flour, cocoa powder, baking soda and salt and set aside.
  4. Put the eggs and brown sugar together in a bowl and using electric mixer’s paddle attachment, beat together vigorously for about 3 minutes until you achieve a pale, aerated and thickened cream-like consistency.
  5. Turn the speed down a little and pour in the butter-chocolate mixture, beating continuously. Then slowly tip in the dry ingredients. Scrape down the bowl, gently fold in with a spatula and pour the batter into the prepared tin. Bake for 10-15 minutes.
  6. Meanwhile prepare the pears. Sprinkle the peeled, halved and cored pears with cinnamon and gently arrange on top of the cake in a circular fashion (as shown in photograph). Bake for another 23-25 minutes till the skewer inserted in the center comes out clean or with a very few chocolate crumbs clinging to it. Do not overcook.
  7. Let it cool for 10 minutes on a wire rack, still in its tin, and then ease the sides of the cake with a spatula and spring it out of the tin. Leave to cool completely or eat while it is still warm with dusting of icing sugar and a dollop of ice-cream.

Notes: Feel free to substitute pears for any other fruit of your choice like raspberries, strawberries, oranges or peaches. Tastes amazing even without adding any fruit to it.

Oh ya,

HAPPY RAKHI Everyone!

Enjoy!!! 🙂

Share this recipe:

Independence Day Special ~ Saffron Pistachio Kulfi

Saffron Pistachio Kulfi1
I seem to have desserts ready for almost all the occasions.. I love love love sugary sweets! When the cravings hit me, it is impossible to shut my brain and there is no turning back till those cravings are satisfied. You must think I’m talking like a crazy or an addict! You’re thinking right! Not that I need a therapy or something… Just saying! It’s 1 a.m. here as I type this post, got a coffee craving which I tried to control and instead ended up snacking on a coffee-almond ice-cream! I know… weak! 🙁 But don’t judge! In my defense, this is the only sweet stuff I have had in a whole day!
You all know I have a sweet corner for ice-creams. So much that not so long ago I even had an ice-cream week on the blog! Check this out! Crazy right?! So it would be impossible that I would let the Independence day be gone without posting a total Desi ice-cream dessert in the honor of the occasion.
Saffron Pistachio Kulfi2
Kulfi is so popular throughout the country. Love of it is unbiased. It is a perfect reflection of our country’s unity despite the cultural diversity! Oh well, I have a way of twisting everything as per my own convenience! I mean only I can talk about kulfi and country being mirror-image of each other or whatever! But I hope you all agree with me on this one.. What better way to celebrate 15th August, our 66th independence day than this ice-cream dessert! I bet it’s a family favorite in every household! 🙂
Kulfi is traditionally prepared by evaporating milk on a low heat with almost continuous stirring to keep milk from sticking to the bottom of the vessel, until its volume was reduced by half, thus thickening it. It is almost like eggless custard turned in to ice-cream. I’ve stuck to the traditional recipe and have refrained from using condensed milk as I somehow detest it! Okay, I sort of hate condensed milk! I guess it’s a night for confessions! Relieved! Humph..
Of course no cliched tricolor desserts people! Hence the recipe for kulfi is has been kept as close to natural as possible. No artificial flavorings or colors have been used. You get a subtle yellow from saffron, crunch from pistachio and aroma from cardamom. It is heavenly! Do try it now and thank me later! 😉
HAPPY INDEPENDENCE DAY!!!
Saffron Pistachio Kulfi3
P.S. No saffron was harmed during the shoot of these photos. It was all returned back to the safety of its jar. So you all can relax now! 😀
Saffron Pistachio Kulfi
Yields: 6 servings
Ingredients:

  • 1 and 1/2 cup full-fat milk
  • 1/4 cup full-fat milk, extra
  • 2 Tbsp cornflour
  • 4 pods of cardamom
  • 1/4 tsp strands of saffron
  • 1/3 cup sugar (adjust as per preference)
  • 1/4 cup finely chopped salted pistachios, plus extra for garnishing
  • 1/2 cup fresh cream (40% fat)

Directions:

  1. In a non-stick/ceramic heavy-bottomed saucepan, add 1 and 1/2 cup milk and bring it to boil on a high heat. Now reduce the heat to low and let it simmer, stirring occasionally to keep it from sticking to the bottom of the vessel.
  2. Warm 1/4 cup of milk in microwave for 10-20 seconds. Add cornflour to it and mix till it dissolves completely. Add saffron strands to it. Separate the cardamom seeds from the pod and powder the seeds with mortar-pestle. Add the powder and pods to the milk. Let this mixture sit aside till the milk is getting reduced.
  3. Once milk has evaporated and thickened till its volume has reduced to half (in about 10-15 minutes), add the flavored milk-cornflour mixture (remove the cardamom pods) slowly to the milk stirring continuously. Add sugar and pistachio and cook for another 2-3 minutes. Taste and adjust sugar as per your preference.
  4. Remove the mixture from heat and let it cool and come to room temperature. Whip the fresh cream till soft peaks are formed. Whisk in the whipped cream to the cooled milk mixture. Pour the mixture in the molds. Refrigerate in the freezer. After about 1 hour of freezing, insert kulfi stick in each mold and freeze for another 4-5 hours. De-mold and serve immediately topped with chopped pistachios (optional).

Notes:

*You can make these without adding cornflour too. It will still taste the same but may melt at a faster rate.

*I did not have kulfi molds hence I used paper cups covered with silver foil. To de-mold, simply cut the paper cup from one side and loosen the kulfi.
*In case you’re using plastic/metal kulfi molds, dip each mold in hot water for 2-3 seconds and then de-mold the kulfi easily.
*Kulfis are best consumed within 2 days of being made. They won’t get spoiled in freezer but will become icy and rock-like if kept for longer duration.
Saffron Pistachio Kulfi4
Share this recipe:

Caprese Skewers & Spinach Walnut Pesto

Caprese Skewers1

So I made some Caprese skewers.. They are so dang cute! Of course there is absolutely no need of a recipe to make them. It’s just cherry tomatoes, basil leaves and Mozzarella cheese on thrown together on a stick seasoned with salt, pepper, olive oil and balsamic vinegar. That simple! Making these is a child’s play and they’ll rock any party! It can be served as an appetizer or as a last course with favorite cocktail or wine! 😉

I served these skewers with spinach walnut pesto.. Hmm… seems interesting?! Require a recipe for another quick pesto? Then read on.. I have told time and again that pesto is my fave. It is so versatile. I made a big enough batch for only 2 of us in the house and served it with these skewers, made dinner with some spaghetti, threw some in my breakfast omelet and made some grilled cheese for lunch. Phew!

So let’s get down to the recipe business!

Caprese Skewers:

Ingredients:

  • cherry tomatoes, halved
  • fresh Mozzarella balls
  • basil leaves
  • extra-virgin olive oil
  • balsamic vinegar
  • salt and pepper, as per taste

Directions:

Skewer the cherry tomatoes alternating with basil leaves and Mozzarella balls. Once they are all skewered, drizzle with balsamic vinegar and olive oil. Sprinkle with a little salt and pepper and serve alongside spinach walnut pesto.

Spinach Walnut Pesto

Ingredients:

  • 3 cups spinach leaves
  • 2 cloves fresh garlic
  • 1/2 cup walnuts, toasted or untoasted (I’m lazy & used untoasted)
  • 3/4 cup Parmesan cheese
  • 3 Tbsp lemon juice
  • salt and pepper, to taste
  • 3/4 cup olive oil to begin with, add more as and if required

Directions:

Blend all the ingredients in a food processor till smooth puree is formed. Add more olive oil as and if required. Store in an air-tight container and refrigerate up to 4-5 days.

Spaghetti with Spinach Walnut Pesto

Grilled Cheese

Share this recipe:

Serenity ~ Coconut Water Fruit Punch

Serenity2
Its been ages since I last posted drink’s recipe here. In fact, its been long since I stirred up some new fancy-schmancy drink! I have been drinking my share of Iced teas and coffees but have not created any new combination worth sharing…
So here is what I made over this past weekend. And it involves something I’ve been drinking a lot lately! Cocojal.. It’s nothing but packaged tender coconut water.. It comes in pineapple and lime flavors too but I prefer it plain, unflavored one. I’m in so much love with it that I have almost 2 bottles a day. You can see I’m totally addicted!
Serenity3
I know what you guys are thinking.. Every nook and corner of my part of world is bursting with vendors selling tender coconuts and still I drink packaged version! Shocked?! Don’t be.. I prefer the packaged version for several reasons. It’s convenient, I like it chilled and you know it is going to be sweet every single time! If you’re against packaged stuff then feel free to use fresh tender coconut water.
I have been craving for some vacation from quite sometime now. Situation has it that it’s not going to be possible for sometime. Hence I took control of the situation, made this, put my feet up and relaxed while sipping on these. And I envisioned myself at my favorite beach in Goa! If you are in more of a celebratory mood, add champagne/white wine to it!
There is no specific recipe for it as such as it is not exactly science. Feel free to make with whatever combination works for you. It is just that simple… No sugar added required!
I was feeling tropicalish so I added a drop of blue food-color to my drink and it turned in to perfect ocean blue! If you hate food-colors then add Curacao Bleu syrup to achieve the desired blue. Double or triple the recipe if serving a larger crowd as it is so perfect for parties. If making this for girls’ night or bridal shower, add a drop of pink/red food-color! Again you may add a splash of Grenadine syrup to achieve the desired pink. World is much better in PINK! 😉
Garnish with fruits like berries or pineapple and cheers!
Serenity1
Serenity ~aka~ Coconut Fruit Punch (vegan, gluten free, soy free, no added sugar)
Serves: 4
Ingredients:
  • 3 bottles Cocojal, 600 ml (approx 20 oz)
  • 1/2 cup apple juice
  • 1/2 cup pineapple juice
  • 1 drop blue food colouring
  • Choice of frozen/fresh fruit cubes, for serving

Directions:

Combine all the ingredients together in a large bowl or pitcher, stir and refrigerate till it is time to serve. Garnish with fruits on stick.

*Notes:

Do not add ice-cubes to the drink. It makes the drink more watery. If you want then freeze coconut water, pineapple juice or apple juice in an ice-cube tray in advance and add them to drink as “ice” cubes.
Liqueur lovers can stir-in champagne/white wine to the drink.

P.S. I have not been compensated by Cocojal in any way for writing this post. All the opinions expressed here are personal.

Share this recipe: