Tag: summerdessert

Peach Banana Breakfast Cake ~ Eggfree & Whole Wheat

Peach Banana Breakfast Cake-1

Peach season has almost ended around here but if you are still able to get your hands on some fresh or even canned peach for that matter, that could turn your breakfast into major awesomeness. Yes! This banana breakfast cake could be made with either fresh or canned peach. I have used the fresh ones here but I would use canned variety in a heartbeat if need be.

I first made this cake with strawberries back in the strawberry season days in February but didn’t get a chance to blog hence I decided to bake it again using peach this time so that you all could try it during stone-fruit season but alas, I am late again. Surely you guys have come to expect this erratic behaviour from me by now and I don’t even have any silly excuse to back me up here anymore. ?

Peach Banana Breakfast Cake-2

Coming back to the cake, as the title suggests, this cake here is eggfree and the batter is made using whole wheat flour, smidgen of oil and little cane sugar. You could replace cane sugar with powdered jaggery to make it refined sugar-free. Totally wholesome breakfast material. But there’s more. You could also make it vegan by using a vegan variety of yogurt or buttermilk. Win-win for everyone!

This recipe has lots of cinnamon which is my most favourite flavour to bake with after vanilla. Also, in my book, banana, peach and cinnamon go hand in hand and I love whole teaspoon of ground cinnamon here to enhance the banana flavour but if you don’t like then skimp down on cinnamon by adding half a teaspoon and a pinch of nutmeg if that’s your thing. If plums or apricots are available to you, use them on top in place of peach. Apart from strawberries, I have tried the plum version as well and it works beautifully. Basically, switch things up as you fancy and still the end product would be this gorgeous looking CAKE you’d want to devour in seconds.

Topping the cake batter with fruit instead of layering the fruit at the bottom makes demoulding this cake a breeze, definitely not as tricky as an upside-down cake. It also eliminates the chance that part/s of fruit would get stuck to the bottom of the cake pan. Topping it with granulated sugar before baking makes peach reach jam-like consistency while cooking in the oven. This in turn enhances the sweetness of peaches and helps in keeping the total added sugar to the minimum. Make this cake ASAP as it is just what your breakfast table needs alongside a cup of coffee.

Have a lovely rest of the week folks!

PS : If you’re in Mumbai, stay safe!

Peach Banana Breakfast Cake-3

Print Recipe
Peach Banana Breakfast Cake
Cuisine American
Prep Time 10 minutes
Cook Time 30 minutes
Servings
slices
Ingredients
Cuisine American
Prep Time 10 minutes
Cook Time 30 minutes
Servings
slices
Ingredients
Instructions
  1. Preheat the oven at 180ºC/350ºF. Grease an 8-inch round cake pan with oil and set aside.
  2. In a small bowl, whisk together all-purpose flour, baking powder, baking soda, cinnamon and salt.
  3. In another medium-sized mixing bowl, whisk together oil, mashed banana, cane sugar/powdered jaggery, vanilla and buttermilk.
  4. Gently fold in dry ingredients into wet ingredients. Be careful not to overmix. Transfer the batter to the prepared cake pan. Top with the peach slices (as shown in the image) and granulated white sugar. Bake in the preheated oven for 25-30 minutes. Stays fresh for 3 days stored in an airtight container in refrigerator.

Shop the recipe:

Here are some items I used to make today’s recipe.


Some of the links above are affiliate links, which pay me a small commission for my referral at no extra cost to you! Thank you for supporting Cook By Book.

Share this recipe:

Fudgy White Chocolate Lemonies {Lemon Brownies}

Fudgy White Chocolate Lemonies1


Lemonies… It sounds so exotic and poetic. Some genius thought of this cool name for lemon brownies, I am not sure who did but genius, nonetheless! A simple reason for not calling them brownies has something to do with their color (They are not brown!!). These are pale yellow beauties adorned with bright yellow zest and white chocolate chips in each bite. They are so fudgy and buttery, dense yet light, just how I like my brownies.

These are the perfect treats for summer (or round the year, who am I kidding!?!) and totally irresistible. The lemon flavor really shines through and pairs wonderfully well with all that white chocolate. Be sure to use a white chocolate bar and not white chocolate chips for the batter. It makes all the difference! And have them chilled, straight from the fridge. You’re welcome. 🙂

Have a fun weekend!
xx


Fudgy White Chocolate Lemonies2


Fudgy White Chocolate Lemonies {Lemon Brownies}

Yields: 12-16 slices | Prep time: 15 minutes | Bake time: about 35 minutes| Total: 50 minutes
Ingredients:

  • 9-oz block of white chocolate, roughly chopped
  • 3/4 cup unsalted butter, at room temperature
  • 3/4 cup granulated white sugar
  • 1 Tbsp lemon zest
  • 2 large eggs, at room temperature
  • 1/4 cup freshly squeezed lemon juice
  • 1 cup + 1 Tbsp all-purpose flour
  • 1/8 tsp salt
  • 2 Tbsp white chocolate chips, to sprinkle on top (optional)
Directions:
  1. Preheat the oven to 180ºF / 350ºC. Grease an 8×8-inch square pan; line base and sides with parchment paper and grease with butter/oil (I used foil).
  2. In a large microwave-safe bowl, melt chocolate and butter in a microwave for 1-2 minute, stirring every 30 seconds. The mixture should be lump-free and glossy. Rub lemon zest and sugar together with the fingers and whisk in to the chocolate mixture. Set aside and let cool for about 5 minutes.
  3. Once chocolate mixture is cooled down, whisk in eggs (one by one) and lemon juice until well combined.
  4. In a separate bowl, sift together flour and salt and fold into chocolate mixture with wooden spoon or rubber spatula until just combined. Pour the batter in a baking pan, sprinkle chocolate chips on top (optional) and bake for 33-35 minutes until the toothpick inserted in the center comes out clean or with a few moist crumbs. Let cool completely in pan over a cooling rack. (If you’re in a hurry, throw it in a refrigerator or freezer for a while for easy cutting.)
  5. Lift up the ends of parchment or foil liner, transfer the brownies to cutting board and cut into 9 or 12 squares. Store it covered in an air-tight container for a week in refrigerator. It tastes best chilled.
Share this recipe:

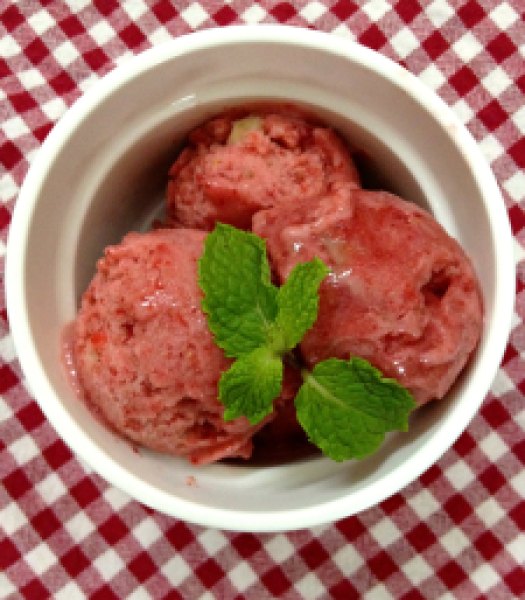
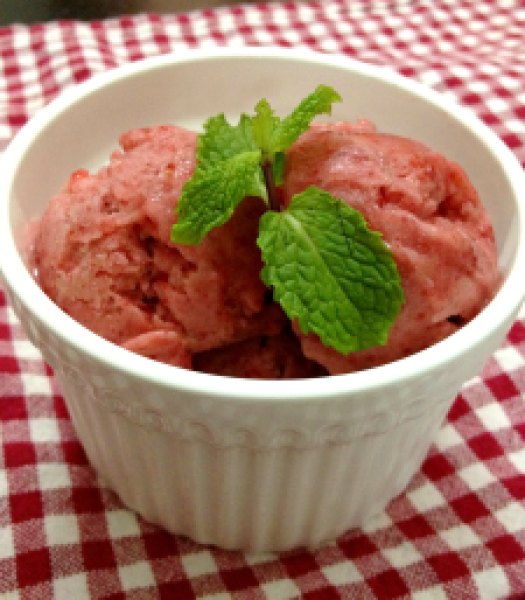
Skinny Strawberry And Banana Frozen Whip

Skinny ice-cream??!! Not joking guys!

A delicious, skinny, dairy-free, sugar-free, 2-ingredient breakfast treat!

Is that an oxymoron?! 😉 Not anymore!

Skinny Strawberry & Banana Ice-cream1

It’s a Wednesday… Middle of the week… So I thought of giving my creamy ice-cream posts a break and present this totally guilt-free fruity treat!

Still can not believe your eyes?

Trust me guys… This ice-cream is magical! Totally melt-in-your-mouth kind!

Tastes totally rich (even if it’s not!) and decadent!

Make it either post-workout and gobble it up immediately (which is just what I did!) or make it pre-workout, chuck it in a freezer and polish it off once you’re back from sweating out!

Totally acceptable as a dessert too!

So how did I accomplish this? If you remember my Mango & Banana Oatmeal Smoothie with a hint of Basil and Peach, Apricot & Banana Minty Milk Smoothie recipe, then you know how I had used frozen banana chunks to get a silky smooth consistency for my smoothies.  Frozen banana chunks get a total make-over when they are whipped in a blender. If you don’t like bananas then this is even better because they don’t even taste like bananas anymore after freezing and whipping! Super-ripe bananas give the best of results! I always have frozen bananas sitting in my freezer waiting to be used! If you don’t then freeze the fruit for at least 2 hours prior to making this.

To whipped frozen banana goodness, I added frozen strawberries and the result is in front of you! Put on your thinking caps and start thinking of all the different flavors you can eat this way and that too guilt-free! Add cocoa powder or peanut butter or Nutella or frozen mango cubes or frozen peach cubes… Let me know what you would like to experiment with!

Skinny Strawberry & Banana Ice-cream2

Skinny Strawberry & Banana Ice-cream

Yields: 4 scoops

Ingredients:

  • 1 large overripe banana, cut in to chunks and frozen
  • 4 large strawberries, frozen
  • chocolate-chips for topping (optional)

Directions:

Add the frozen fruit in a blender or food processor bowl and whip for 30 seconds. Scrap down the sides and whip it again till you get a smooth, soft-serve kinda consistency.

Serve immediately topped with chocolate-chips (if using) or re-freeze any left-overs and let soften slightly before enjoying!

*This recipe is my entry for Event by Archana’s Kitchen – Summer Fiesta

Share this recipe:

Fresh Mint and Chocolate Chunks Ice-cream

Hello beautiful people.. I hope you all enjoyed my yesterday’s ice-cream post!

But if you have not read my previous post then let me tell you that I am doing an ice-cream week on the blog and I am going to post super-easy ice-cream recipes which does not require the use of ice-cream maker! Week-long of deliciousness! Excited??!! I really am… Imagine 7 beautiful ice-cream treats for 7 days of the week! 7 gorgeous flavors! Yup.. I’ll be blogging continuously for 7 days! Anything for you guys! 🙂

Fresh Mint & Chocolate Chunks Ice-cream1

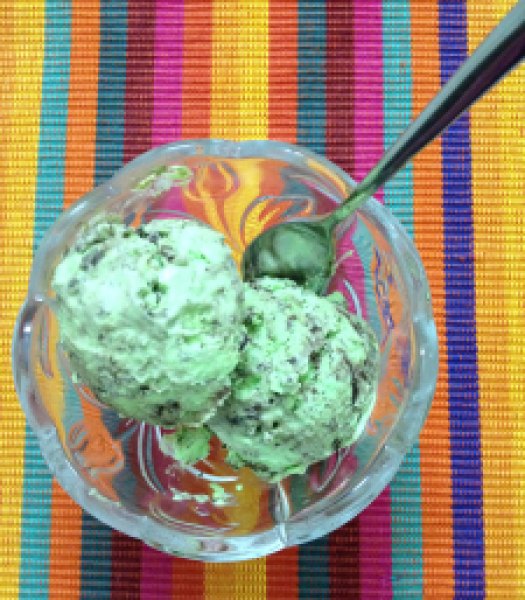
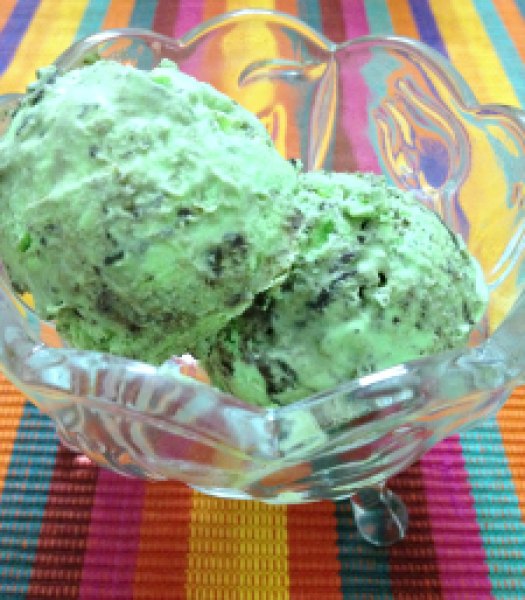
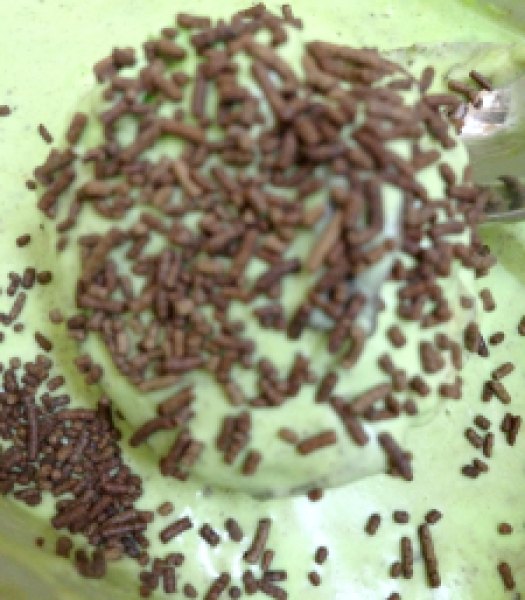
So keeping up with this week’s ice-cream theme, I have got you a Fresh Mint and Chocolate Chunk Ice-cream… Sounds refreshing right? Feeling of cold running down your spine while having the first lick of this ice-cream is what you should expect and nothing less! That too made with fresh mint.. No mister, no mint extract involved here!

Mint and chocolate is a match made in heaven! This is one of my favorite ice-creams to have in summer… Love the splash of green it has! I know… Girls and colors!!! 😉

If you do not like green color, no worries, simply omit it as it is only for the visual effect! But I bet your kiddos or kids in you will love it!

Large chunks of chocolate really compliments cool mint, mellows down the flavor and yet packs a punch!

Fresh Mint & Chocolate Chunks Ice-cream2

So you would be curious as in how did I manage to extract so much flavor from fresh mint without adding even a drop of mint extract? Actually it was very simple! I added mint leaves to the cream and let it sit in the refrigerator for around 4 hours. Kind of let the mint marinate the cream and after 4 hours you get the base for your ice-cream! Dang easy!

Whip this cream with a drop of green color and add as many chocolate chunks as you like to it, hide it in freezer for 4-5 hours and it’s ready to be devoured!

Fresh Mint & Chocolate Chunks Ice-cream3

Just a 4-ingredient treat!

Fresh Mint and Chocolate Chunks Ice-cream

Yields: around 12-14 scoops

Ingredients:

  • 2 cups fresh medium fat cream (40% fat)
  • 2 large handfuls of mint leaves
  • 3 Tbsp caster sugar
  • 1 drop of green food color (optional)
  • 1 cup dark chocolate chunks (I like lots of it, you can use less)
  • chocolate sprinkles and/or chocolate sauce, to garnish

Directions:

In a bowl, add mint leaves to the cream and place it in a refrigerator for at least 4 hours. Use sieve and strain the cream in another large bowl to separate mint leaves. Add sugar and food color to it and whip using a electric mixer till you get a light and fluffy mix. Fold in chocolate chunks and spoon the mix in airtight container. Freeze it for 4-5 hours and serve it as is or with chocolate sprinkles or chocolate sauce.

Tips:

*When serving leftovers, remove container from freezer about 15 minutes before serving to soften.

*Dip your ice-cream scoop in a warm water for scooping out the ice-cream easily.

Share this recipe: