Tag: summer

Frozen Sweet Lime~Pomegranate Cheesecake

Frozen Sweet Lime~Pomegranate Cheesecake1

You know how much I love cheesecake… It is my go-to comfort food more often than I would like to admit. Happy days and stressed days equally call out for cheesecake around here! I’m very finicky about my cheesecakes. Till now my most favorite has been a blueberry cheesecake from a particular cafe. It is heavenly and just how I like my cheesecake to be. And I would never dare to make one in my house as long as that cafe exists!
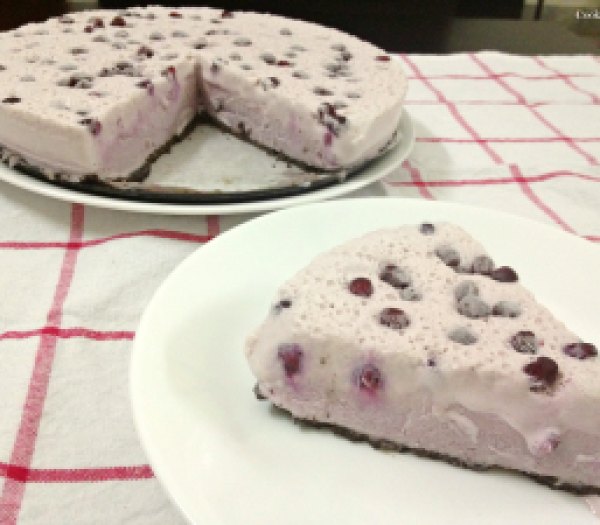
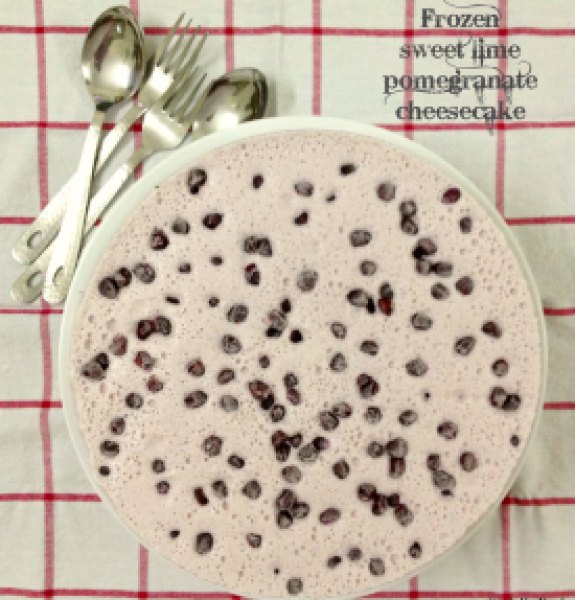
After trying and making so many different varieties of cheesecakes, I decided to whip up this no-bake, gelatin-free, creamy, cheesy, frozen dessert. Let me simplify this for you. This dessert is nothing but a cheesecake ice-cream which is layered over a salty, buttery, chocolaty crust.
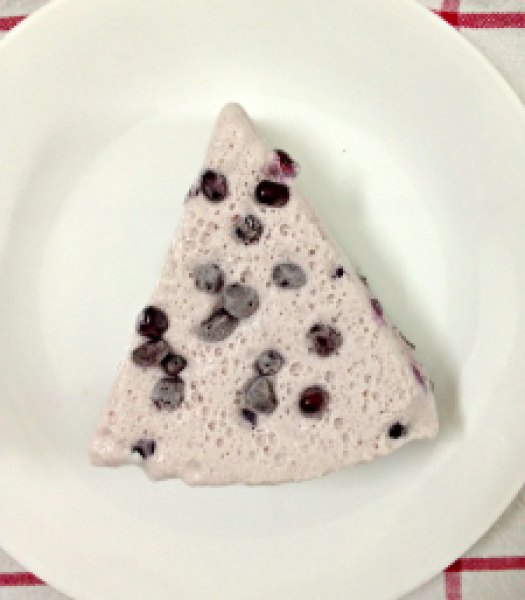
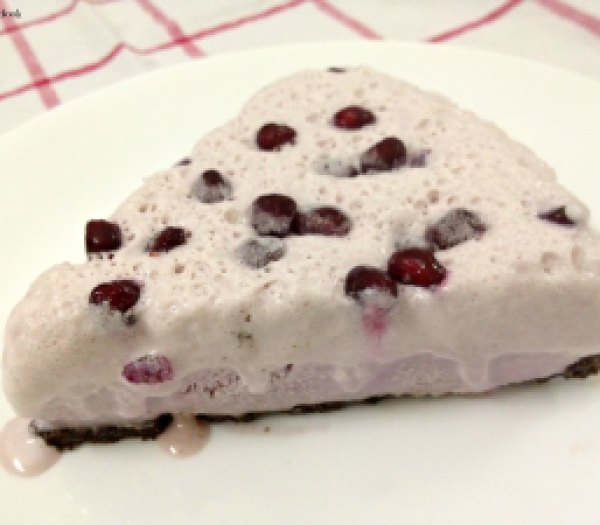
My refrigerator was bursting with sweet and juicy pomegranates. It was a flavor I had never tried before in a cheesecake. I thought it would make a delicate and lovely pairing with cream cheese. To make things tangy, I used up zest and juice from a sweet lime. The result was such a gorgeous baby pink color cheesecake! I just fell in love with it 🙂
Frozen Sweet Lime~Pomegranate Cheesecake3
I went sweet and salty route this time. The crust for this cheesecake is made with chocolate Oreos, butter and just a pinch of salt. This salty kick enhances the cheesecake flavor to another level. If you’re not a fan of sweet-n-salt, feel free to skip the salt as it will still taste divine! But I highly recommend salt as it is not too over-powering. So promise me you’ll add it to know what I’m REALLY talking about… You’ll thank me! 😉
Frozen Sweet Lime~Pomegranate Cheesecake2
Frozen Sweet Lime~Pomegranate Cheesecake4
I made a big batch as I was having company but you can easily halve the recipe and make it in 4-inch spring-form pan. The frozen cheesecake tastes best when eaten within 12-15 hours of being made. It becomes harder and icier the more it stays in the freezer. In case of leftovers, let it thaw for 15 minutes before serving.
Frozen Sweet Lime~Pomegranate Cheesecake with Salted Oreo Crust
Makes: 10-12 slices | Prep time: 20 minutes | Cook time: 0 minute | Chilling time: 4-5 hours
Ingredients:
Crust:

  • 15 chocolate Oreos or any chocolate sandwiched biscuits
  • 3 Tbsp melted butter
  • 1/4 tsp salt
Cheesecake Filling:
  • 3 pomegranates
  • Zest and juice from 1 sweet lime
  • 1/2 cup + 1 Tbsp icing sugar
  • 2 8 oz. package cream cheese, at room temperature
  • 2 cups medium-fat fresh cream (40% fat), chilled

Direction:

  1. Line 9-inch round spring-form pan with parchment paper. Grind Oreos in a food processor until you have fine crumbs. Add melted butter and salt. Spoon the crust and press down firmly over the base using flat base of a glass. Chill in refrigerator while you make the filling.
  2. Remove morsels from pomegranates, save morsels from half pomegranate and juice rest of the morsels with lime juice. Strain the juice into a bowl, add icing sugar and whisk to dissolve.
  3. In a large bowl, take cream cheese and whisk until smooth. Use electric hand mixer/stand mixer for this. Add juice and sweet lime zest to cream cheese and whip till combined.
  4. In a separate bowl, whip the fresh cream till soft peaks form. Gently fold it with cream cheese mixture to achieve a lump-free consistency.
  5. Remove spring-form pan from the refrigerator and spoon the cheesecake filling over the crust. Let it chill in freezer covered in cling film. After 1 hour, sprinkle with pomegranate seeds and return to chill in freezer for another 3-4 hours. Once set, release from spring-form pan, slice and serve. Run the knife under hot water before slicing.

Note: Can be consumed as a sweet lime~pomegranate cheesecake ice-cream if frozen without the Oreo crust.

Share this recipe:

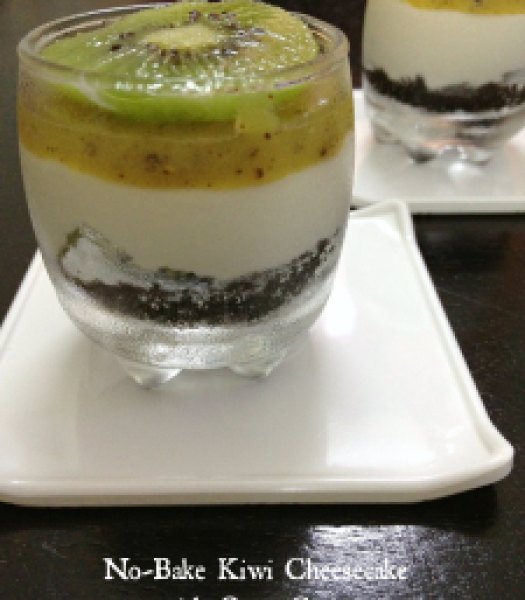
No-Bake Kiwi Cheesecake with Oreo Crust

No-Bake Kiwi Cheesecake1
Yesterday was a National Cheesecake Day and this is my 50th post on the blog! So let’s combine this two very important occasions of my life and celebrate! With cheesecake!! Now you’re talking! 😉
I have a confession to make! I made this cheesecake more than a month ago and totally forgot to blog about them.. Yesterday when National Cheesecake Day tweet was doing rounds, this is the cheesecake which came to my mind instantly… and this too! Sincere apologies for forgetting such an important thing.
Now that this is off my chest let’s move on..
So let’s talk about cheesecake! Cheesecake!! You want it! Really really crave it and then you think of all the extra calories eating one slice or half slice of it entail and then you either eat it anyway and feel guilty or don’t eat it and deprive yourself from this decadence.
No-Bake Kiwi Cheesecake3
I say you can not be making such appalling sacrifices. It’s against the law, you see! So being a smart one here always presenting you guys with skinny treats, I have a solution. Simple… Make mini-cheesecake!!! I’m on a mini-dessert frenzy nowadays… I simply adore them. One thing they are too cute and another is the amazing portion-control you get without making yourself or others feeling culpable for the indulgence.
No-Bake Kiwi Cheesecake2
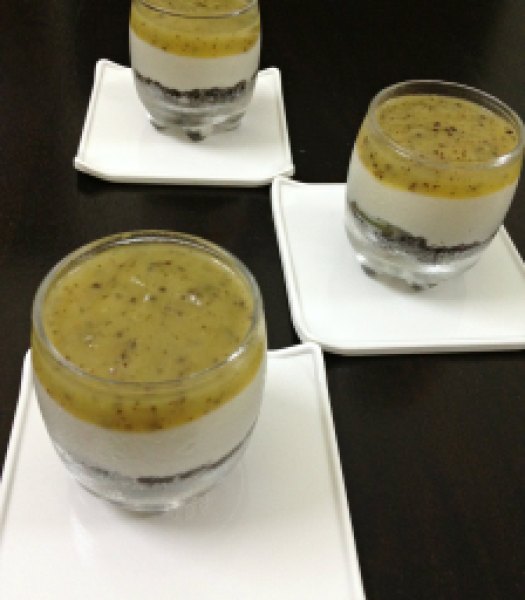
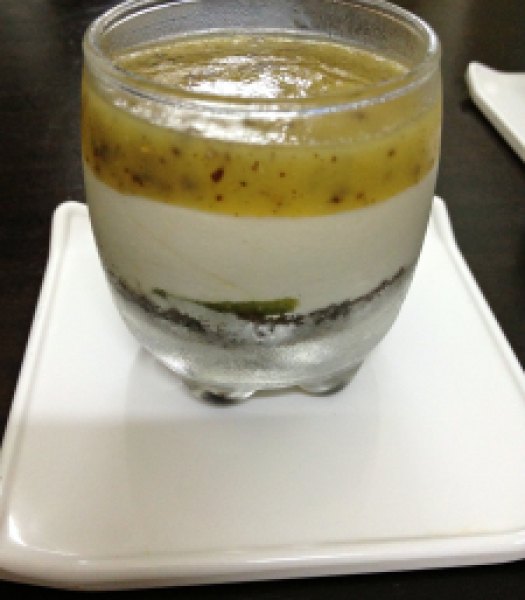
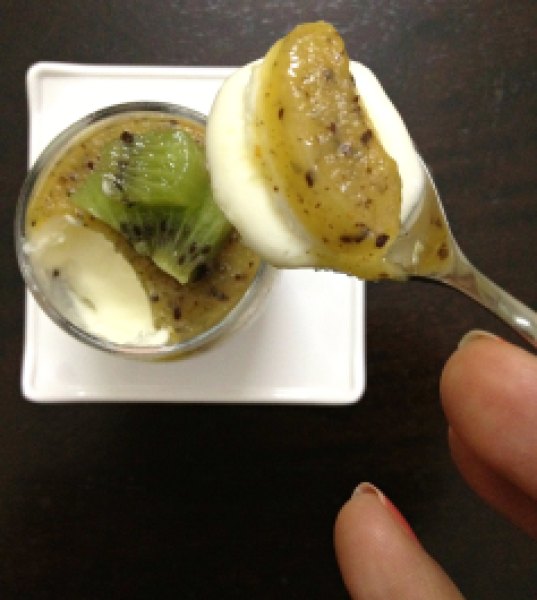
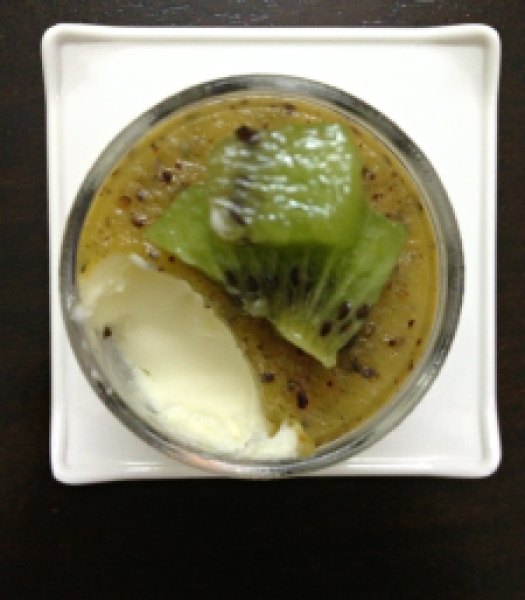
So here I present you today kiwi cheesecake with Oreo crust… I have tried and kept the sugar as less as possible. The cream used here is not full-fat whipping cream instead I have used medium fat cream. So I have done my best to bring you a slightly low-cal version.
No-Bake Kiwi Cheesecake4
No-Bake Kiwi Cheesecake5
Hubby & I got to eat cheesecake for 3 days in a row. So we were a happy bunch! I hope you enjoy this as much as we did.
No-Bake Kiwi Cheesecake with Oreo Crust
Yields: 6 mini cheesecakes
Ingredients:
For Oreo crust:
  • 6-7 Chocolate Oreos
  • 1 Tbsp melted unsalted butter
For the cheesecake:
  • 1/3 cup fresh cream (medium fat 40%), chilled
  • 1/2 cup cream cheese, softened at room temperature
  • 1/4 cup caster sugar
  • 1/2 tsp vanilla extract
  • 1/2 kiwi, peeled and diced
For kiwi jelly:
  • 1 Tbsp agar agar
  • 1/4 cup hot water
  • 1 kiwi, peeled and smoothly pureed
  • 1 Tbsp caster sugar
For garnishing: Sliced or diced fresh Kiwi fruit
Directions:
  1. Blend Oreos and melted butter in a food processor till fine crumbs form. Place 1 Tbsp of crumb at the base of the each shot glasses and press down firmly. Place glasses in refrigerator till you prepare cheesecake filling.
  2. Whip cream cheese, sugar and vanilla extract till soft peaks form. Whip the cream in  a separate bowl till the soft peaks form. Fold in together gently.
  3. Remove shot glasses from the refrigerator. Equally divide cheesecake filling in all the glasses throwing in 2-3 pieces of diced kiwi in between the layers. Refrigerate for at least 2-3 hours.
  4. In a microwave safe bowl, heat the water for 30 seconds and add agar agar to it. Mix thoroughly till agar agar dissolves completely. Add sugar and kiwi puree. Whisk till a thick paste forms. Top the shot glasses with approximately 1 Tbsp of jelly mixture and chill again for 2-3 hours or till jelly has set completely.
  5. Serve chilled, each glass garnished with sliced or 2-3 diced cubes of fresh kiwi.


Share this recipe:

Mediterranean Couscous Salad

Mediterranean Couscous1

“Simplicity is the ultimate sophistication.” ~ Leonardo da Vinci

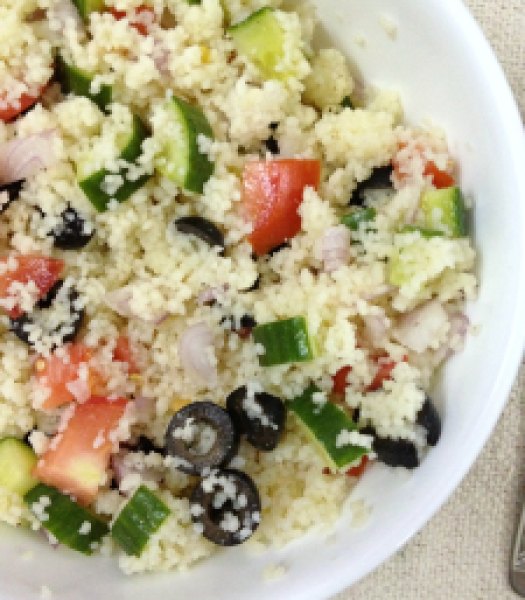
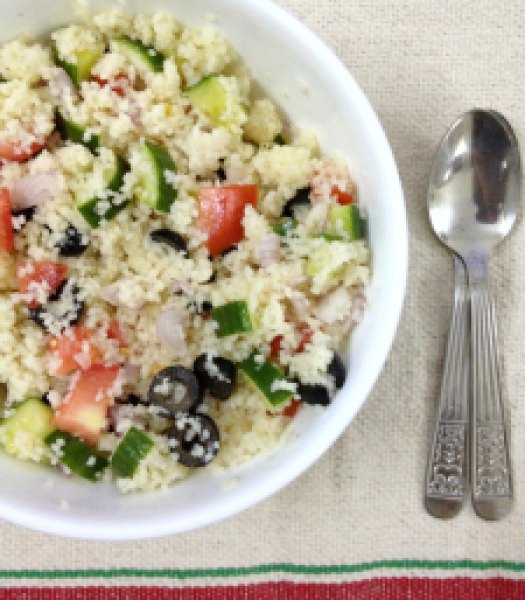
This salad is just that. Simple yet flavorful. Hearty yet sophisticated. Perfect lunch/dinner for those lazy, laid back days. Even better when you have only 15-20 minutes to put up a dinner and have scarce produce in your pantry. You just need couscous and throw in as many or as less veggies you have and you’re all set!

You know I’m a sucker for those lazy, quick recipes and this one here ticks all the boxes for me. And ignore my reflection in a spoon in a pic below.. Thank you! 😛

Mediterranean Couscous2

Mediterranean Couscous Salad

Serves: 2 | Prep time: 10 mins | Cook time: 5 mins

Ingredients:

  • 1 cup couscous (I used Barilla Cous Cous)
  • 1 small red onion, finely chopped
  • 1 tomato, finely chopped or 1/2 cup halved cherry tomatoes
  • 1 small English cucumber, finely chopped
  • 2 Tbsp sliced black olives (If using canned, drain and wash)
  • 2 Tbsp grated cottage cheese (can be substituted with Feta)
  • 1 Tbsp chopped fresh cilantro

For dressing:

  • 1 Tbsp extra-virgin olive oil
  • 1 Tbsp lemon juice
  • 1 clove garlic, minced
  • 1 tsp oregano
  • Salt and pepper, to taste

Directions:

  1. Make couscous according to the package instruction. Transfer the couscous to a large bowl and fluff with a fork. Add onion, tomato, cucumber, olives, cottage cheese and cilantro.
  2. In a small bowl, whisk together all the ingredients for dressing. Season it with salt and pepper.
  3. Pour the dressing over the couscous salad and toss until well combined. Adjust the seasoning and serve.

*This salad can be made in advance and will keep fresh in refrigerator for up to 3 days.
*You can make this salad vegan by replacing cottage cheese with tofu or simply omit it.

Share this recipe:

Skinny Basil Veggie Kebabs with Corn Salad

Skinny Basil Veggie Kebobs with Corn Salad4

This week is going to be fun, though I will have to wait for the weekend for really good stuff to begin. I am celebrating my 28th birthday this Friday! I think birthdays should be a month-long celebration but we are all time-pressed in life! Not that it’s any excuse to ignore the small joys life brings our way but sadly, that’s the cruel reality!

Still nothing can slow down the excitement which is coursing through me! Another year has passed by and this year I am feeling more grown-up than ever! It is true that at the moment I am amongst the mayhem in my life as career transition and so much more is happening. Life is a mess right now.. nonetheless a beautiful mess!

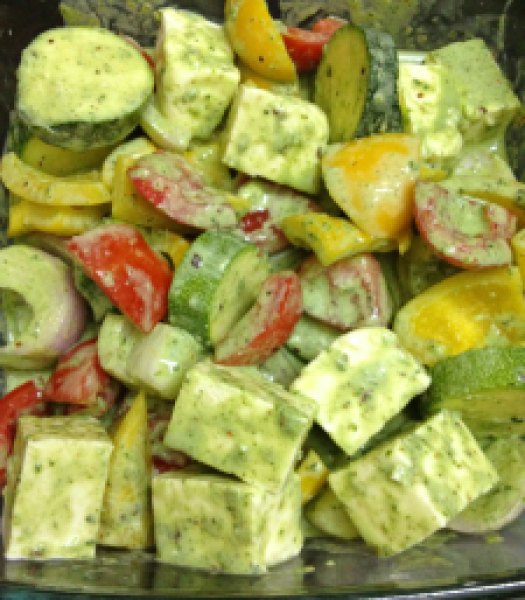
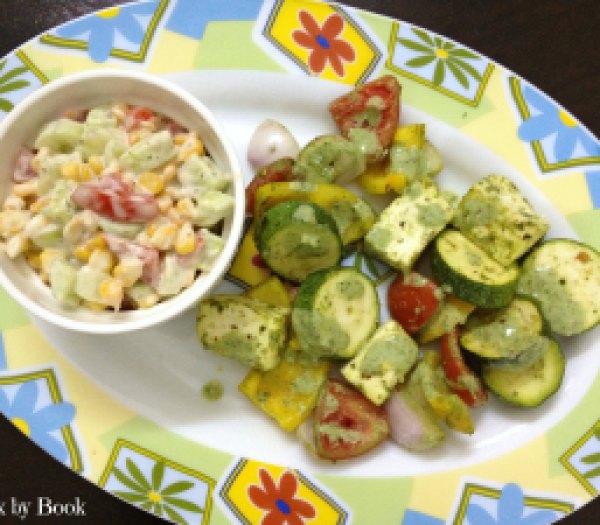
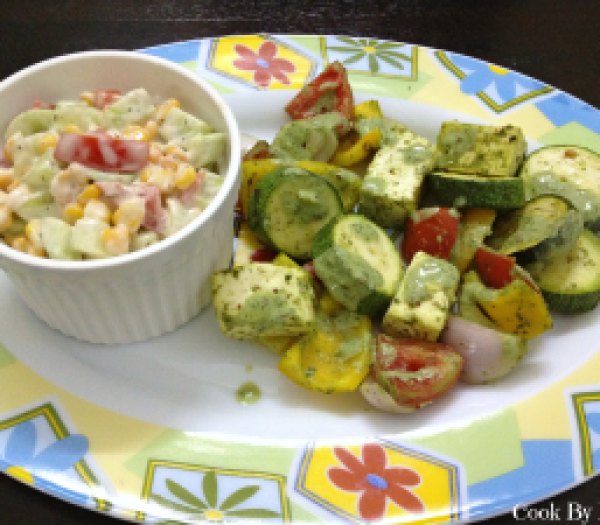
Let’s leave it at that and talk about our today’s recipe. It is a very simple yet delicious way to include so many veggies in your dinner. A light yet filling. I made this last week for dinner and it was so gratifying to get to eat it between the all-week ice-cream madness happening in the house!
Skinny Basil Veggie Kebobs with Corn Salad1

Skinny Basil Veggie Kebobs with Corn Salad2

Skinny Basil Veggie Kebobs with Corn Salad3

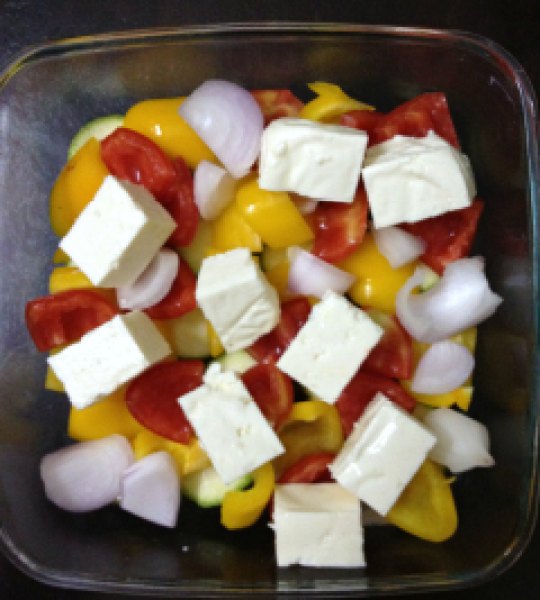
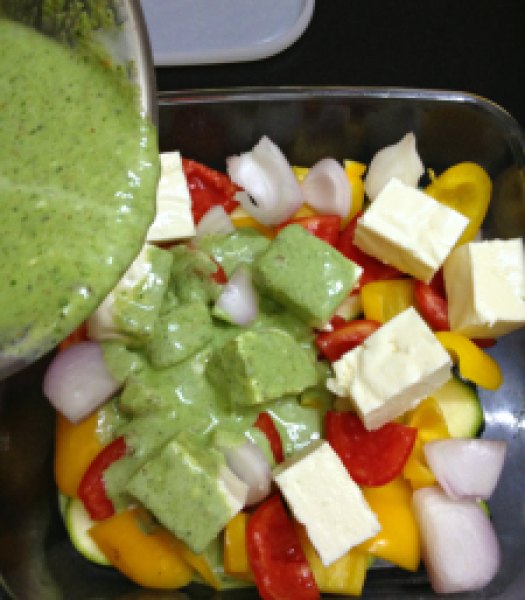
It was kind of cleaning-my-refrigerator day so whatever I had on hand I put that under the marinade and I was glad I did! You can also throw in whatever you have at home. Button mushrooms would be a great addition! I prepared the marinade the night before so the flavors were super-intense. But you can do this at least 4 hours before grill time. It makes a super-quick week-night dinner!

I don’t own a grill so I used my convection oven which came with rotisserie. Veggies could not get charred at all in the oven but they cooked perfectly. Nice and juicy! But if you own one (needless to say in that case, I’m totally J), it will make a great recipe for a BBQ party and the veggies will char beautifully!
Skinny Basil Veggie Kebobs with Corn Salad5

Skinny Basil Veggie Kebabs with Corn Salad

Serves: 2-3

Prep time: 15 minutes | Cook time: 20-25 minutes

Ingredients:

Marinade:

1 and 1/2 cup basil leaves
1/4 cup yogurt (I used home-made)
4-5 cloves of garlic
salt and freshly cracked pepper, as per taste
1 tsp garam masala powder
dash of lemon juice

Kebabs:

1 zucchini (medium sized)
1 bell pepper (I used yellow)
1 large red onion
1 large tomato (de~seeded)
200 gm cottage cheese

Corn Salad:

1 cup boiled sweet corn
1 small cucumber, diced
1 medium tomato, diced
1/4 tsp onion powder
1/2 tsp dry basil
salt and pepper, to taste
1 Tbsp mayonnaise
1 Tbsp yogurt

Directions:

  1. At least 4 hours before, blend all the ingredients for marinade to a smooth puree. Adjust the seasoning as per your taste. Cut veggies into 1″ cubes and toss with marinade in a bowl. Cover it and refrigerate until ready to cook.
  2. When ready, light grill. Using the wood or skewers, insert the veggies. Place on grill and cook on each side for 3-4 minutes till the veggies are uniformly charred.  *I don’t have grill so I used rotisserie function of my convection oven and cooked as per the instruction manual. Hence the char was missing but kebabs were cooked beautifully.
  3. While veggies cook, mix the ingredients for corn salad in a bowl and toss thoroughly.
  4. Serve skewers topped with remaining marinade (if any) alongside the corn salad.

*You can make this recipe vegan – by replacing yogurt with soy yogurt in marinade, replacing cottage cheese with tofu and in corn salad, omit mayonnaise and use soy yogurt instead.

 

Share this recipe:

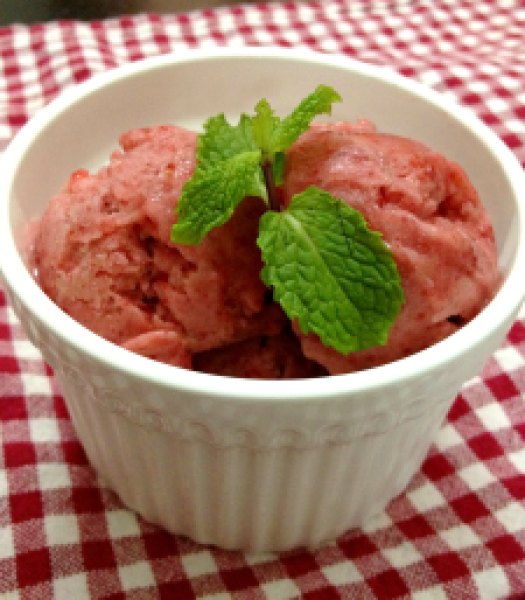
Skinny Strawberry And Banana Frozen Whip

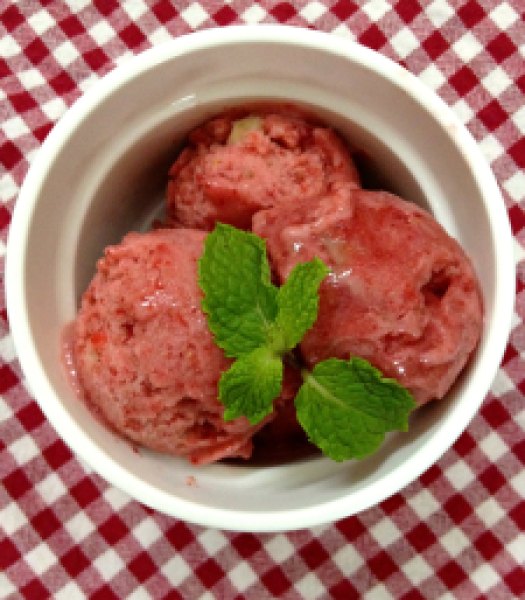
Skinny ice-cream??!! Not joking guys!

A delicious, skinny, dairy-free, sugar-free, 2-ingredient breakfast treat!

Is that an oxymoron?! 😉 Not anymore!

Skinny Strawberry & Banana Ice-cream1

It’s a Wednesday… Middle of the week… So I thought of giving my creamy ice-cream posts a break and present this totally guilt-free fruity treat!

Still can not believe your eyes?

Trust me guys… This ice-cream is magical! Totally melt-in-your-mouth kind!

Tastes totally rich (even if it’s not!) and decadent!

Make it either post-workout and gobble it up immediately (which is just what I did!) or make it pre-workout, chuck it in a freezer and polish it off once you’re back from sweating out!

Totally acceptable as a dessert too!

So how did I accomplish this? If you remember my Mango & Banana Oatmeal Smoothie with a hint of Basil and Peach, Apricot & Banana Minty Milk Smoothie recipe, then you know how I had used frozen banana chunks to get a silky smooth consistency for my smoothies.  Frozen banana chunks get a total make-over when they are whipped in a blender. If you don’t like bananas then this is even better because they don’t even taste like bananas anymore after freezing and whipping! Super-ripe bananas give the best of results! I always have frozen bananas sitting in my freezer waiting to be used! If you don’t then freeze the fruit for at least 2 hours prior to making this.

To whipped frozen banana goodness, I added frozen strawberries and the result is in front of you! Put on your thinking caps and start thinking of all the different flavors you can eat this way and that too guilt-free! Add cocoa powder or peanut butter or Nutella or frozen mango cubes or frozen peach cubes… Let me know what you would like to experiment with!

Skinny Strawberry & Banana Ice-cream2

Skinny Strawberry & Banana Ice-cream

Yields: 4 scoops

Ingredients:

  • 1 large overripe banana, cut in to chunks and frozen
  • 4 large strawberries, frozen
  • chocolate-chips for topping (optional)

Directions:

Add the frozen fruit in a blender or food processor bowl and whip for 30 seconds. Scrap down the sides and whip it again till you get a smooth, soft-serve kinda consistency.

Serve immediately topped with chocolate-chips (if using) or re-freeze any left-overs and let soften slightly before enjoying!

*This recipe is my entry for Event by Archana’s Kitchen – Summer Fiesta

Share this recipe: