Tag: quickfix

Skinny Banana Chocolate-chip Dutch Baby

Skinny Banana Chocolate-Chips Dutch Baby4

I know I went MIA AGAIN and you must think that I do not take the blog seriously but in my defense, life happened. It so happens that life loves to throw unlikely surprises my way! So what happened you ask… Well, my in-laws arrived in town 3 weeks back and due to the super-dramatic climate-change here, both caught Mono. Next in queue was my hubby dearest!

So in the midst of house-work and multiple visits to the clinic on daily-basis, I could squeeze in time to blog only 2 previous recipes. I was definitely active on social media. I did check-out what my other blogger friends were writing about but I did not have patience to write down a recipe or to edit pictures for the post. It’s not like I did not have recipes to post or I was not cooking. In fact, I was cooking more regularly than ever! At least 3 different meals were being prepared on a daily basis. And now that everyone is fit and fine, I’m going to take a little breather from home-cooking and going to eat-out little bit more and of course, start posting here regularly!

Skinny Banana Chocolate-Chips Dutch Baby1

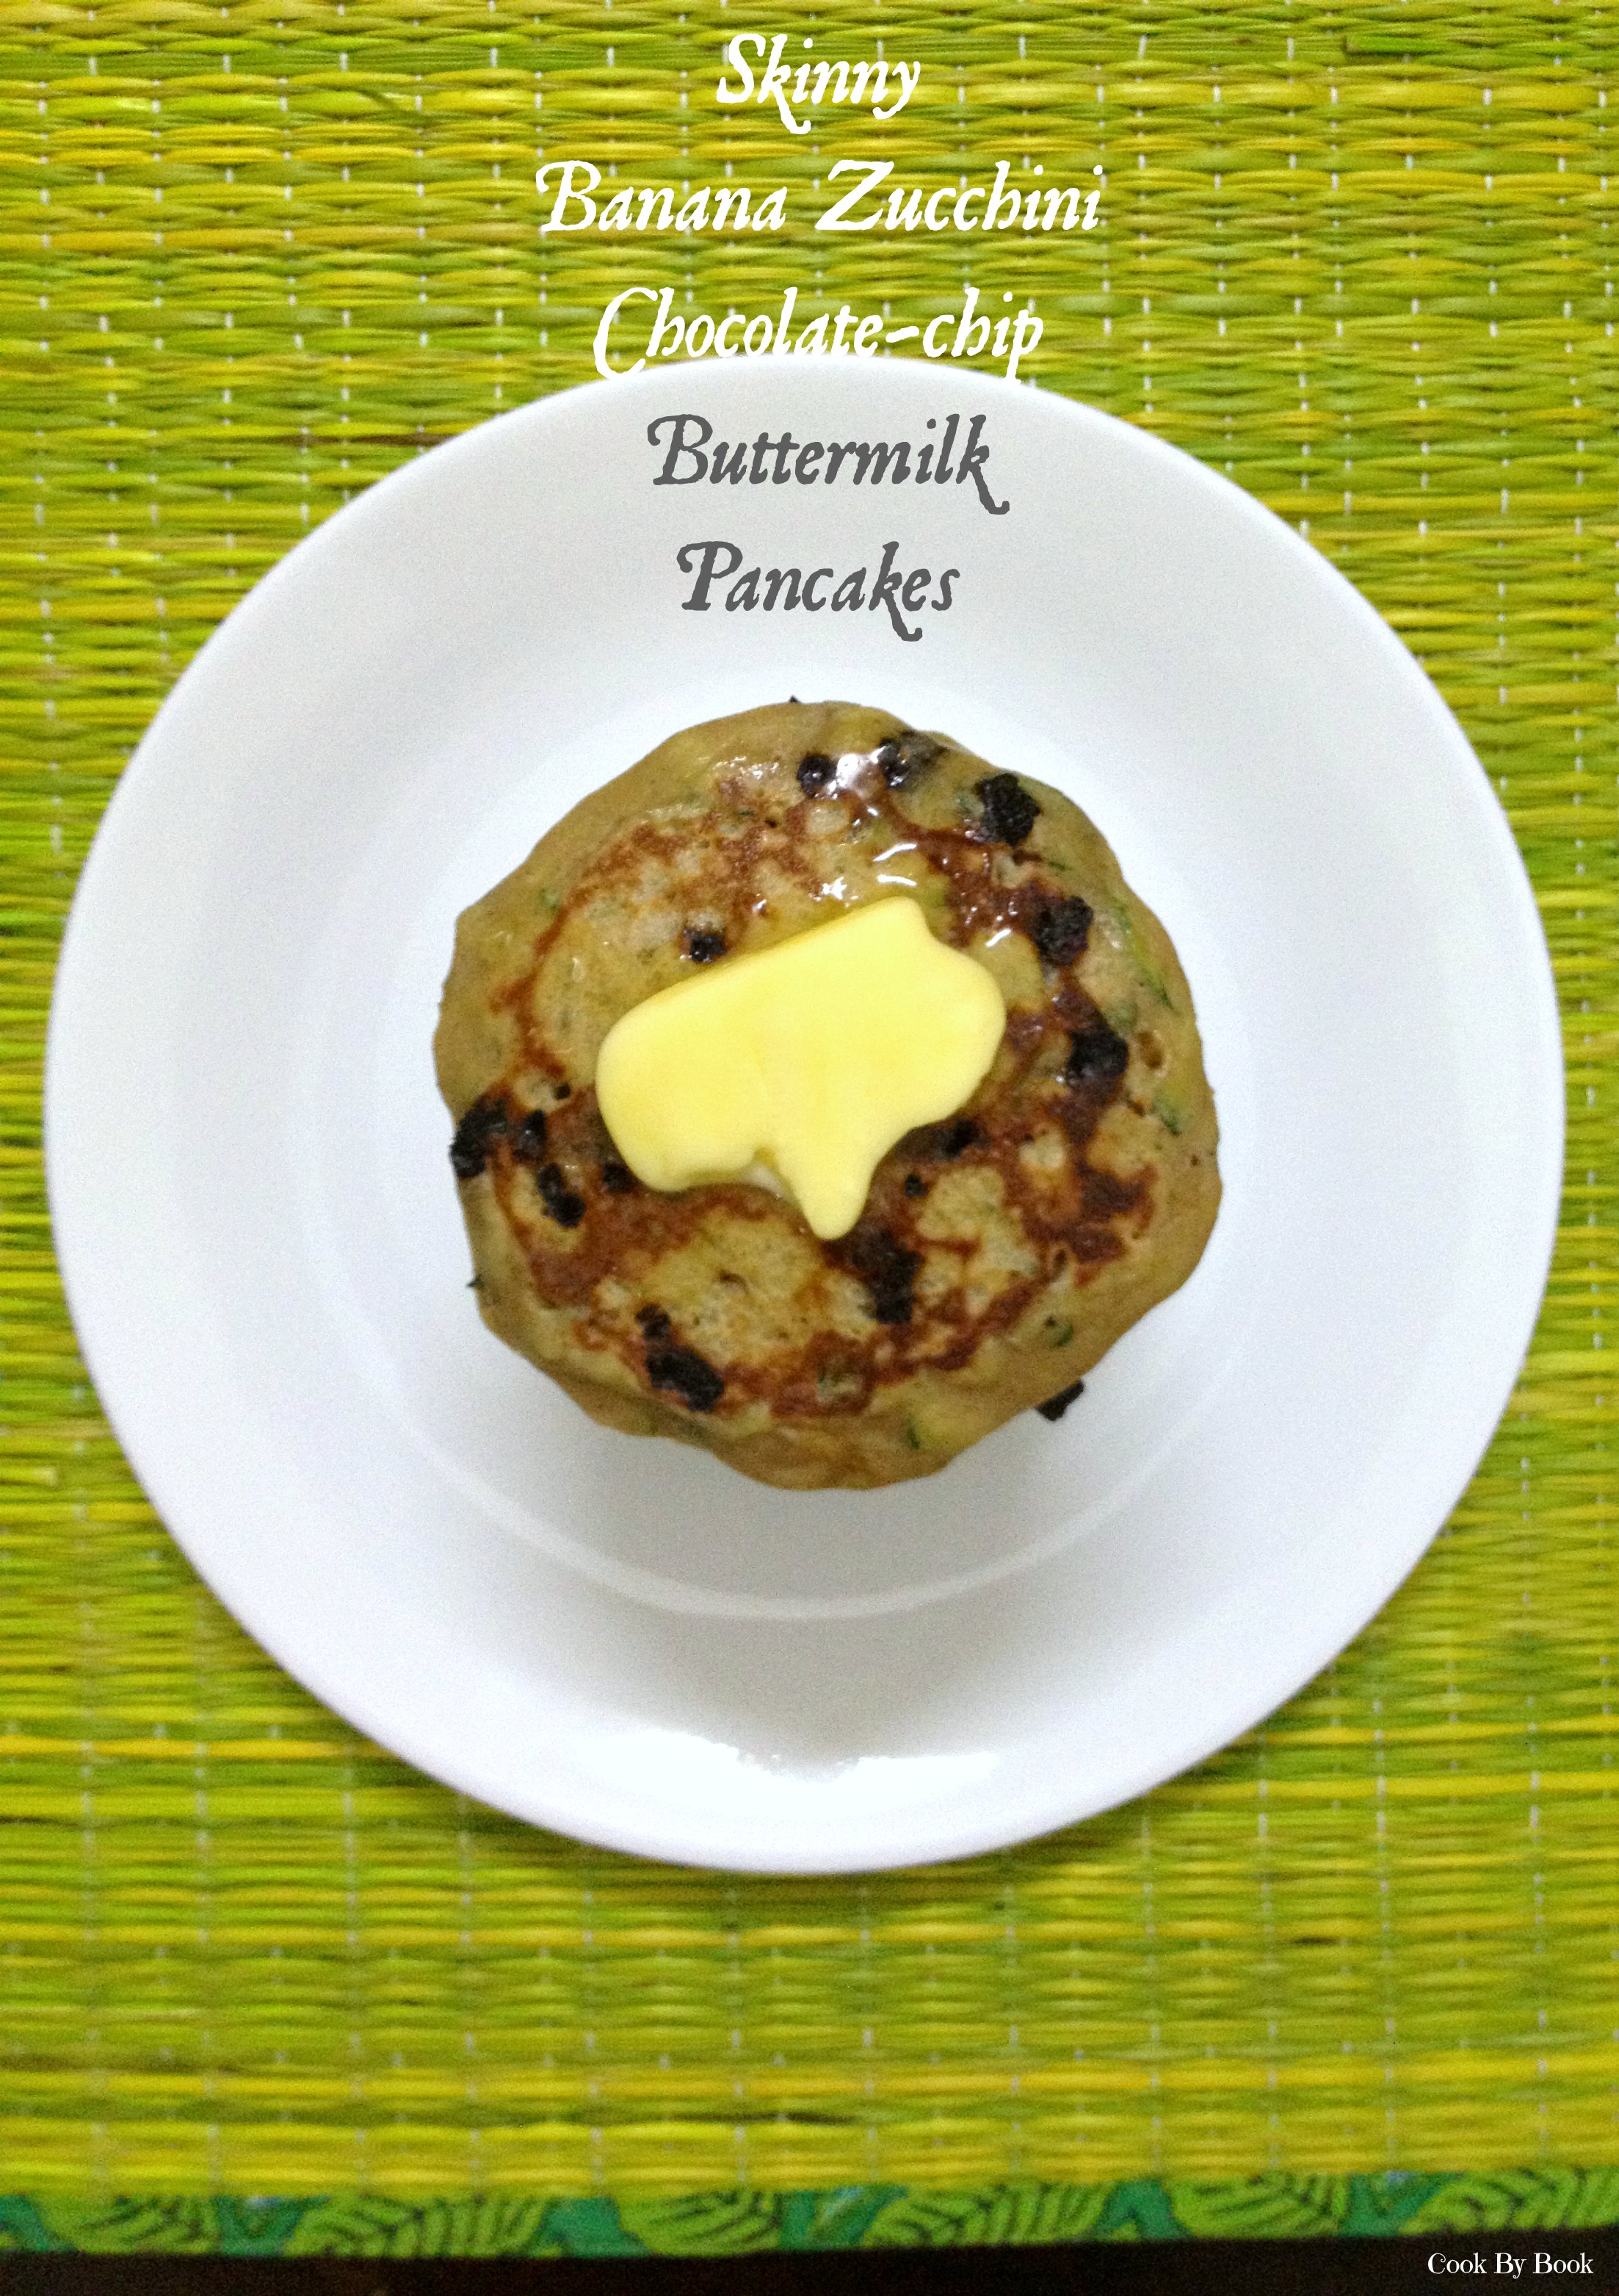
I bring you today another easy skinny pancake recipe. It is perfect for breakfast or Brinner, serves a small family perfectly that too without the hassle of flipping individual pancakes! You know I’m lazy and love quick-fixes more than anything right?! 😉

The Dutch Baby is another name for German pancake which is baked in a cast-iron skillet or a metal pan and its puff falls soon after being removed from the oven. This pancake is ready in a record time of 20-25 minutes from start-to-finish! Made with minimum ingredients, this is a perfect recipe for days when your refrigerator has scarce ingredients. You just need 2 eggs, little flour, some milk and 1 banana to be in business! Rest of the ingredients are your usual suspects.

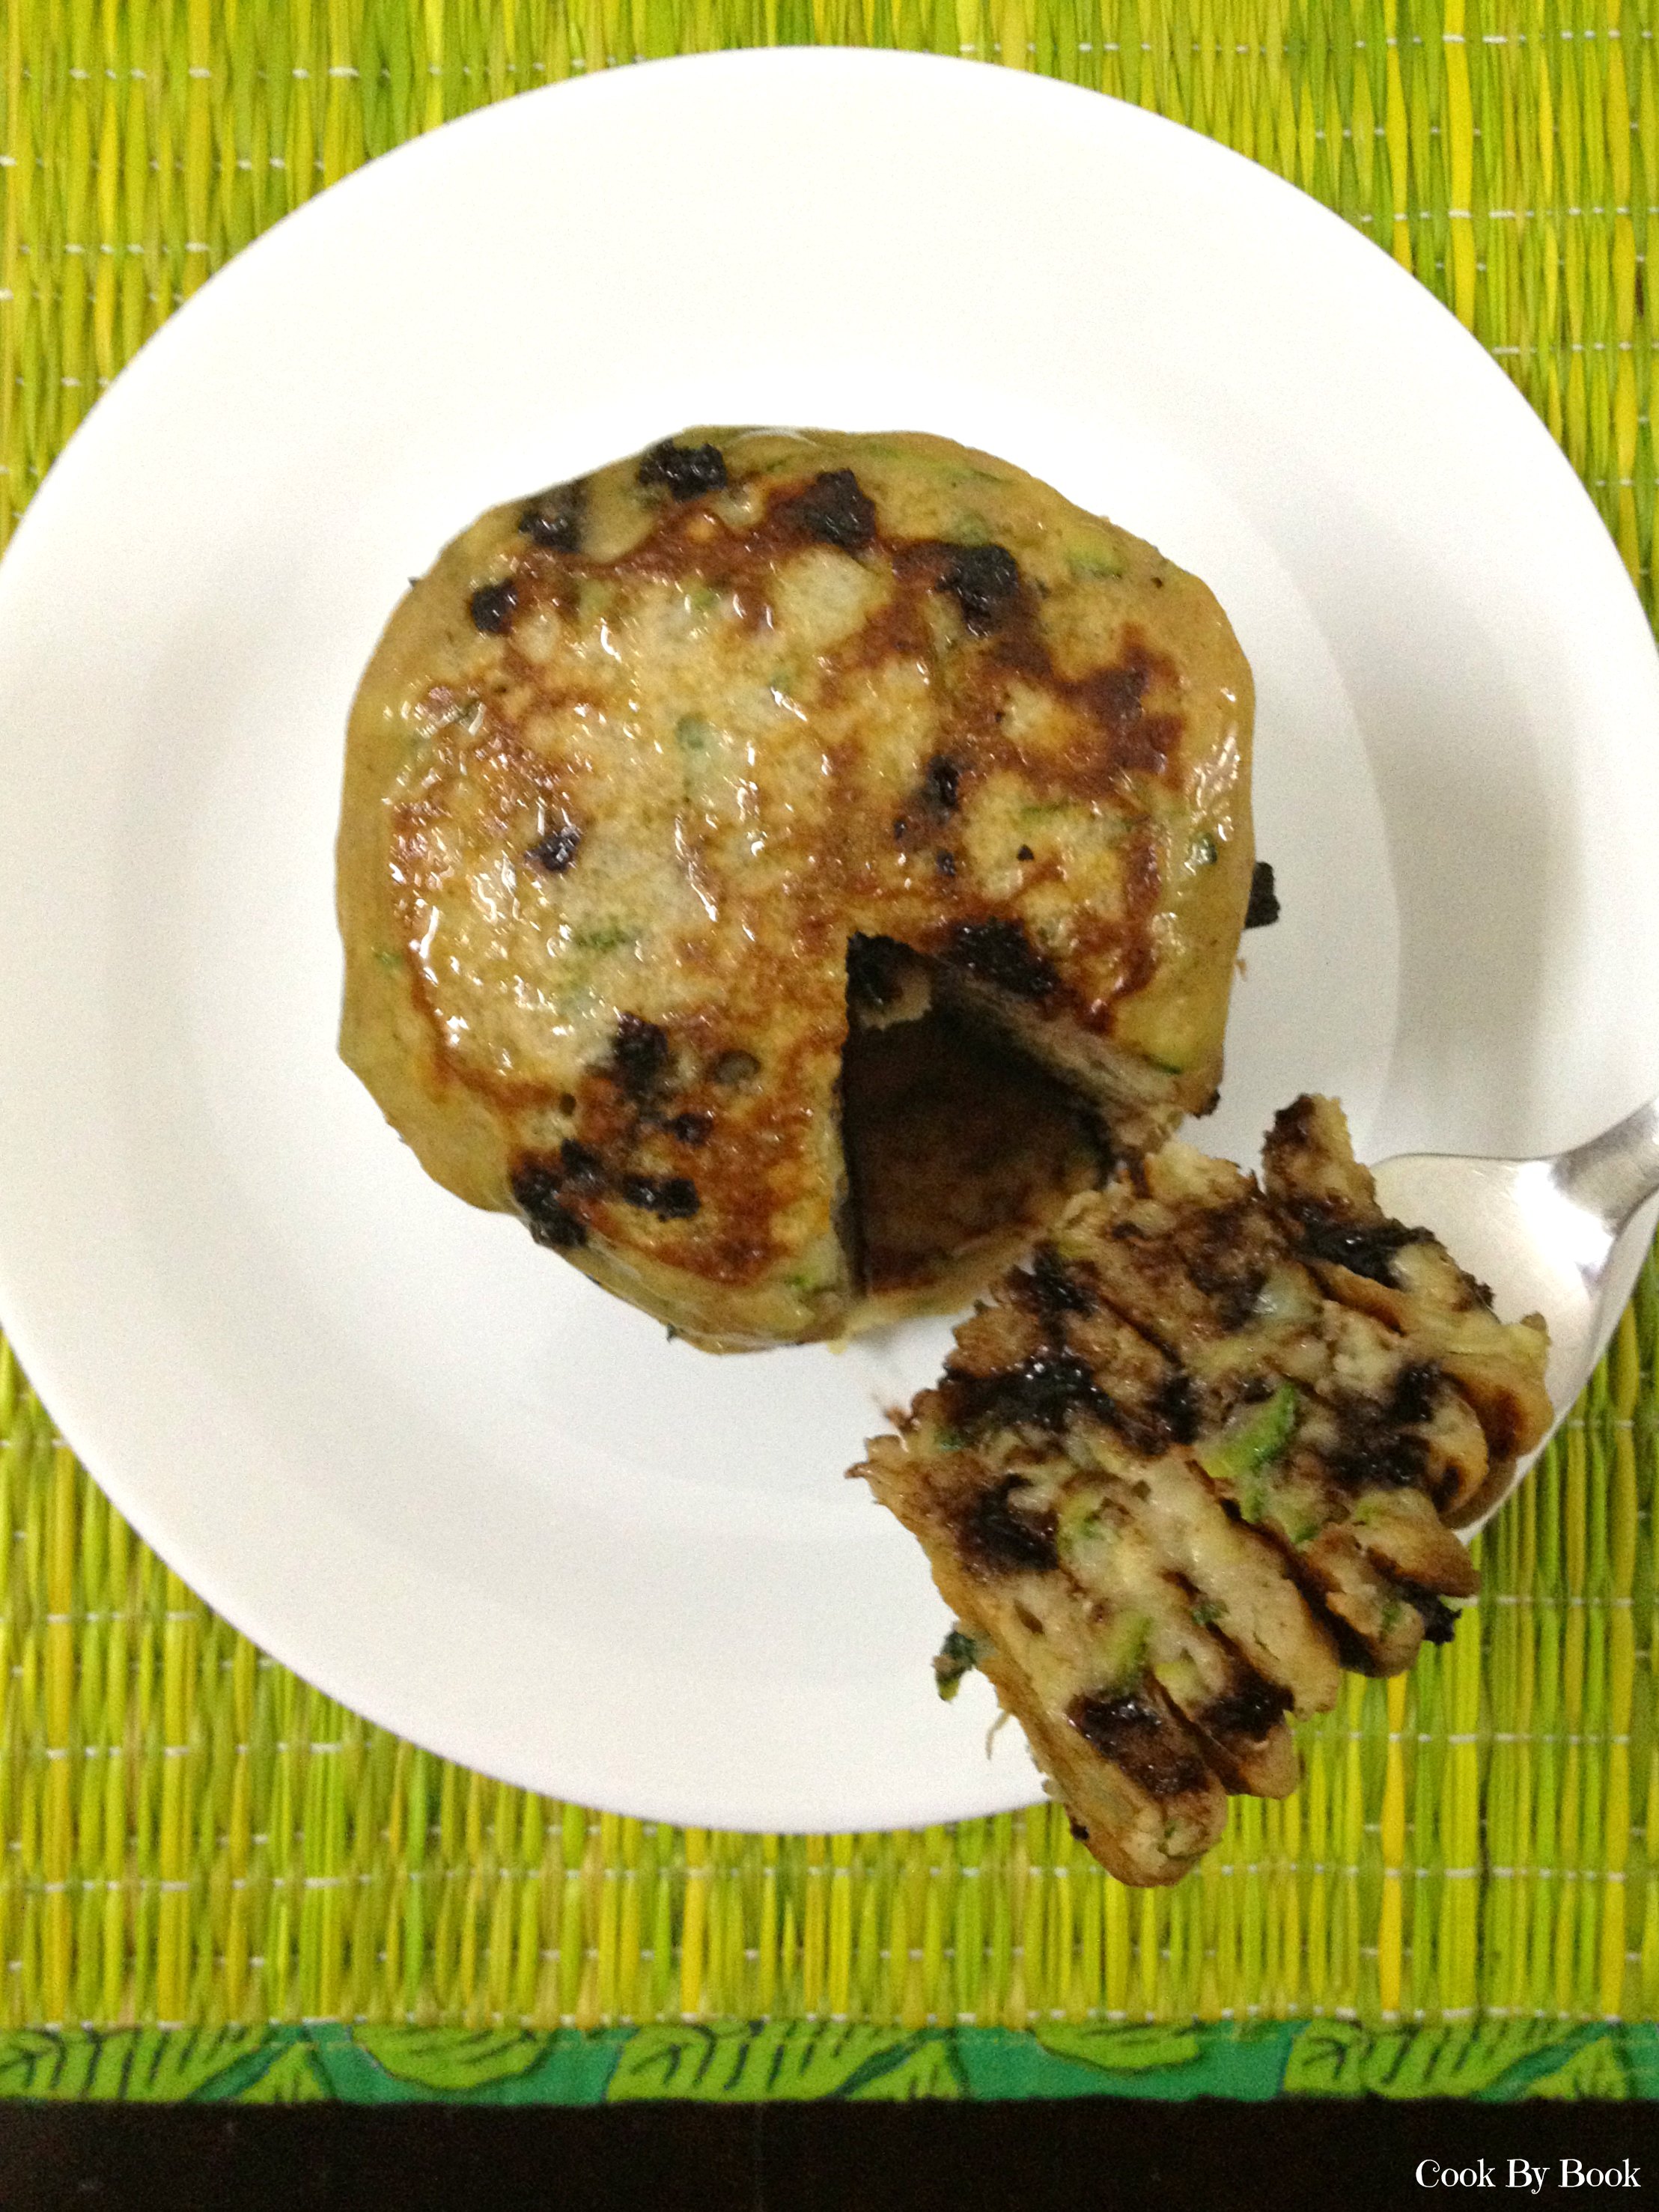
I do not own a cast-iron skillet so I baked this in a 10-inch metal pan I have. Brown sugar, banana and cinnamon is a match made in heaven. The result is perfectly caramelized banana topped pancake topped with chocolate-chips. Your house is going to smell delicious for next few hours! Whattay way to start mornings or end work-laden days! Enjoy! 🙂

Skinny Banana Chocolate-Chips Dutch Baby2


Skinny Banana Chocolate-Chips Dutch Baby3

Skinny Banana Chocolate-chip Dutch Baby

Makes: 1 big Dutch Baby | Prep time: 5 minutes | Cook time: 15 to 20 minutes

Ingredients:

  • 1 banana thinly sliced
  • 1 Tbsp unsalted butter
  • 2 large eggs
  • 1/2 cup milk (skim milk, soy milk or almond milk)
  • 2 or 3 Tbsp brown sugar
  • 2 tsp vanilla extract
  • 1/2 cup whole wheat flour
  • 3/4 tsp ground cinnamon
  • Pinch of salt
  • 2-3 Tbsp dark chocolate chips (Use more as per your liking)
Directions:
  1. Preheat the oven to 425 F.
  2. Prepare a 9-inch oven-safe skillet by spraying with cooking spray or greasing it. Place butter in the skillet. Put skillet in the oven to melt the butter. You can do this while oven is still in preheating mode. Once butter has melted, in about 2-3 minutes, remove the skillet from the oven and set aside.
  3. In a large bowl, add eggs, milk, sugar, vanilla and whisk to combine.
  4. Add the flour, cinnamon, salt and whisk until smooth and free from lumps.
  5. Pour the batter on to the skillet and evenly top with banana slices. Sprinkle the chocolate chips evenly and bake for 15-20 minutes until golden and puffy. Mine was ready in 15 minutes.
  6. Slice and serve optionally with a dusting of powdered sugar or a pour from maple syrup.
Share this recipe:

Skinny Banana Zucchini Chocolate-Chip Buttermilk Pancakes

Skinny Banana Zucchini Chocolate-Chip Buttermilk Pancakes1

Such a long title… huh?!

Don’t get scared!

Today’s recipe is just filled with way too many nice things! 🙂

I love my breakfast so much! That is the best meal of the day for me.. I love it so much that we usually end up having breakfast-for-dinner more often than I would like to admit… not that I’m complaining! I had made these pancakes on one of such nights. They were so so so good!

These healthy yet delectable pancakes are laden with chocolate-chips. Mashed banana and shredded zucchini are folded into the batter for a nutritious breakfast treat. These taste best served the traditional way with butter and maple syrup. If you’re even more calorie-conscious then use the light butter or skip it completely but maple syrup is a must. Because there is hardly any sugar added in the batter itself.

These pancakes have no eggs or butter in them.

Yup… Zero. Zip. Zilch. 😉

They are still quite fluffy, soft and aerated because of these ingredients ~ banana and buttermilk-baking soda. They create magic and make these pancakes possible without addition of butter or eggs.

Skinny Banana Zucchini Chocolate-Chip Buttermilk Pancakes2

Not a zucchini fan? Worry not… Banana successfully masks the tasteless zucchini for you! Trust me… these pancakes will rock your world!

They are so easy to whip up and hardly requires any prep time. The recipe makes enough for a small family and if you’ve any spares than freeze them for quick grab-n-go breakfast! I’m a zucchini fanatic so I love to have them about any time of the day! 😉

So go grab some zucchinis before they disappear!

Skinny Banana Zucchini Chocolate-Chip Buttermilk Pancakes3

Banana Zucchini Chocolate-Chip Buttermilk Pancakes

Yields: around 15 pancakes (4-inch size) | Prep time: 10 minutes

Ingredients:

  • 1 + 1/2 cup shredded zucchini
  • 1 + 1/4 cup whole wheat flour
  • 1 tsp baking powder
  • Pinch of baking soda
  • Pinch of salt
  • 1 tsp ground cinnamon
  • 2 very ripe bananas, mashed with fork
  • 3 Tbsp brown sugar (dark/light)
  • 1 + 1/2 cup buttermilk
  • 1 tsp vanilla extract
  • 3/4 cup dark chocolate chips
  • butter, for greasing the skillet

Directions:

  1. Put shredded zucchini in a cheese cloth or muslin cloth and give it a good squeeze to remove extra liquid.
  2. In a large bowl, whisk together flour, baking powder, baking soda, salt and cinnamon.
  3. In a separate bowl, whisk the mashed bananas, sugar, buttermilk and vanilla together.
  4. Make a well in the center of the dry ingredients and pour in the wet ingredients. Stir to combine and then fold in zucchini.
  5. Heat a large non-stick or cast iron skillet over medium-low heat and grease with butter. Work in batches. pour scant 1/3 cup batter for each pancake into the skillet and sprinkle the uncooked top all over with chocolate-chips. When the edges begin to look dry and cooked and bubbles dot the top, flip and cook until golden on the other side.
  6. Serve hot with butter and maple syrup.
Share this recipe:

Strawberry Fool & DIY Chocolate Cups

I hope to write a small post! Is that even possible? Humph.. Let’s try and see..

I’m writing about this easiest dessert ever today… It is an English classic! I’m talking about Strawberry Fool.. The name says it all! It is so simple that any fool should be able to make it! No kidding 😀

Strawberry Fool1

The fool ~ this dessert is nothing but sweetened fruit folded into stiffly peaked and slightly sweetened whipped cream. THAT IS IT! Berries work perfectly for this dessert, especially strawberries. Kiwi and rhubarb would be a nice twist too.

For serving my fool, I made heart-shaped chocolate cups! Do you remember my post “Brownie Bombs“? I had mentioned in that post that even after coating all the cake pops generously I still had some left-over melted chocolate. I had to think on my feet… How to turn this left-over melted chocolate into something amazing and this impromptu idea came to my mind. Very easy to make. All you need is silicone cupcake liners.

Chocolate cups are so easy to make that once you’ve started, it is difficult to stop. You’ll find yourself stuffing them with all sorta yumminess out there! Imagine your favorite peanut butter, ice-creams, mousse and cheesecake served in these edible chocolate cups. Now no need to lick the plate!

Strawberry Fool & DIY Chocolate Cups1
DIY chocolate cup seated on my DIY cupcake stand!

Don’t overfill the cups with fool like I did! 😛

Chocolate and strawberries are match made in heaven. So serving strawberry fool in a chocolate cup makes for a perfect and elegant party-dessert. Chocolate cups can be made ahead and stored in refrigerator for months and strawberry fool is a no-cook, no-nonsense dessert. Perfect for last-minute dessert-fix or midnight-cravings!

P.S. I’m sorry but I do not have step-by-step photos for chocolate cups. As you can imagine my kitchen and hands were covered in chocolate. 😛 But do not worry. These are easy-peesy to make and you will not require my horrible photographic skills to show you that.

DIY Chocolate Cups:

Yields: 4 cups

Ingredients:

  • 50 gm dark chocolate*, melted
  • 4 silicone cupcake liners, frozen for 5 minutes
  • small sheet of grease-proof baking paper

Directions:

For detailed information on how to melt chocolate: Refer to this post

Method-1:

Dip the outer surface of the silicone liner into the melted chocolate. Remove the excess chocolate by giving the liner a slight shake. Ensure that the chocolate coats the liner evenly. Upturn the liner and place it on grease-proof baking paper. Refrigerate for 10 minutes.
Dip the liner again in the melted chocolate to get a thicker layer of chocolate and refrigerate again. Repeat these steps to make 3 more cups.
Once cool, separate the chocolate cups from silicone liners slowly and carefully. Refrigerate till the time of use.
Method-2: For this method a small paint brush will be required.

Paint a thin layer of chocolate onto the inside of each cupcake liner. Refrigerate them for 10 minutes.
Paint a second thin layer of chocolate on top of the first layer and refrigerate for another 10 minutes.
Carefully pop the chocolate cups out of the liners. Refrigerate till the time of use.

* Feel free to use white chocolate or mix of dark and white chocolate.

Strawberry Fool:

Yields: 4 servings | Prep time: 10 minutes

Ingredients:

  • 6 large frozen strawberries, hulled and thawed
  • 3 Tbsp caster sugar
  • 1 cup fresh cream (medium fat 40%), chilled
  • For garnish: 2-3 strawberries, sliced or any cookie of your choice, crumbled

Directions:

  1. Chill mixing bowl and beater in freezer for 5 minutes.
  2. In a food processor, blend strawberries to a smooth puree. Mix 2 Tbsp sugar in the puree and set aside.
  3. Remove mixing bowl and beater from freezer. Add fresh cream to the mixing bowl and whisk. Gradually add 1 Tbsp sugar to the cream and whip till you get stiff peaks.
  4. Fold the strawberry puree in to a whipped cream until nearly incorporated, leaving a few streaks of whipped cream and strawberry puree. Divide the mixture among 4-chocolate cups. Serve immediately garnished with strawberry slices/cookie crumble or refrigerate for up to 2-3 hours.

P.S. Writing a short post requires a skill I don’t seem to possess! Have a happy weekend! 🙂

Share this recipe:

Skinny Potato & Leek Soup

Potato & Leek Soup1

I want to make a confession. This is a very simple and classic soup. There… I said it! I am not bringing you some fancy-schmancy recipe today. Just an old classic… Flavored as per my liking and made skinny of course! I didn’t even want to post this recipe for its sheer simplicity. But the flavors were so bang on that I had to bring it forward to you guys!

This soup is so hearty that it is a complete meal in itself. Make this on a cloudy, rainy, grey, cold evening, have it curled up under a blanket and it won’t disappoint you! The aroma of the soup will soothe your mind and soul. It will love you back! (Really!!!) I made this on one such rainy Saturday afternoon and it did hug me back! 🙂

This recipe is inspired by Jamie Oliver‘s book Ministry Of Food. He says that this soup is also surprisingly delicious eaten fridge-cold on a summer’s day with a squeeze of lemon juice and a dollop of natural yogurt. I would love to try it this way too! But I might have to wait for the next summer to arrive…

All the ingredients used in this soup are very earthy… just like rain. Leek is a dominant flavor in here.  While celery adds a nice boost of flavor, carrot adds a touch of sweetness and potatoes give it a creamy texture. I would recommend not skipping onion powder and thyme for a complete experience.

Potato & Leek Soup2

Make this soup and bask in the serenity of warmth the soup surrounds you with!

Skinny Potato & Leek Soup

Serves: 2-3 | Prep time: 5-7 minutes | Cook time: 30 minutes

Ingredients:

  • 1/2 tsp olive oil
  • 2 cloves garlic, minced
  • 1 leek
  • 1 carrot, peeled & sliced
  • 1 stick celery with leaves, sliced
  • 1/2 tsp onion powder
  • 1/2 tsp dry thyme
  • 600 ml vegetable stock
  • 2 large potatoes, peeled & diced
  • salt & pepper, as per taste

Directions:

*Preparing Leek : Cut the ends off leek and discard. Quarter the leek lengthwise, wash under running water to remove all the grit and cut them into slices. Save a 2-inch piece from the end of leek and julienne it for garnishing.

  1. Heat a deep sauce pan on a high heat and add olive oil to it. Add garlic, leek, carrot and celery to the pan and sauté for around 5 minutes with the lid askew on a medium heat.
  2. Add onion powder, thyme and vegetable stock to the pan. Let it simmer on high heat till the stock has come to a boil.
  3. Add potatoes and give the soup a good stir with wooden spoon. Reduce the heat and let it simmer for 10-15 minutes with the lid on. At this point the potatoes would be just cooked and soft. Do not overcook them.
  4. Remove the pan from the heat. Season with salt and freshly cracked pepper. Pulse until smooth using a hand blender. Adjust the seasoning and consistency as per your liking. Serve garnished with julienned leek.
Share this recipe:

Microwave Chocolate-Nutella Mug-Cake

Microwave Chocolate-Nutella Mug-Cake1

It was a conscious decision to stay-away from this dangerous mug-cake only because of its sheer convenience. I did not need a confirmation that I can make this cake whenever chocolate-cravings hit me.

As all our resolutions come to an end sooner or later, on a particularly depressing morning, I caved in! And it definitely lifted my spirits up instantly! Yaay for broken resolutions! I’m totally hooked to this one and will be definitely trying different versions! 😛

I know there are infinite versions of mug-cakes floating on the web since 2-3 years and I did check out many of them. But I had a few things in mind about how I wanted this cake to be so I ended up making my own version of this sinful dessert. For one wanted this cake to be eggless and a wee-bit healthier so that I don’t feel too much guilty about gobbling it up.

Another criteria was a perfectly soft, moist and fluffy cake. I can’t tolerate dry crumbs. But microwave especially has a tendency to snatch away moisture and make everything dry. So timing here is a key. Do not over-cook it. Check it after 1 minute + 10 seconds. If not done then cook for another 10 to 20 seconds.

It will take you more time to assemble all the ingredients than for it to actually cook! Perfect for unusual cravings or unexpected company! It would be ready in a jiffy! For it to look more posh, make it in a fancy tea-cups/Ramekins and serve it with ice-cream or whipped cream with fresh fruits. Add anything else you want in the batter like chopped nuts, dark/white chocolate chips, butterscotch chips, dried fruits, M & Ms, sprinkles… Tini-tiny pieces of delicious surprise in every bite! Pure happiness!

Microwave Chocolate-Nutella Mug-Cake2

Mouth-watering? Read on to find out how it’s done. Be warned ~ it’s addictive!

Microwave Chocolate-Nutella Mug-Cake

Serves: 1 | Prep time: 2 minutes | Cook Time: 1 to 1 1/2 minutes

Ingredients:

  • 3 Tbsp whole wheat flour
  • 2 Tbsp powder sugar
  • 2 Tbsp unsweetened cocoa powder
  • 1/4 tsp baking soda
  • 1/4 tsp salt
  • 2 Tbsp extra-virgin olive oil
  • 3 Tbsp milk
  • 1 Tbsp Nutella
  • 1/2 tsp vanilla extract
  • M & Ms for topping or 1 Tbsp dark chocolate chips

Directions:

  1. In a medium-sized microwave-safe mug/ramekin add flour, sugar, cocoa powder, baking soda and salt. Whisk with fork until combined.
  2. Add oil, milk, Nutella, vanilla extract and mix with a fork until no lumps remain in the batter.
  3. Sprinkle top of batter with M & Ms or chocolate chips. Microwave on high for 1 to 1 1/2 minutes. Mine was done in 1 minute + 10 seconds so check at that mark and if it is not cooked through then let cook for another 10 to 20 seconds. Be careful as you don’t want a dry cake. Sprinkle with powdered sugar and serve immediately.
Share this recipe: