Tag: Dessert

Fresh Mint and Chocolate Chunks Ice-cream

Hello beautiful people.. I hope you all enjoyed my yesterday’s ice-cream post!

But if you have not read my previous post then let me tell you that I am doing an ice-cream week on the blog and I am going to post super-easy ice-cream recipes which does not require the use of ice-cream maker! Week-long of deliciousness! Excited??!! I really am… Imagine 7 beautiful ice-cream treats for 7 days of the week! 7 gorgeous flavors! Yup.. I’ll be blogging continuously for 7 days! Anything for you guys! 🙂

Fresh Mint & Chocolate Chunks Ice-cream1

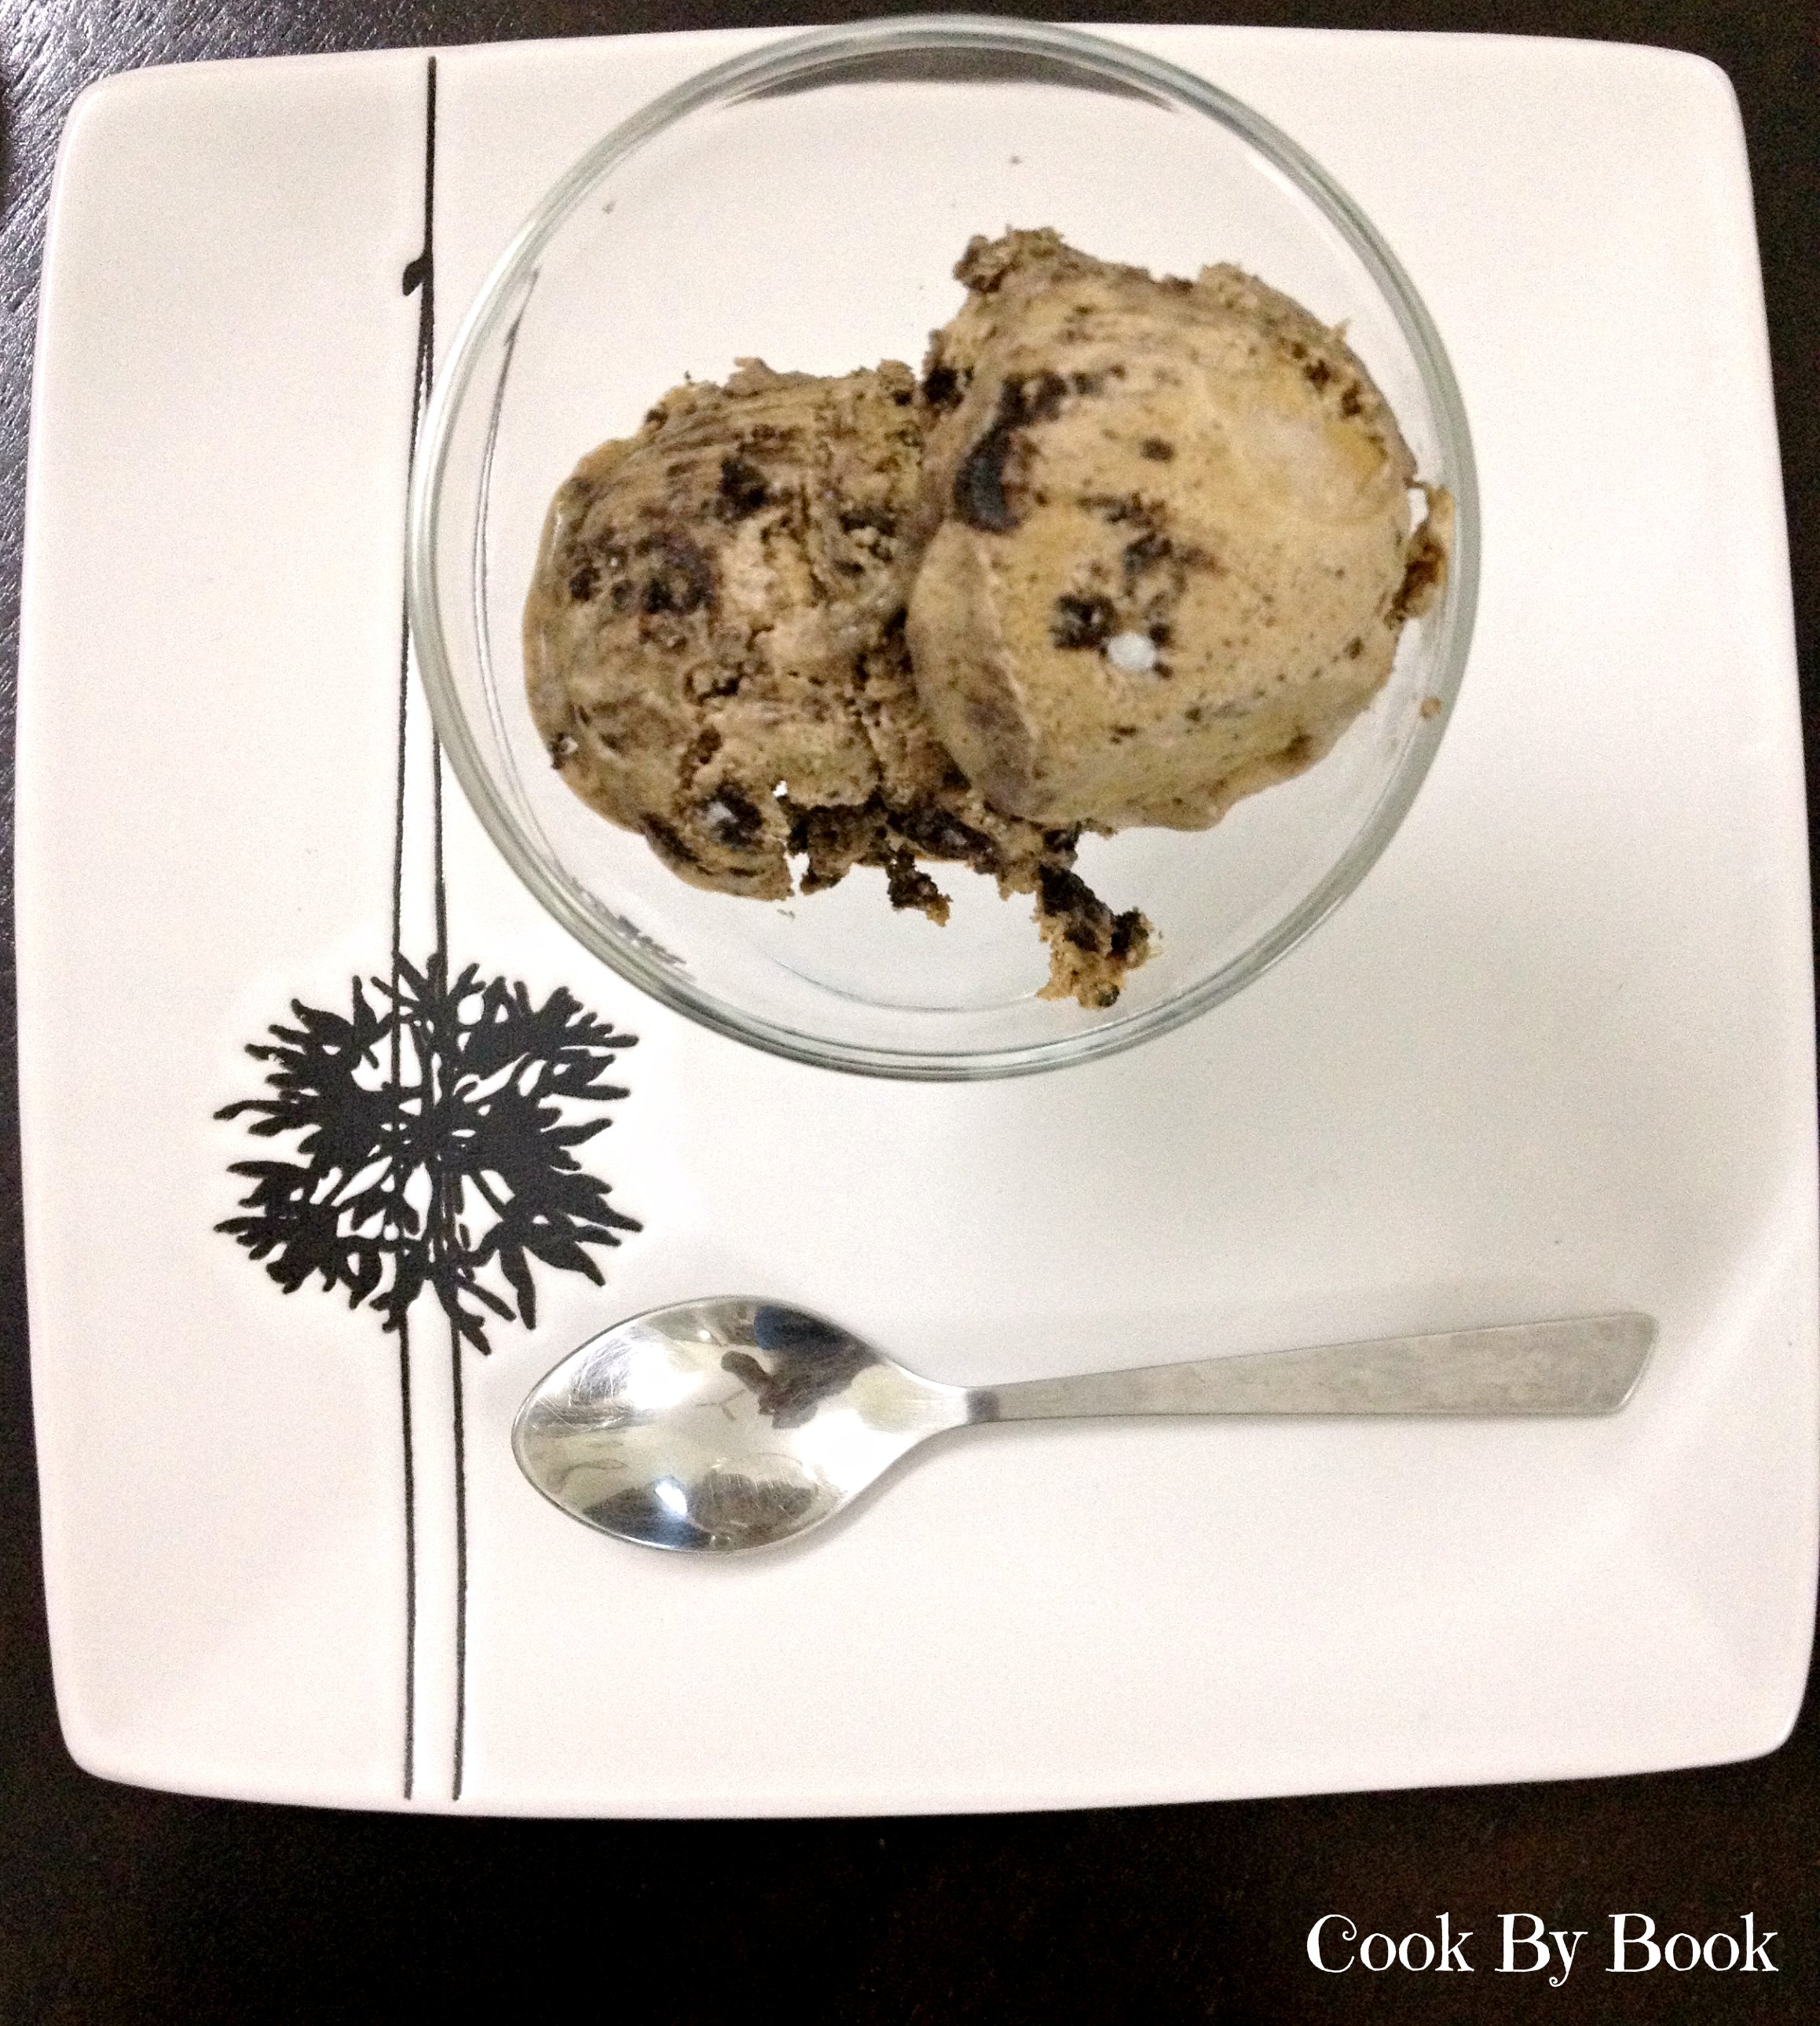
So keeping up with this week’s ice-cream theme, I have got you a Fresh Mint and Chocolate Chunk Ice-cream… Sounds refreshing right? Feeling of cold running down your spine while having the first lick of this ice-cream is what you should expect and nothing less! That too made with fresh mint.. No mister, no mint extract involved here!

Mint and chocolate is a match made in heaven! This is one of my favorite ice-creams to have in summer… Love the splash of green it has! I know… Girls and colors!!! 😉

If you do not like green color, no worries, simply omit it as it is only for the visual effect! But I bet your kiddos or kids in you will love it!

Large chunks of chocolate really compliments cool mint, mellows down the flavor and yet packs a punch!

Fresh Mint & Chocolate Chunks Ice-cream2

So you would be curious as in how did I manage to extract so much flavor from fresh mint without adding even a drop of mint extract? Actually it was very simple! I added mint leaves to the cream and let it sit in the refrigerator for around 4 hours. Kind of let the mint marinate the cream and after 4 hours you get the base for your ice-cream! Dang easy!

Whip this cream with a drop of green color and add as many chocolate chunks as you like to it, hide it in freezer for 4-5 hours and it’s ready to be devoured!

Fresh Mint & Chocolate Chunks Ice-cream3

Just a 4-ingredient treat!

Fresh Mint and Chocolate Chunks Ice-cream

Yields: around 12-14 scoops

Ingredients:

  • 2 cups fresh medium fat cream (40% fat)
  • 2 large handfuls of mint leaves
  • 3 Tbsp caster sugar
  • 1 drop of green food color (optional)
  • 1 cup dark chocolate chunks (I like lots of it, you can use less)
  • chocolate sprinkles and/or chocolate sauce, to garnish

Directions:

In a bowl, add mint leaves to the cream and place it in a refrigerator for at least 4 hours. Use sieve and strain the cream in another large bowl to separate mint leaves. Add sugar and food color to it and whip using a electric mixer till you get a light and fluffy mix. Fold in chocolate chunks and spoon the mix in airtight container. Freeze it for 4-5 hours and serve it as is or with chocolate sprinkles or chocolate sauce.

Tips:

*When serving leftovers, remove container from freezer about 15 minutes before serving to soften.

*Dip your ice-cream scoop in a warm water for scooping out the ice-cream easily.

Share this recipe:

No-Churn Coffee and Nutella Ice-cream with Oreo Chunks

Coffee & Nutella Ice-cream with oreo Chunks3

I am soooo thrilled to host a ‘No-Churn Ice-cream Week’ on my blog! This is going to be a first hand experience for me to be blogging around one theme throughout the week. Challenge accepted!

I love ice-creams and I love to experiment with different flavors which can be made without investing into an ice-cream maker. I bet you would too! I mean… come’on… who wouldn’t like a bowl full of this home-made goodness when it is so easy to whip up! Plus, you know what has gone into making of this ice-cream so perfectly safe for your kiddos! Give them as much as they wish to eat! 😉

Coffee & Nutella Ice-cream with oreo Chunks2

Coming first in this series is Coffee & Nutella Ice-cream with Oreo Chunks… Oreos and Nutella are kids’ favorite and a kick of caffeine will make it gratifying for adults too.. So all in all it is a win-win-win for everyone!

Coffee & Nutella Ice-cream with oreo Chunks1

The ice-cream has only 4 ingredients! Don’t believe me? Believe me!… Only 4 ingredients… Okay if you count few droplets of water as an ingredient then 5!

You might have all these ingredients already in your pantry so no extra trip involved to supermarket! So whip this up right away and surprise your kid with it when he is back from school, treat your hubby with it when he is returns from office or just pamper yourself!

Oh… Forgot to list another advantage! No extra sugar required to be added as Oreos and Nutella already have enough sweetness to it. Plus, the cream used here is medium fat so the resultant ice-cream is light and does not taste too rich.  Soooo Deee-liish! 🙂

Coffee & Nutella Ice-cream with oreo Chunks4

No-Churn Coffee & Nutella Ice-Cream with Oreo Chunks

Yields: around 20 large scoops of ice-cream

Ingredients:

  • 3 Tbsp instant coffee powder
  • 2 Tbsp hot water
  • 2 Tbsp Nutella, at room temperature
  • 500 ml medium fat cream (approx 40% fat)
  • 20 Oreo cookies, chunks
    (I used combination of choco-creme and plain sandwich Oreo cookies)

Directions:

In a large bowl, add hot water to instant coffee-powder and dissolve coffee completely. Add Nutella and cream to this and whip till you get a light, fluffy mix and soft peaks form in the mix.

Oreo chunks to this mix (In a zip-lock bag, add Oreo cookies and use roller-pin to form chunks). Fold in Spoon the mixture in a airtight container and freeze for 4-5 hours. Your ice-cream is ready to be gobbled up!

*Use electric whipper for your convenience and if your are whipping with hand, all the best, your muscle strength will be definitely put to test! 😉

Share this recipe:

Mountain Dew Cupcakes with Mountain Dew Buttercream Frosting

Mountain Dew Cupcakes3

Nowadays I am baking practically everyday!!! I have become a baking fanatic! 😉

I have been mentioning in all my recent posts about how its Summer already and this year around Bangalore has become a magnet for scorching heat!!! I am exhausted! All I wanna do is drink anything and everything from refrigerator and sleep under a fan. I wish!!! A girl can dream, right?! 😉

But my crazy work hours forces me to get out of the house at 1 in noon when its especially terrible.. I am not a morning-person so the timing suits me perfectly but I can’t take this torturous heat anymore! HELP… Is anyone listening to me?! I guess not!!

I seem to have no option other than cribbing in front of you guys and this is when baking came to my rescue! I am baking all refreshing treats which can be eaten chilled! So if you are facing same problem as me then summon your spatulas and heat up your oven! We will face the sun with smile on our face! And don’t forget to whip it good! 😉

Today I am sharing with you all my recipe for Mountain Dew Cupcakes with buttercream frosting. These have a very prominent flavor from Mountain Dew but not over the top.

Mountain Dew Cupcakes1

There is lemon and lime juice and zest in both the batter and frosting, giving them a good kick. The cupcakes are soft and moist. The frosting is velvety and buttery. And they’re perfect for toting along to picnics and cook-outs all summer long!

Mountain Dew Cupcakes2

Serves: 6

Ingredients:

Mountain Dew Cupcakes

  • 1/4 cup butter, softened to room temperature
  • 1/4 cup sugar
  • Zest from 1 lemon
  • Zest from 1 lime
  • 1 egg
  • 3/4 cup all purpose flour
  • 1/2 tsp baking powder
  • 1/8 tsp salt
  • 1/4 cup Mountain Dew
  • 1 Tbsp lemon juice
  • 1 Tbsp lime juice
  • 1/4 tsp pineapple extract

Mountain Dew Buttercream Frosting

  • 1/4 cup butter
  • 1/3 cup powdered sugar
  • 1 Tbsp Mountain Dew
  • 1/2 tsp lemon juice
  • 1/2 tsp lime juice
  • zest from half a lemon
  • zest from half a lime
  • light green food coloring

Directions:

  1. Preheat the oven to 350ºF/180ºC. Line a 6-count muffin tin with paper liners. Set aside.
  2. In a small bowl, whisk together flour, baking powder and salt. In a small cup, stir together Mountain Dew, lemon juice, lime juice and pineapple extract.
  3. In a large bowl, cream together butter and sugar. Add lemon and lime zest and then add egg, give it a good whisk.
  4. Add half of the dry ingredients to the batter. Stir in the wet ingredients and finish off with the rest of the dry ingredients, mixing until just combined. Do not over-mix.
  5. Fill each baking cup 2/3 of the way full. Bake for 15-17 minutes, or until a toothpick inserted in the center comes out clean. Let cupcakes rest in muffin tin for a few minutes before removing. Transfer to a wire rack to cool completely before frosting.
  6. For the frosting: Cream together butter and sugar. Add mountain dew, lemon juice, lime juice and zests. Stir in one or two drops of food color. Add more sugar if required depending upon the consistency and whisk. Frost the cupcakes once they are completely cool.

Share this recipe:

Margarita Cupcakes

Margarita Cupcakes2

Anyone for a Margarita? Oh, Yeah! And anyone for Margarita cupcakes? Hell, Yeah!!! Monday night does not get any better than this! I mean, what’s not to like?

Cupcakes + Margarita = Match made in Heaven!

These cuppies are made from scratch. No cake box involved. The homemade margarita cupcakes are perfectly soft, fluffy, and bursting with margarita flavor! Plus each bite has a refreshing zest of citrus flavor!

Imagine them topped with margarita cream cheese frosting! Gosh! I mean how can you not smile sinking your teeth into one of these?

Margarita Cupcakes1

The margarita cupcake recipe is laughably easy! Like most of my dessert recipes, I used simple, everyday ingredients. I didn’t even need to go to the store before I made them on Saturday! And that is saying something as I didn’t even have an onion in my pantry that Saturday! I am serious.. Don’t laugh, okay?!.. Stop making fun of me! I am not lazy… Have just been busy! 😛

Margarita Cupcakes3

The cupcakes took me less than 1 hour start to finish. I cheated a bit and stuck the cupcakes in the refrigerator to speed up the cooling process. I have no patience when it involves Margarita! Love it!!! Wait, didn’t I say that already? 😉

Margarita Cupcakes5

These can be stored at room temperature for 1 day in an airtight container and 4 days in the refrigerator.

I loved eating them chilled! It was so refreshing!

Its booming summer and Margarita cupcakes, made from scratch are totally on dessert menu! And breakfast menu. Come on, they have egg and milk in them… Totally acceptable first thing in the morning! 😉

You can brush the cupcakes with straight tequila if you want a boozy dessert before frosting them. And if you are one who enjoys salt on the rim of your margarita glass, you might consider a sprinkle of coarse salt over the top of the cupcake to incorporate that flavor. Are you running towards your kitchen to make these already? 😉

Serving: 6

Ingredients:

Margarita Cupcakes:

  • 1/4 cup butter
  • 1/4 cup sugar
  • 1/2 tsp vanilla extract
  • zest of 1 lemon
  • 1 egg
  • 2/3 cup all purpose flour
  • 1 tsp baking powder
  • 1/8 tsp salt
  • 1/4 cup milk
  • 1/4 cup Margarita Mix

Margarita Cream Cheese Frosting:

  • 1/2 package cream cheese
  • 1/4 cup butter
  • 2 Tbsp powdered sugar
  • 1 Tbsp Margarita Mix
  • zest of 1 lemon
  • a drop of green and yellow food coloring

Directions:

  1. Preheat the oven to 350ºF/180ºC. Line 6-count muffin tin with paper liners. Set aside.
  2. Combine salt, baking powder and flour in a small bowl.
  3. Combine the milk and margarita mix in another small bowl (the mixture will curdle, but it’s okay).
  4. Cream butter and sugar with the stand or handheld mixer. Add egg and mix to incorporate and then add lemon zest.
  5. Gradually beat in the flour mixer and the liquid mixer, alternating them, making sure to start and end with flour mix. Beat as little as possible, just until the batter come together.
  6. Fill the paper liners till 2/3rd of the cups are filled. Bake for 15-17 minutes, or until a toothpick inserted in the center of a cupcake comes out clean. Let cool.
  7. To make frosting: Whip everything together, adding a drop of green and yellow food coloring for effect. Add more powdered sugar if frosting is thin. Pipe onto the cooled cupcakes. I simply smothered mine with the spatula and decorated them with green and yellow colored sugar. There may be leftover frosting depending upon how much you use on each cupcake.

Make a toast and Enjoy! 😀

Recipe source: cookbybook.wordpress.com

© Cook By Book

Share this recipe: