Tag: cookbybook

Zesty Lemon Ice-cream with Blueberry Swirl

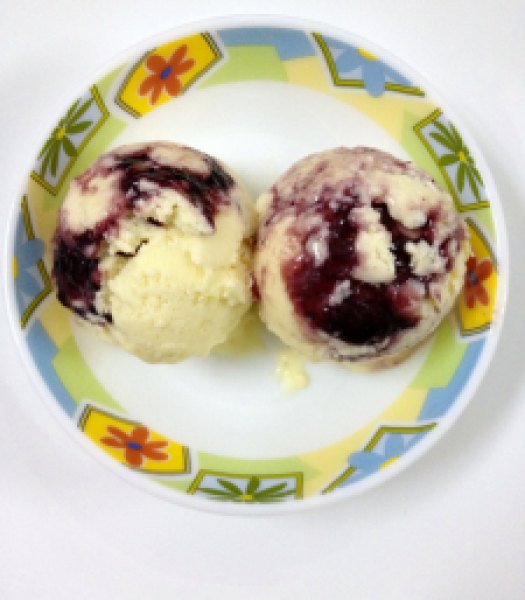
Zesty Lemon Ice-cream with Blueberry Swirl1

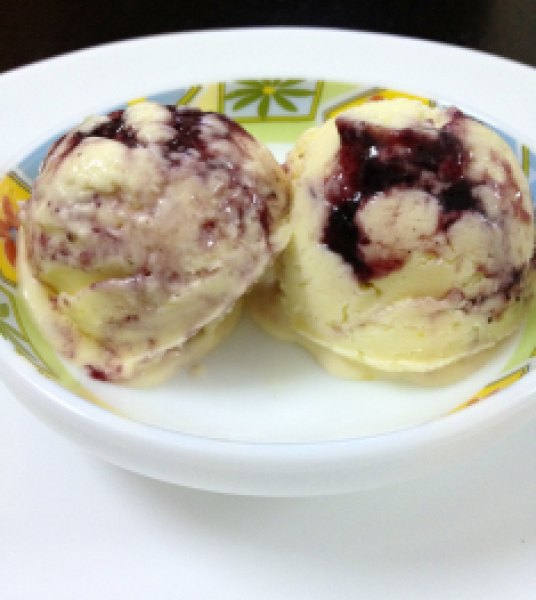
I have a declaration to make. This is by far THE best ice-cream I have ever made! Seriously!!! It’s so good that I could not believe this was made by me at home without the use of ice-cream maker. It came out so perfect, it was definitely to die for!

It was tart, light, refreshing, tangy, sweet, velvety… Lick-your-bowl good if you still don’t get what I mean! Everything you want your lemon ice-cream to be and more!

This ice-cream definitely screams SUMMER!

We are making this one little bit differently than how we were doing with our previous ice-creams. First, we need to make lemon curd for the base and then fold it in with whipped cream. That’s it!

Lemon curd is wonderful and super easy to make. It is so versatile that apart from using it in this ice-cream, you can use this as a filling for your tarts, pies and cakes or simply as a spread for your scones!

We are going to cook the lemon curd in a stainless steel bowl placed over a saucepan of simmering water aka double boiler. It will only take about 3-4 minutes to cook.

I have scaled down the recipe to make ice-cream for just 2 people. I have been whipping ice-cream daily so you can understand why I would do this! But I regretted my decision as soon as I had its first bite.. It was heavenly! And I wanted more!! 🙁

So let’s get down to the business!

Zesty Lemon Ice-cream with Blueberry Swirl2

Zesty Lemon Ice-cream with Blueberry Swirl

Yields: around 6 scoops

Ingredients:

  • 1 small egg
  • 1/4 cup granulated white sugar
  • 1 Tbsp lemon juice, sieved so that it is free from pulp
  • 1 Tbsp unsalted butter, room temperature
  • Lemon zest from 1 lemon
  • 1/2 cup fresh medium fat cream (40%), chilled
  • 2 Tbsp blueberry compote

Directions:

  1. In a stainless steel bowl placed over a saucepan of simmering water, whisk together the egg, sugar and lemon juice until blended. Cook, stirring constantly (to prevent from curdling), until the mixture becomes thick. This will take about 3-4 minutes to cook.
  2. Remove from heat and immediately pass the mixture through the sieve to remove any extra lumps. Whisk in butter and lemon zest. Let cool. It will continue to thicken as it cools down further. Freeze it till cream is ready.
  3. Whip the fresh cream till soft peaks form. Gently fold in the chilled lemon curd. If it is too tart for you then add more cream as per your taste.
  4. In a small airtight container, spoon in half the mixture and top it with blueberry compote, top with rest of the mixture and freeze for 4-5 hours before serving. Serve it topped with fresh blueberries and dig in!

*Tips: Lemon curd has to be made with fresh lemons. Juice lemons at room temperature to get more juice and strain the juice to remove any pulp from it. While grating the zest from the lemon, be sure not to remove pith (white membrane) from the lemon as it is very bitter tasting. Cold lemons are much easier to zest. You can use a zester or fine grater for this. Do this just before using as the zest will lose moisture if it sits out too long.

Lemon curd recipe scaled down and barely adapted from Joy Of Baking

Share this recipe:

No-Churn Coffee and Nutella Ice-cream with Oreo Chunks

Coffee & Nutella Ice-cream with oreo Chunks3

I am soooo thrilled to host a ‘No-Churn Ice-cream Week’ on my blog! This is going to be a first hand experience for me to be blogging around one theme throughout the week. Challenge accepted!

I love ice-creams and I love to experiment with different flavors which can be made without investing into an ice-cream maker. I bet you would too! I mean… come’on… who wouldn’t like a bowl full of this home-made goodness when it is so easy to whip up! Plus, you know what has gone into making of this ice-cream so perfectly safe for your kiddos! Give them as much as they wish to eat! 😉

Coffee & Nutella Ice-cream with oreo Chunks2

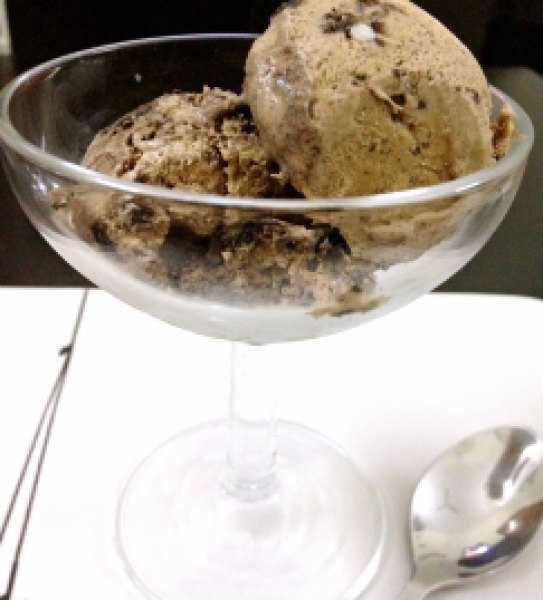
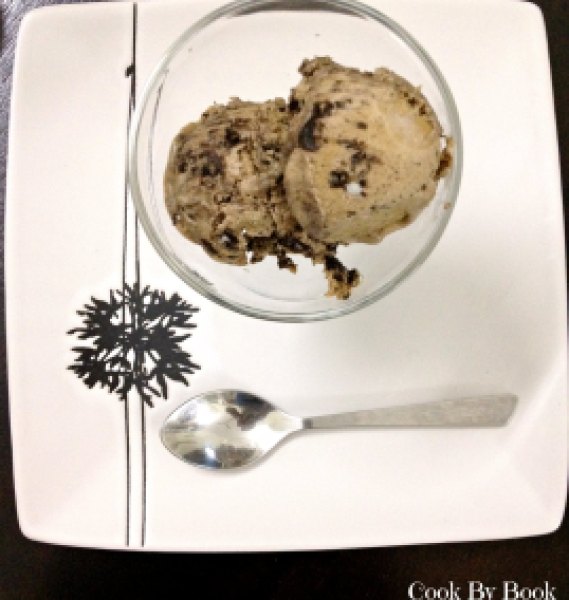
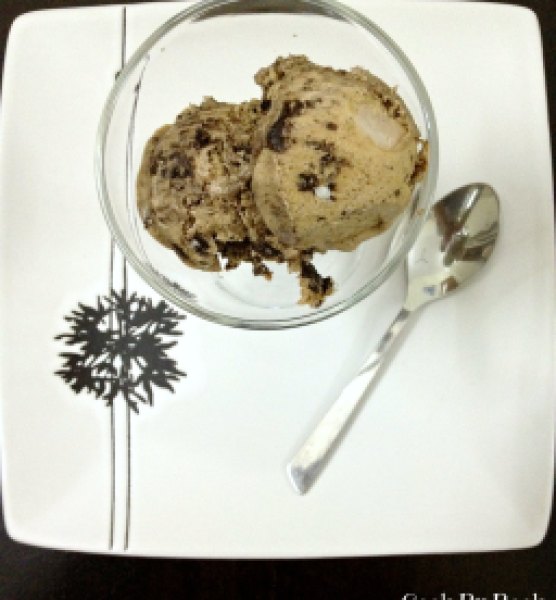
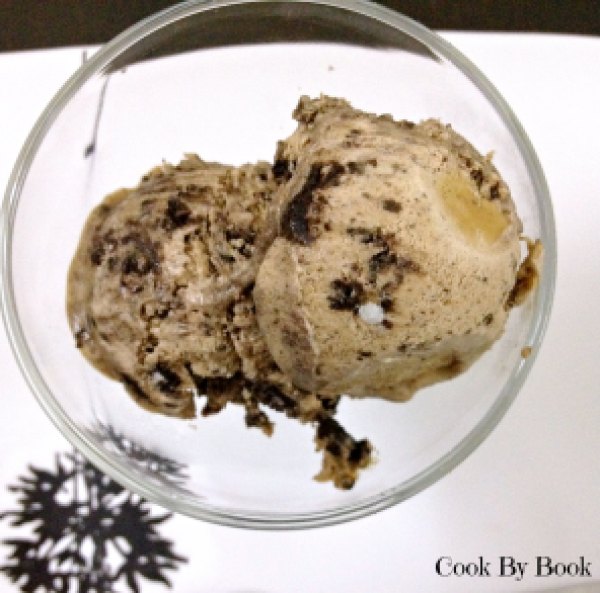
Coming first in this series is Coffee & Nutella Ice-cream with Oreo Chunks… Oreos and Nutella are kids’ favorite and a kick of caffeine will make it gratifying for adults too.. So all in all it is a win-win-win for everyone!

Coffee & Nutella Ice-cream with oreo Chunks1

The ice-cream has only 4 ingredients! Don’t believe me? Believe me!… Only 4 ingredients… Okay if you count few droplets of water as an ingredient then 5!

You might have all these ingredients already in your pantry so no extra trip involved to supermarket! So whip this up right away and surprise your kid with it when he is back from school, treat your hubby with it when he is returns from office or just pamper yourself!

Oh… Forgot to list another advantage! No extra sugar required to be added as Oreos and Nutella already have enough sweetness to it. Plus, the cream used here is medium fat so the resultant ice-cream is light and does not taste too rich.  Soooo Deee-liish! 🙂

Coffee & Nutella Ice-cream with oreo Chunks4

No-Churn Coffee & Nutella Ice-Cream with Oreo Chunks

Yields: around 20 large scoops of ice-cream

Ingredients:

  • 3 Tbsp instant coffee powder
  • 2 Tbsp hot water
  • 2 Tbsp Nutella, at room temperature
  • 500 ml medium fat cream (approx 40% fat)
  • 20 Oreo cookies, chunks
    (I used combination of choco-creme and plain sandwich Oreo cookies)

Directions:

In a large bowl, add hot water to instant coffee-powder and dissolve coffee completely. Add Nutella and cream to this and whip till you get a light, fluffy mix and soft peaks form in the mix.

Oreo chunks to this mix (In a zip-lock bag, add Oreo cookies and use roller-pin to form chunks). Fold in Spoon the mixture in a airtight container and freeze for 4-5 hours. Your ice-cream is ready to be gobbled up!

*Use electric whipper for your convenience and if your are whipping with hand, all the best, your muscle strength will be definitely put to test! 😉

Share this recipe:

Cucumbertini ___ To spike it or not!

Cucumbertini1

 This is the ultimate summer drink!

This is THE summer drink!!!

I swear… This is the best cooler posted on my blog till now..

So simple yet so refreshing..

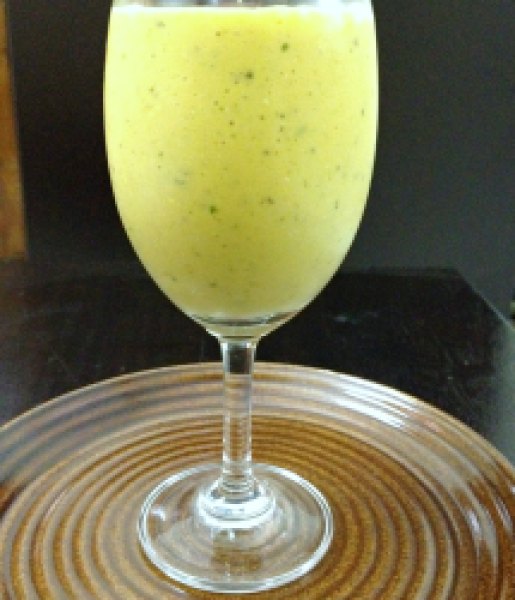
If you are sipping on this in the midst of a scorching noon heat or in a humid summer evening, I swear you will forget all about the weather and swim in the serenity of this concoction! It’s got a knack to calm your soul. Believe me… It is THAAAT GOOD!

Cucumbertini3

Have it as it is or spike it with vodka to create a sophisticated cocktail.. Definitely a party-pleaser and ideal for girls’ night-in!

Both version will certainly make your Saturday evening stunning!

What are you waiting for??!! Mix it up & chillax! 🙂

Cucumbertini2

Cucumbertini

Yields: 2 large glasses

Ingredients:

  • 3 fresh petit English cucumbers, peeled and roughly chopped
  • 2 Tbsp celery, roughly chopped
  • 2 Tbsp Monin’s Cuaracao Triple Sec
  • Juice squeezed from 1 lemon
  • 1 Tbsp caster sugar (optional, I did not use)
  • 1/4 cup + 1 cup cold water
  • 6-8 ice-cubes, a couple more to add to the glasses

Directions:

  1. Take cucumber and celery in a blender. Pour 1/4 cup cold water and blend til it is pureed. Take a sieve and strain the puree.
  2. Pour strained liquid back to the blender. Add triple sec, lemon juice, caster sugar, 1 cup cold water, ice-cubes and blitz it. Pass the potion through a sieve again. Your cucumbertini is ready to be served on the rocks! Garnish with a lemon wedge.

*Spoon the foam out from the cucumbertini before pouring in glasses if you prefer a clear concoction.

This recipe is my entry for Event by Archana’s Kitchen – Summer Fiesta

Share this recipe:

Mango & Banana Oatmeal Smoothie with a hint of Basil

Mango & Banana Oatmeal Smoothie with a hint of basil1

A true breakfast smoothie which is wholesome on its own and will keep you full till lunch hour.

This summer, I am trying to bring you as many mango recipes as possible before we run out of them for another year. Of course, we can freeze its chunks or pulp but it won’t be as good as having them fresh in the heat of summer when they are in abundance. Gosh! It would be good to be able to have mangoes all year round, isn’t it?! Anyways… I definitely plan on freezing lots and lots of mangoes til I run out of place in my freezer. Today’s recipe calls for frozen chunks of mango. So you can dice mango in pieces at night and freeze them overnight to make this smoothie in the morning.

Mango & Banana Oatmeal Smoothie with a hint of basil2

Mango and banana is a classic combo! You can’t go wrong with it. Juicy, succulent mango whipped with creamy bananas. Heaven!

I am going to use frozen chopped bananas as well. It helps me attain smooth, thick and luscious consistency. These have become a true staple in my house. I deliberately buy them only to chop them and toss them in airtight container to freeze away.

Added to this classic combo is spoonfuls of quick-cooking oats. Anyone who hates oats won’t even know you have put them in there! So great for those picky-eaters! (I mean kids, of course! Not me!!! 😛 )

The huge flavor kick comes from the basil leaves added to the smoothie. So it is must.. do not skip or it wont taste the same!

Another benefit of this smoothie is that it is sugar-free. Mangoes in my part of the world are super-sweet and bananas I used were overripe which means they were pretty sweet too which helped me in omitting the sugar completely. If you feel the mangoes you have got are not sweet enough, add spoonful of honey to your smoothie.

You can easily make this smoothie vegan by using coconut milk or soy milk. Personally, I think coconut milk would go really well with mango and banana.

Mango & Banana Oatmeal Smoothie with a hint of basil3

Mango & Banana Oatmeal Smoothie with a hint of Basil

Yields: 3 large or 4 small glasses

Ingredients:

  • Frozen chunks from 1 mango
  • Frozen chunks from 2 bananas
  • 1/4 cup quick-cooking oats
  • 4-5 basil leaves
  • 1 cup milk
  • 1/2 cup cold water or a little more
  • 6-8 ice-cubes

Directions:

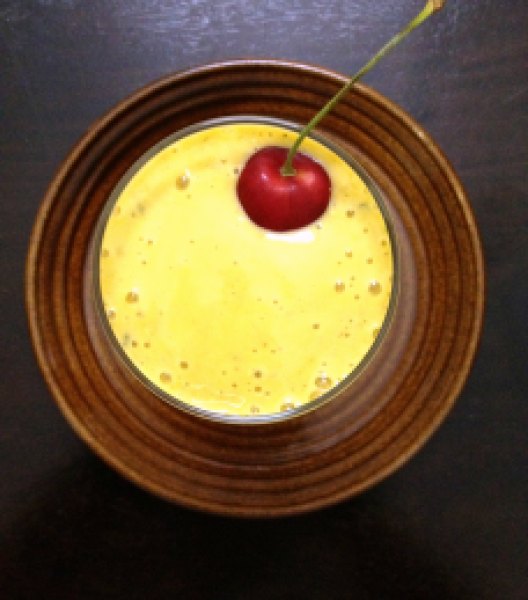
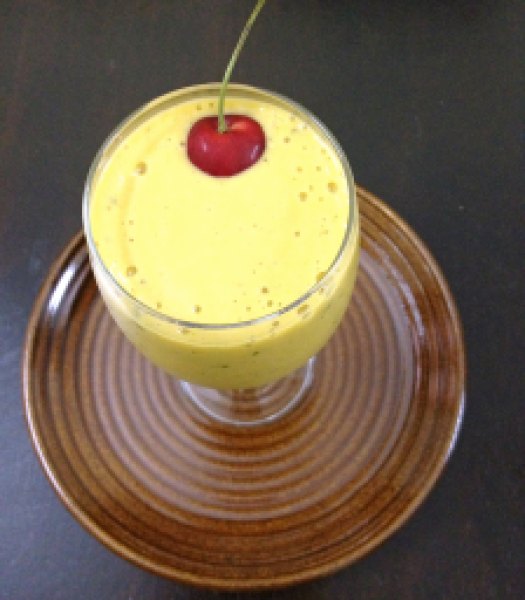
Add all the ingredients to the blender and blitz them into smooth mixture. Add more water if consistency is too thick for you. Garnish with fresh cherry and serve immediately.

*Add 2 Tbsp of honey if mango used is not sweet enough.

Share this recipe:

Farfalle with Fresh Coriander and Cashew Pesto

As I have proclaimed here before…. I looovvveee pasta!

And my all time favorite pasta sauce is basil pesto.

But then I came across this creamy coriander pesto & now, I have a new favorite!

Fresh coriander & Cashew Sauce2

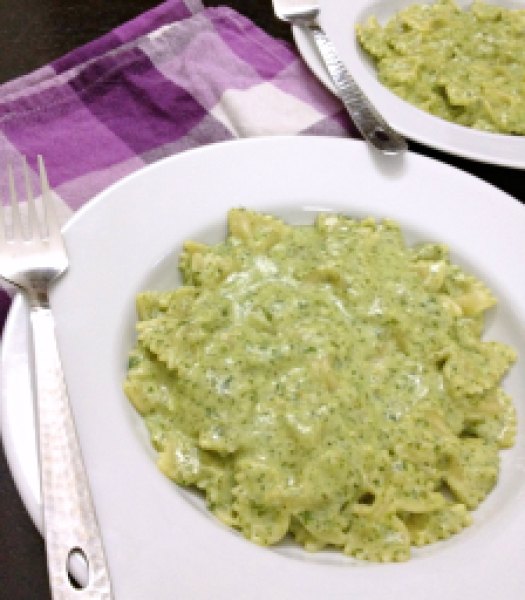
On a rainy evening, hubby & I were sipping coffee at our favorite cafe located down the street from our house. They have quite a versatile menu and I really love the place. One pasta sauce in there really caught my eye and I had to order it immediately. It was a spicy coriander and cashew sauce prepared in cream cheese and was served over Conchiglie (shell shaped) pasta.

The dish was so delectable that I had to replicate it at home with bit of a guesswork. Of course my version differed from theirs as I did not use cream cheese and did not add red chili flakes. But it was every bit as scrumptious if not better! Now would I lie to you? NO! So believe me 🙂

It is a pesto sauce so you have your usual suspects.. fresh herb, garlic and nuts!

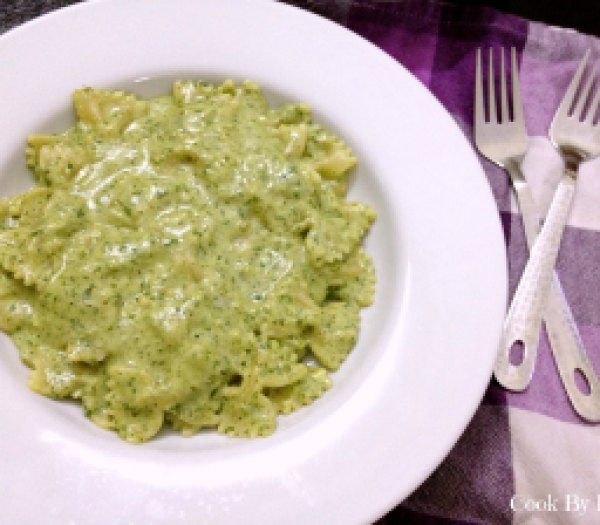
The pesto has a fresh summery fragrance from fresh coriander and a rich texture from cashews. I used Farfalle pasta instead as that is what I had on hand.

You would be really surprised at how creamy it turned out and pretty low in calories too! Very delicate dish all in all! 🙂

So let’s get down to the recipe!

Fresh coriander & Cashew Sauce1

Farfalle with Fresh Coriander and Cashew Pesto

Serves: 4

Ingredients:

  • 3 cups Farfalle pasta, cooked al dente as per the package direction
  • 2 cups fresh coriander leaves (packed into measuring cup)
  • 2-3 cloves of garlic
  • 1/3 cup cashews, soaked in water for 2-3 hours
  • 1/4 cup milk
  • 1 Tbsp butter
  • 1 Tbsp all purpose flour
  • 1 cup hot milk and 1 cup hot water, mixed together
  • 3 Tbsp Parmesan cheese, grated
  • salt & pepper to taste
  • 1/2 tsp red chili flakes (I omitted it)

Directions:

  1. Cook 2 cups of Farfalle pasta in salted boiling water as per the direction mentioned on the package. Once pasta has cooked al dente, drain the water and start preparing the sauce.
  2. Add coriander leaves, garlic cloves, soaked cashews, pinch of salt and 1/4 cup milk in a blender and blitz till you get a soft puree. Add little milk if required.
  3. In a pan, melt the butter and add flour to it. Let the flour cook for about 3-4 minutes on a low heat.
  4. Add hot milk and hot water mixture to the pan and whisk to make sure there are no lumps. Add grated cheese. Cheese will melt and mixture will thicken a bit in about 5 minutes.
  5. Add pureed coriander mixture in a pan and whisk. Season with salt and pepper as per your taste. Add red chili flakes if you want a hint of spice. Add pasta to this and let it cook for another 2-3 minutes so that pasta has absorbed the sauce. Serve immediately.
Share this recipe: