Tag: brownie

Browned Butter Red Velvet Brownies ~ From Scratch

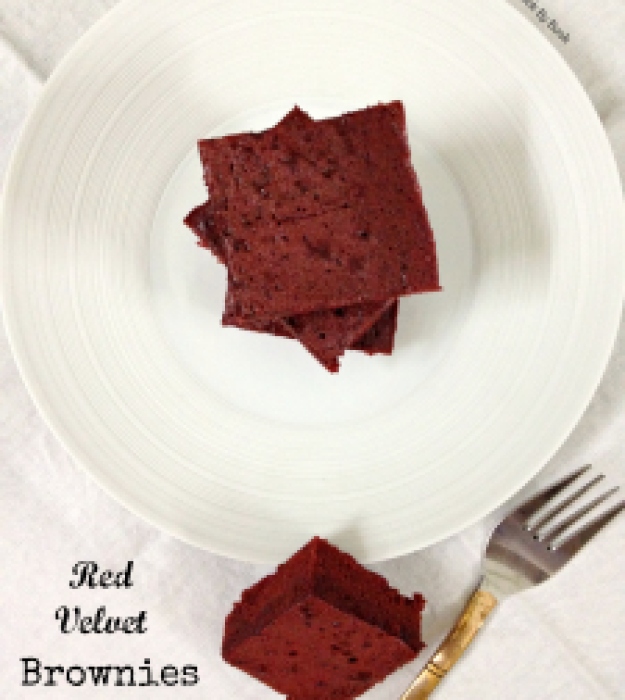
Red Velvet Brownies1


Hello! Meet the perfect Valentine’s day dessert!

Everyone loves a good brownie and when your regular brownies got a makeover, red velvet brownies were born. They become a thing of out-of-this-world! And they do not come from a box-mix! Yes, these are made 100% from scratch. So earn some extra brownie-points and make them for your Valentine!


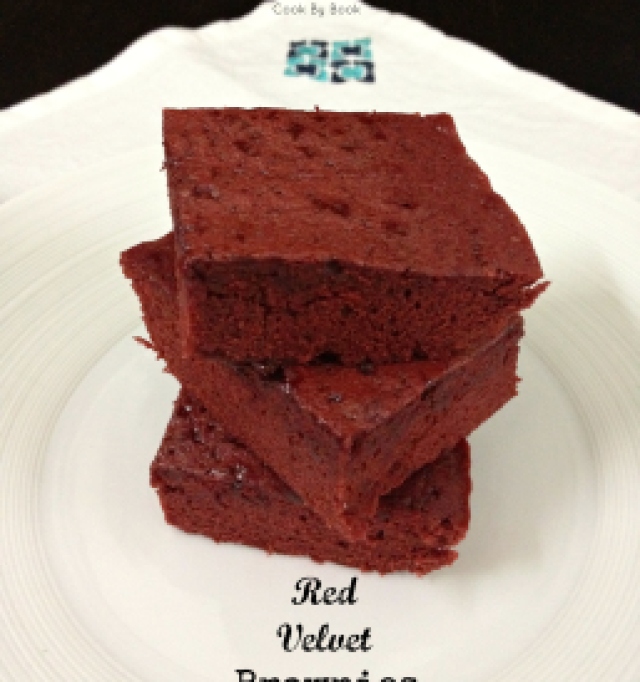
Red Velvet Brownies2


These brownies turned out so dang awesome that they were demolished FAST. It’s only 2 of us and with some self-control we made them last 48 hours! Every single piece and each last crumb was devoured with so much happiness. 9 pieces had to be equally divided among the 2 of us, such a difficult task! It was natural that I get an extra piece which I had happily consumed anyway while photographing these beauties. I mean who could resist? 😛

These brownies were supremely moist, fudgy and soft. Browned butter gives a unique depth of flavor. I like to use both white and brown sugar for a perfect brownie. Brown sugar attributes to a caramelized flavor while white sugar contributes to a crisp, shiny top! I’m a plain brownie person so I went plain with mine but you may fold in white chocolate chips and sprinkle some on top before baking for that extra chocolate-kick.


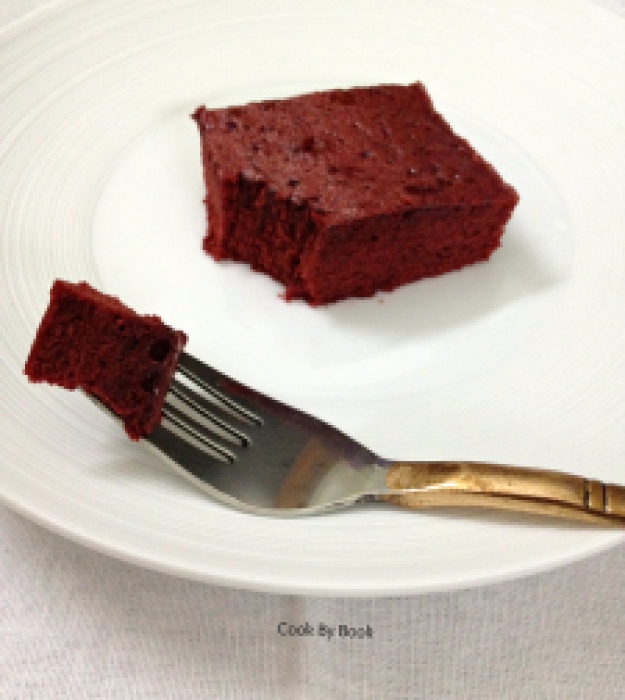
Red Velvet Brownies3


You may decorate these in many ways. I had them plain, with some powdered sugar sprinkling, with Nutella frosting and warm brownie topped with Double Chocolate Ice-cream. You bet I was completely ruining my healthy diet those 2 days and it was absolutely worth it! Sorry to all my Instagram followers for torturing them with all that #foodporn. Now you’ve got the recipe, time to treat yourselves!

Browned Butter Red Velvet Brownies ~ from Scratch

Yields: 9 pieces | Prep time: 15 minutes | Bake time: 20 minutes | Total time: 35 minutes

Ingredients:

  • 2/3 cup butter
  • 1/2 cup white granulated sugar
  • 1/4 cup brown sugar
  • 2 + 1/2 Tbsp unsweetened cocoa powder
  • 2 large eggs
  • 1 tsp vanilla extract
  • 1/4 cup buttermilk (or 3 Tbsp milk + 1 Tbsp vinegar)
  • Red food color
  • 1 cup all-purpose flour
  • 1/2 tsp salt

Directions:

  1. Preheat the oven at 180ºC / 350ºF. Line 8×8 inch square baking pan with an aluminium foil and grease it with oil. Set aside.
  2. Melt butter in a large saucepan over medium high heat. Stir constantly until butter has reached a light brown color and little bits have formed. It will be difficult to see the color of the butter as it foams a bit, so I go by smell– it will be very fragrant.
  3. Pour the butter in your mixing bowl(no need to cool). Add the sugars and cocoa powder and beat until smooth. Add the eggs, one at a time, mixing in between each addition until almost creamy.
  4.  Add the salt, buttermilk, red food coloring and vanilla extract.
  5. Add the flour and mix well. Batter will be of cupcake consistency.
  6. Spread the batter in baking pan and bake for 19-22 minutes (mine were done in exactly 20 minutes) o until toothpick inserted in a center comes out clean. Let cool completely before cutting into pieces. Serve with a sprinkle of powdered sugar, Nutella frosting or warm with a scoop of ice-cream.
Share this recipe:

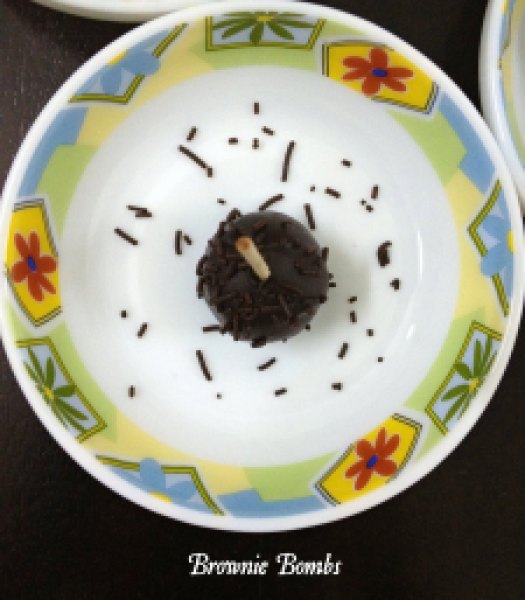
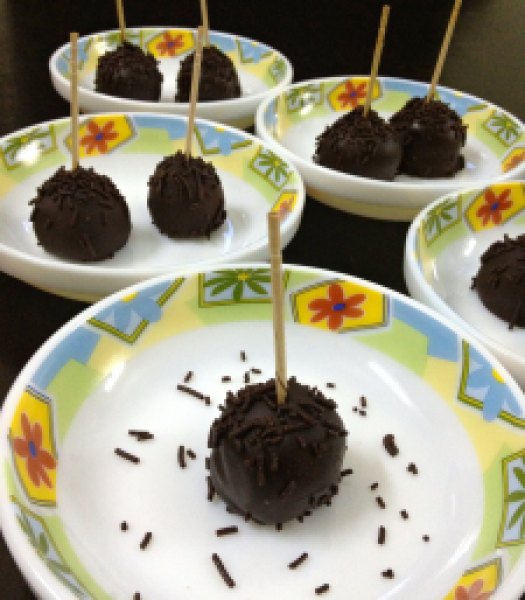
Brownie Bombs

Brownie Bombs3

I personally adore cake pops. They are pretty, deceptive and delicious little things. They look easy to make… In fact they are easy to make. Just a wee-bit time-consuming but easy.

This is my first post writing about them so I would like to be more elaborate. If we talk structurally, cake pops are nothing but the crumbled cake mixed with frosting that can be rolled into balls or formed into any imaginable different shapes. They are then placed on a lollipop stick or wooden skewers, dipped in chocolate and topped with decoration of choice.

Cake pops rage is still catching up in my part of the world and quickly! I have gobbled up plenty of chocolate cake balls in my lifetime while growing up (I mean it!) and they are my favorite till now. Now cake pop is something very similar to cake ball concept sans the outer chocolate layer. I can totally relate to them.

Brownie Bombs2

I instantly fell in love with the idea of making a bite-sized cake, decorated for individuals which is mess-free and gives complete portion-control! They’re perfect for parties. I had one such potluck to attend last Sunday and I was asked to bring a dessert for obvious reasons! I immediately knew cake pops would be perfect for that as it’s something which can be made ahead and I wanted an excuse try them at home anyway!

I didn’t have to do much of a research as in what type of cake-pop to make as I had a professional help. I recently bought a book  from The Australian Women’s Weekly ~ Cute Cake Pops. What an amazing little book! It had plenty of inspiration and fantastic ideas for making cake pops for every occasion! I wanted a crowd-pleasing chocolate and something simple for my first attempt hence I chose to make these brownie bombs from scratch. Yes, no cake-mix involved here. So I made some brownies and turned them into gorgeous cake-pops! Simple, no?!

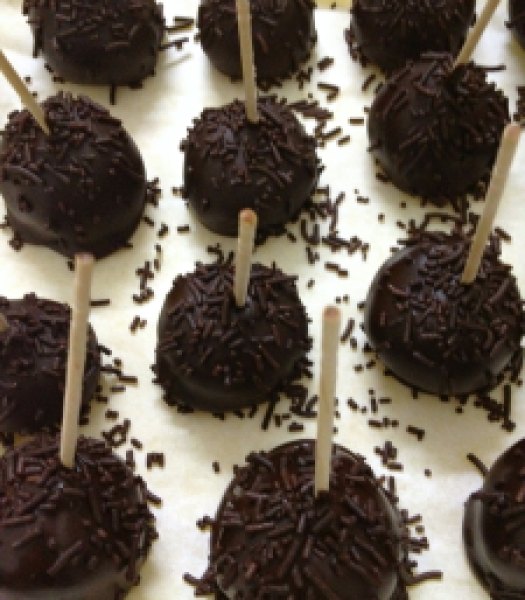
Brownie Bombs1
Just after dipping and decorating

I had some extra melted chocolate after all the cake-pops were done dipping. Wanna know how I used the left-overs? That’s going to be a post for another day.. Stay tuned! 😉 Meanwhile enjoy these!

Brownie Bombs

Recipe adapted from Cute Cake Pops

Yields: 25-30 cake pops

Ingredients:

  • 75 gm butter, chopped coarsely
  • 100 gm dark eating (semi-sweet) chocolate, chopped coarsely
  • 1/3 cup (75 gm) caster sugar
  • 1 egg
  • 2/3 cup (100 gm) all-purpose flour
  • 2 Tbsp dark rum (I omitted it)
  • 200 gm dark chocolate melts
  • 30 lollipop stick or toothpicks with sharp edges trimmed
  • Chocolate sprinkles, to decorate

Directions:

  1. Preheat oven to 180°C/350°F.  Grease a deep 7-8 inch square cake pan; line base and sides with baking paper.
  2. In a medium bowl, melt butter and chopped chocolate in a microwave for about 1 minute stirring after 30 seconds. Stir till smooth and let cool for 10 minutes.
  3. Stir sugar, egg and flour into chocolate mixture. Spread into a cake pan; bake about 20 minutes. Cool in pan.
  4. Once cool, cut cake into large pieces; using a food processor, process cake with rum (if using) until mixture just comes together. You can do this step with hand also. Shape rounded teaspoons of the mixture into balls. Place on a baking paper-lined tray. Freeze for 1 hour or refrigerate for 3 hours or overnight, until firm.
  5. Stir chocolate melts in a medium heatproof bowl over a medium saucepan of simmering water until smooth (don’t let water touch base of bowl).
  6. Dip the end of one stick into the chocolate, then push it about halfway into a ball of brownie. Return to tray. Repeat with remaining sticks and balls of brownie. Freeze for about 5 minutes to set.
  7. Dip one cake pop into the melted chocolate or with the help of a spoon coat a cake pop, rocking back and forth to coat; do not swirl the pop, or it may break. Allow excess chocolate to drip back into bowl. Stand on a baking paper-lined oven tray; sprinkle with chocolate sprinkles before chocolate sets. Repeat with remaining cake pops and sprinkles. Stand at room temperature until set. Serve.

*Store cake pops in an airtight container at a cool room temperature until ready to serve. They will keep for up to a week.

Share this recipe: