Category: Ice-creams

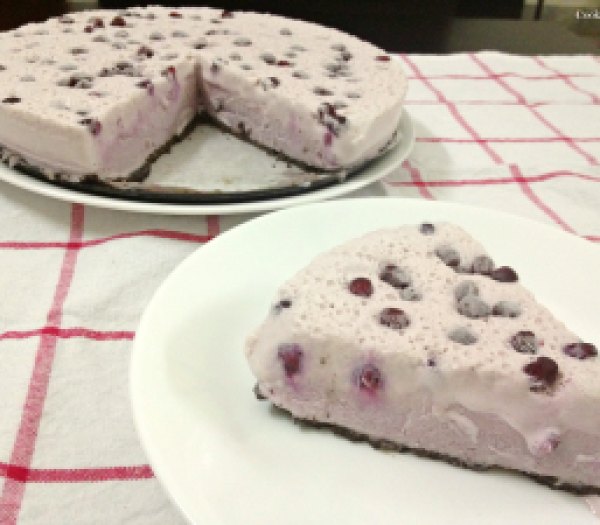
Frozen Sweet Lime~Pomegranate Cheesecake

Frozen Sweet Lime~Pomegranate Cheesecake1

You know how much I love cheesecake… It is my go-to comfort food more often than I would like to admit. Happy days and stressed days equally call out for cheesecake around here! I’m very finicky about my cheesecakes. Till now my most favorite has been a blueberry cheesecake from a particular cafe. It is heavenly and just how I like my cheesecake to be. And I would never dare to make one in my house as long as that cafe exists!
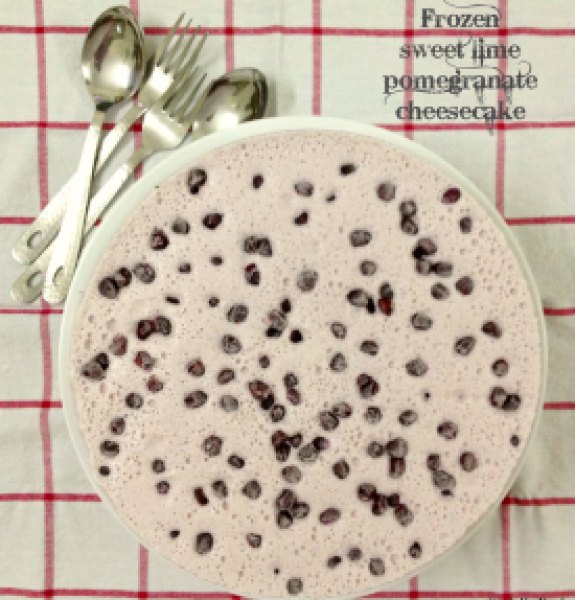
After trying and making so many different varieties of cheesecakes, I decided to whip up this no-bake, gelatin-free, creamy, cheesy, frozen dessert. Let me simplify this for you. This dessert is nothing but a cheesecake ice-cream which is layered over a salty, buttery, chocolaty crust.
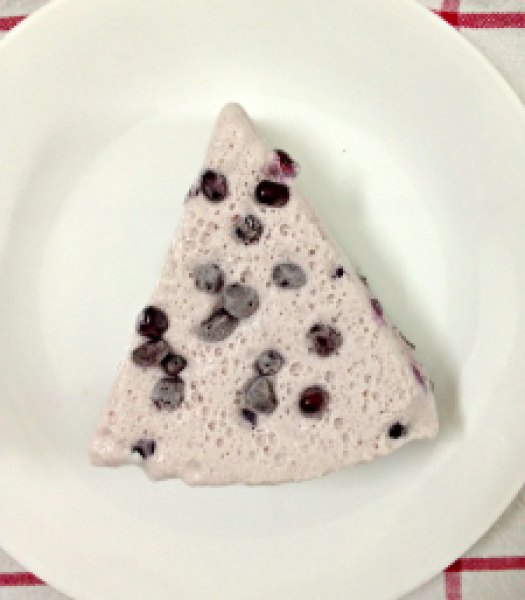
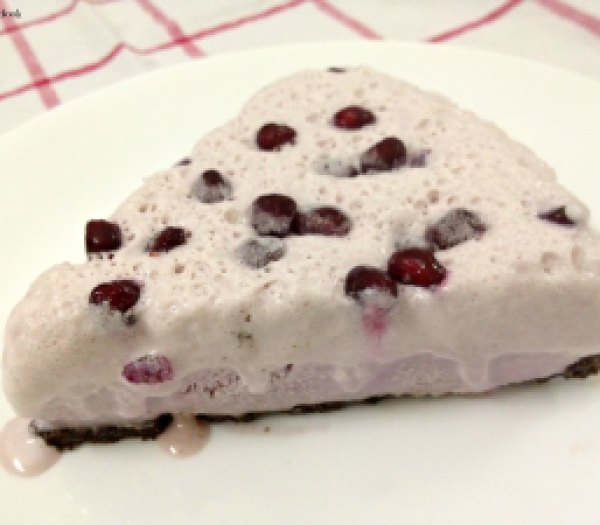
My refrigerator was bursting with sweet and juicy pomegranates. It was a flavor I had never tried before in a cheesecake. I thought it would make a delicate and lovely pairing with cream cheese. To make things tangy, I used up zest and juice from a sweet lime. The result was such a gorgeous baby pink color cheesecake! I just fell in love with it 🙂
Frozen Sweet Lime~Pomegranate Cheesecake3
I went sweet and salty route this time. The crust for this cheesecake is made with chocolate Oreos, butter and just a pinch of salt. This salty kick enhances the cheesecake flavor to another level. If you’re not a fan of sweet-n-salt, feel free to skip the salt as it will still taste divine! But I highly recommend salt as it is not too over-powering. So promise me you’ll add it to know what I’m REALLY talking about… You’ll thank me! 😉
Frozen Sweet Lime~Pomegranate Cheesecake2
Frozen Sweet Lime~Pomegranate Cheesecake4
I made a big batch as I was having company but you can easily halve the recipe and make it in 4-inch spring-form pan. The frozen cheesecake tastes best when eaten within 12-15 hours of being made. It becomes harder and icier the more it stays in the freezer. In case of leftovers, let it thaw for 15 minutes before serving.
Frozen Sweet Lime~Pomegranate Cheesecake with Salted Oreo Crust
Makes: 10-12 slices | Prep time: 20 minutes | Cook time: 0 minute | Chilling time: 4-5 hours
Ingredients:
Crust:

  • 15 chocolate Oreos or any chocolate sandwiched biscuits
  • 3 Tbsp melted butter
  • 1/4 tsp salt
Cheesecake Filling:
  • 3 pomegranates
  • Zest and juice from 1 sweet lime
  • 1/2 cup + 1 Tbsp icing sugar
  • 2 8 oz. package cream cheese, at room temperature
  • 2 cups medium-fat fresh cream (40% fat), chilled

Direction:

  1. Line 9-inch round spring-form pan with parchment paper. Grind Oreos in a food processor until you have fine crumbs. Add melted butter and salt. Spoon the crust and press down firmly over the base using flat base of a glass. Chill in refrigerator while you make the filling.
  2. Remove morsels from pomegranates, save morsels from half pomegranate and juice rest of the morsels with lime juice. Strain the juice into a bowl, add icing sugar and whisk to dissolve.
  3. In a large bowl, take cream cheese and whisk until smooth. Use electric hand mixer/stand mixer for this. Add juice and sweet lime zest to cream cheese and whip till combined.
  4. In a separate bowl, whip the fresh cream till soft peaks form. Gently fold it with cream cheese mixture to achieve a lump-free consistency.
  5. Remove spring-form pan from the refrigerator and spoon the cheesecake filling over the crust. Let it chill in freezer covered in cling film. After 1 hour, sprinkle with pomegranate seeds and return to chill in freezer for another 3-4 hours. Once set, release from spring-form pan, slice and serve. Run the knife under hot water before slicing.

Note: Can be consumed as a sweet lime~pomegranate cheesecake ice-cream if frozen without the Oreo crust.

Share this recipe:

Independence Day Special ~ Saffron Pistachio Kulfi

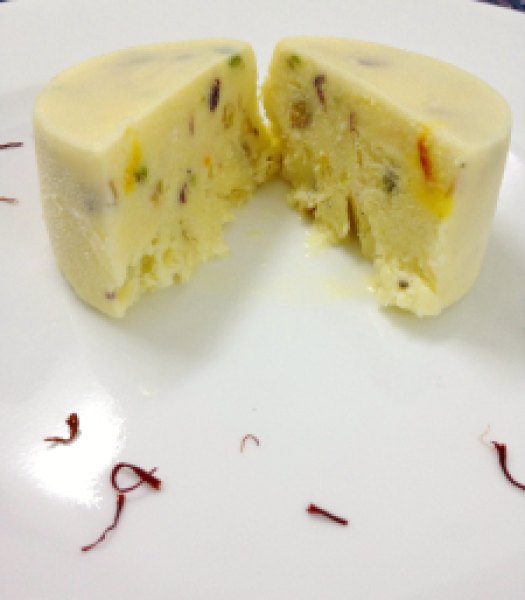
Saffron Pistachio Kulfi1
I seem to have desserts ready for almost all the occasions.. I love love love sugary sweets! When the cravings hit me, it is impossible to shut my brain and there is no turning back till those cravings are satisfied. You must think I’m talking like a crazy or an addict! You’re thinking right! Not that I need a therapy or something… Just saying! It’s 1 a.m. here as I type this post, got a coffee craving which I tried to control and instead ended up snacking on a coffee-almond ice-cream! I know… weak! 🙁 But don’t judge! In my defense, this is the only sweet stuff I have had in a whole day!
You all know I have a sweet corner for ice-creams. So much that not so long ago I even had an ice-cream week on the blog! Check this out! Crazy right?! So it would be impossible that I would let the Independence day be gone without posting a total Desi ice-cream dessert in the honor of the occasion.
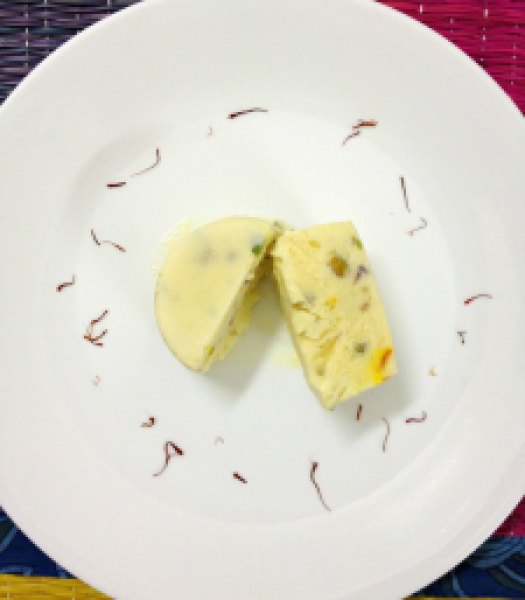
Saffron Pistachio Kulfi2
Kulfi is so popular throughout the country. Love of it is unbiased. It is a perfect reflection of our country’s unity despite the cultural diversity! Oh well, I have a way of twisting everything as per my own convenience! I mean only I can talk about kulfi and country being mirror-image of each other or whatever! But I hope you all agree with me on this one.. What better way to celebrate 15th August, our 66th independence day than this ice-cream dessert! I bet it’s a family favorite in every household! 🙂
Kulfi is traditionally prepared by evaporating milk on a low heat with almost continuous stirring to keep milk from sticking to the bottom of the vessel, until its volume was reduced by half, thus thickening it. It is almost like eggless custard turned in to ice-cream. I’ve stuck to the traditional recipe and have refrained from using condensed milk as I somehow detest it! Okay, I sort of hate condensed milk! I guess it’s a night for confessions! Relieved! Humph..
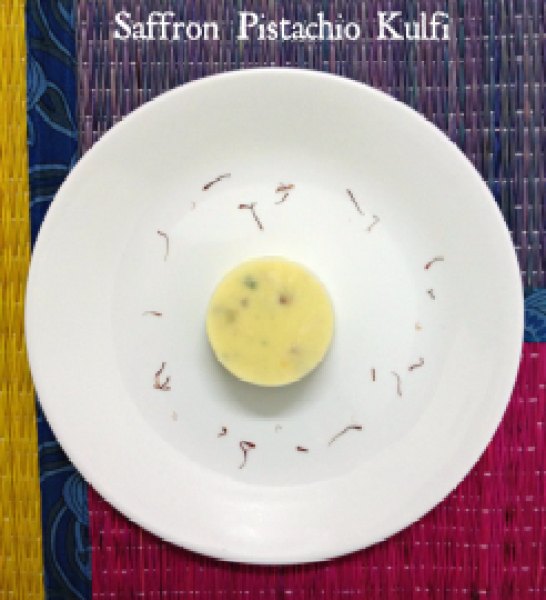
Of course no cliched tricolor desserts people! Hence the recipe for kulfi is has been kept as close to natural as possible. No artificial flavorings or colors have been used. You get a subtle yellow from saffron, crunch from pistachio and aroma from cardamom. It is heavenly! Do try it now and thank me later! 😉
HAPPY INDEPENDENCE DAY!!!
Saffron Pistachio Kulfi3
P.S. No saffron was harmed during the shoot of these photos. It was all returned back to the safety of its jar. So you all can relax now! 😀
Saffron Pistachio Kulfi
Yields: 6 servings
Ingredients:

  • 1 and 1/2 cup full-fat milk
  • 1/4 cup full-fat milk, extra
  • 2 Tbsp cornflour
  • 4 pods of cardamom
  • 1/4 tsp strands of saffron
  • 1/3 cup sugar (adjust as per preference)
  • 1/4 cup finely chopped salted pistachios, plus extra for garnishing
  • 1/2 cup fresh cream (40% fat)

Directions:

  1. In a non-stick/ceramic heavy-bottomed saucepan, add 1 and 1/2 cup milk and bring it to boil on a high heat. Now reduce the heat to low and let it simmer, stirring occasionally to keep it from sticking to the bottom of the vessel.
  2. Warm 1/4 cup of milk in microwave for 10-20 seconds. Add cornflour to it and mix till it dissolves completely. Add saffron strands to it. Separate the cardamom seeds from the pod and powder the seeds with mortar-pestle. Add the powder and pods to the milk. Let this mixture sit aside till the milk is getting reduced.
  3. Once milk has evaporated and thickened till its volume has reduced to half (in about 10-15 minutes), add the flavored milk-cornflour mixture (remove the cardamom pods) slowly to the milk stirring continuously. Add sugar and pistachio and cook for another 2-3 minutes. Taste and adjust sugar as per your preference.
  4. Remove the mixture from heat and let it cool and come to room temperature. Whip the fresh cream till soft peaks are formed. Whisk in the whipped cream to the cooled milk mixture. Pour the mixture in the molds. Refrigerate in the freezer. After about 1 hour of freezing, insert kulfi stick in each mold and freeze for another 4-5 hours. De-mold and serve immediately topped with chopped pistachios (optional).

Notes:

*You can make these without adding cornflour too. It will still taste the same but may melt at a faster rate.

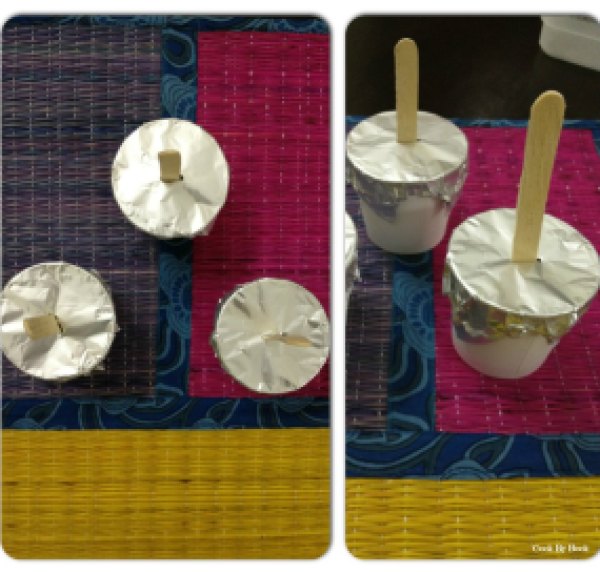
*I did not have kulfi molds hence I used paper cups covered with silver foil. To de-mold, simply cut the paper cup from one side and loosen the kulfi.
*In case you’re using plastic/metal kulfi molds, dip each mold in hot water for 2-3 seconds and then de-mold the kulfi easily.
*Kulfis are best consumed within 2 days of being made. They won’t get spoiled in freezer but will become icy and rock-like if kept for longer duration.
Saffron Pistachio Kulfi4
Share this recipe:

Strawberry Fool & DIY Chocolate Cups

I hope to write a small post! Is that even possible? Humph.. Let’s try and see..

I’m writing about this easiest dessert ever today… It is an English classic! I’m talking about Strawberry Fool.. The name says it all! It is so simple that any fool should be able to make it! No kidding 😀

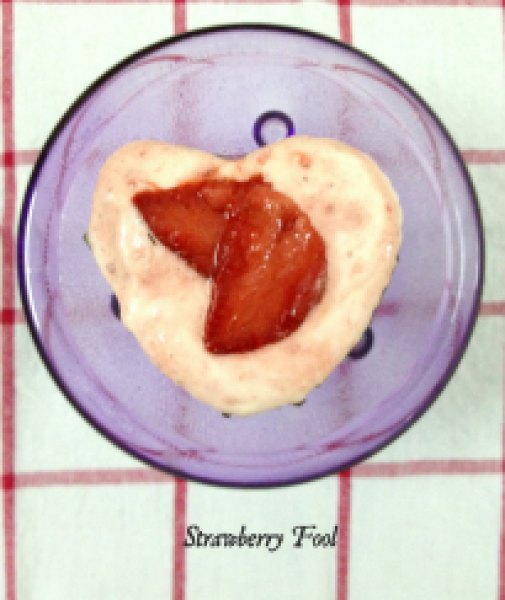
Strawberry Fool1

The fool ~ this dessert is nothing but sweetened fruit folded into stiffly peaked and slightly sweetened whipped cream. THAT IS IT! Berries work perfectly for this dessert, especially strawberries. Kiwi and rhubarb would be a nice twist too.

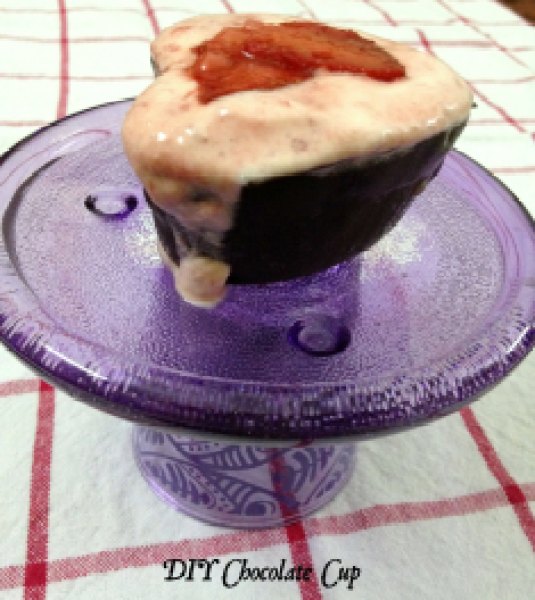
For serving my fool, I made heart-shaped chocolate cups! Do you remember my post “Brownie Bombs“? I had mentioned in that post that even after coating all the cake pops generously I still had some left-over melted chocolate. I had to think on my feet… How to turn this left-over melted chocolate into something amazing and this impromptu idea came to my mind. Very easy to make. All you need is silicone cupcake liners.

Chocolate cups are so easy to make that once you’ve started, it is difficult to stop. You’ll find yourself stuffing them with all sorta yumminess out there! Imagine your favorite peanut butter, ice-creams, mousse and cheesecake served in these edible chocolate cups. Now no need to lick the plate!

Strawberry Fool & DIY Chocolate Cups1
DIY chocolate cup seated on my DIY cupcake stand!

Don’t overfill the cups with fool like I did! 😛

Chocolate and strawberries are match made in heaven. So serving strawberry fool in a chocolate cup makes for a perfect and elegant party-dessert. Chocolate cups can be made ahead and stored in refrigerator for months and strawberry fool is a no-cook, no-nonsense dessert. Perfect for last-minute dessert-fix or midnight-cravings!

P.S. I’m sorry but I do not have step-by-step photos for chocolate cups. As you can imagine my kitchen and hands were covered in chocolate. 😛 But do not worry. These are easy-peesy to make and you will not require my horrible photographic skills to show you that.

DIY Chocolate Cups:

Yields: 4 cups

Ingredients:

  • 50 gm dark chocolate*, melted
  • 4 silicone cupcake liners, frozen for 5 minutes
  • small sheet of grease-proof baking paper

Directions:

For detailed information on how to melt chocolate: Refer to this post

Method-1:

Dip the outer surface of the silicone liner into the melted chocolate. Remove the excess chocolate by giving the liner a slight shake. Ensure that the chocolate coats the liner evenly. Upturn the liner and place it on grease-proof baking paper. Refrigerate for 10 minutes.
Dip the liner again in the melted chocolate to get a thicker layer of chocolate and refrigerate again. Repeat these steps to make 3 more cups.
Once cool, separate the chocolate cups from silicone liners slowly and carefully. Refrigerate till the time of use.
Method-2: For this method a small paint brush will be required.

Paint a thin layer of chocolate onto the inside of each cupcake liner. Refrigerate them for 10 minutes.
Paint a second thin layer of chocolate on top of the first layer and refrigerate for another 10 minutes.
Carefully pop the chocolate cups out of the liners. Refrigerate till the time of use.

* Feel free to use white chocolate or mix of dark and white chocolate.

Strawberry Fool:

Yields: 4 servings | Prep time: 10 minutes

Ingredients:

  • 6 large frozen strawberries, hulled and thawed
  • 3 Tbsp caster sugar
  • 1 cup fresh cream (medium fat 40%), chilled
  • For garnish: 2-3 strawberries, sliced or any cookie of your choice, crumbled

Directions:

  1. Chill mixing bowl and beater in freezer for 5 minutes.
  2. In a food processor, blend strawberries to a smooth puree. Mix 2 Tbsp sugar in the puree and set aside.
  3. Remove mixing bowl and beater from freezer. Add fresh cream to the mixing bowl and whisk. Gradually add 1 Tbsp sugar to the cream and whip till you get stiff peaks.
  4. Fold the strawberry puree in to a whipped cream until nearly incorporated, leaving a few streaks of whipped cream and strawberry puree. Divide the mixture among 4-chocolate cups. Serve immediately garnished with strawberry slices/cookie crumble or refrigerate for up to 2-3 hours.

P.S. Writing a short post requires a skill I don’t seem to possess! Have a happy weekend! 🙂

Share this recipe:

Caprese Ice-cream

Does the title of this post shock you? Do you think it’s a typo? Nope… It is exactly what you read it is. Caprese Ice-cream… It has tomatoes, basil, Mozzarella cheese and whatever else an authentic Caprese Salad is supposed to have!

Caprese Ice-cream1


A perfect summer entrée for your guests!

It is the last day of the week-long ice-cream marathon going on here and I wanted to come up with an out-of-the-box flavor! A unique ice-cream which you have never read about on any other blog or probably (I’m just guessing) have never had it at any of the sophisticated restaurants! A treat I have specially created for you!

Our favorite summer salad made into an ice-cream!

It is actually a mix between ice-cream and sherbet.

It’s beautiful pink color will be a complete deception for your guests till they take a first bite of it!

It has a very refreshing kick from basil and is light on palate due to tomatoes.

We cook the tomatoes and basil leaves with olive oil on low-heat thus extracting basil flavors completely. The sieved puree is then mixed with Mozzarella cheese, salt, pepper, sugar mayonnaise and whipped cream.. Freeze it overnight and just before serving blend it to a smooth consistency like how we made our frozen whip and serve immediately!

You can even add roasted~peeled~pureed red bell paper to add a different dimension to it!

Trust me it is a perfect start to your elaborate dinner party. Just double the recipe if serving a larger crowd.

Caprese Ice-cream2

Caprese Ice-cream

Serves: 4 | Serving: 1 scoop | Yields: 4 scoops

Ingredients:

  • 15-17 cherry tomatoes
  • 1/2 Tbsp extra-virgin olive oil
  • 4-5 basil leaves
  • salt and freshly cracked pepper, as per taste
  • 1 Tbsp finely grated Mozzarella cheese
  • 1/2 tsp mayonnaise
  • A dash of lemon juice
  • 1 Tbsp caster sugar
  • 3 Tbsp fresh Medium fat cream (40%)

Directions:

Add tomatoes, olive oil and basil leaves in a saucepan and cook it covered on a low-flame for about 4-5 minutes till the tomatoes have soften, stirring occasionally. Pass them through sieve to remove the skin, seeds and leaves.

Season the puree with salt and pepper. Add grated Mozzarella, mayonnaise and lemon juice to it.

In a separate bowl, whip the cream and sugar together till you get a soft peak. Fold in the tomato mixture in a cream mixture and scoop it in a airtight container. Freeze it overnight.

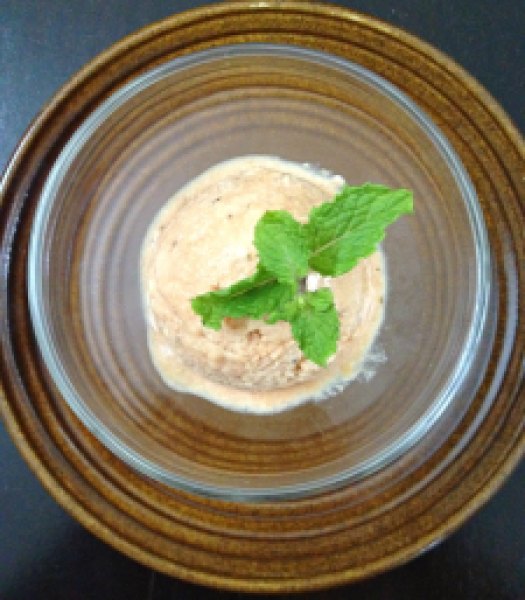
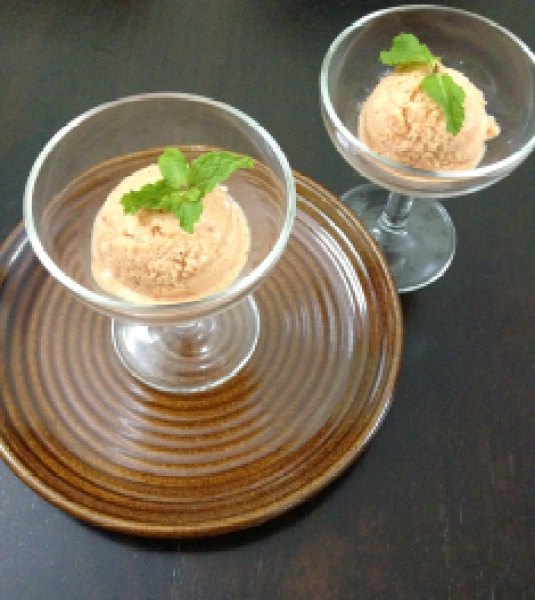
Just before serving, add the frozen ice-cream to your blender and process it till you get a smooth consistency. Scoop and serve in individual glasses topped with basil or mint leaves.

*The last step of blending before serving is MUST as the tomatoes have high water content and therefore the ice-cream straight out of the freezer will be icy.

Enjoy!

Share this recipe:

Zesty Lemon Ice-cream with Blueberry Swirl

Zesty Lemon Ice-cream with Blueberry Swirl1

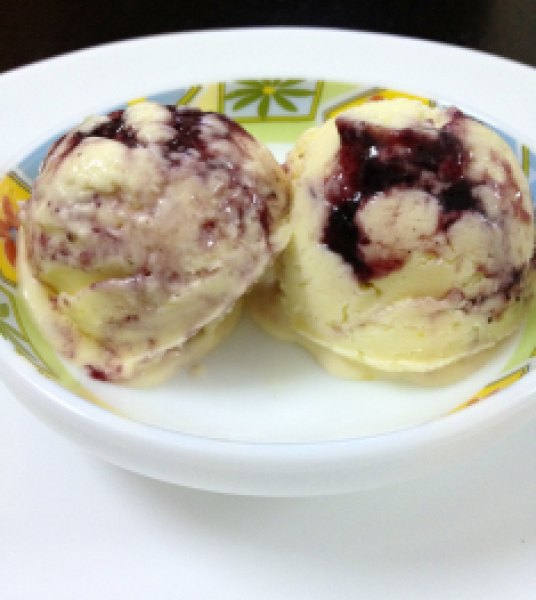
I have a declaration to make. This is by far THE best ice-cream I have ever made! Seriously!!! It’s so good that I could not believe this was made by me at home without the use of ice-cream maker. It came out so perfect, it was definitely to die for!

It was tart, light, refreshing, tangy, sweet, velvety… Lick-your-bowl good if you still don’t get what I mean! Everything you want your lemon ice-cream to be and more!

This ice-cream definitely screams SUMMER!

We are making this one little bit differently than how we were doing with our previous ice-creams. First, we need to make lemon curd for the base and then fold it in with whipped cream. That’s it!

Lemon curd is wonderful and super easy to make. It is so versatile that apart from using it in this ice-cream, you can use this as a filling for your tarts, pies and cakes or simply as a spread for your scones!

We are going to cook the lemon curd in a stainless steel bowl placed over a saucepan of simmering water aka double boiler. It will only take about 3-4 minutes to cook.

I have scaled down the recipe to make ice-cream for just 2 people. I have been whipping ice-cream daily so you can understand why I would do this! But I regretted my decision as soon as I had its first bite.. It was heavenly! And I wanted more!! 🙁

So let’s get down to the business!

Zesty Lemon Ice-cream with Blueberry Swirl2

Zesty Lemon Ice-cream with Blueberry Swirl

Yields: around 6 scoops

Ingredients:

  • 1 small egg
  • 1/4 cup granulated white sugar
  • 1 Tbsp lemon juice, sieved so that it is free from pulp
  • 1 Tbsp unsalted butter, room temperature
  • Lemon zest from 1 lemon
  • 1/2 cup fresh medium fat cream (40%), chilled
  • 2 Tbsp blueberry compote

Directions:

  1. In a stainless steel bowl placed over a saucepan of simmering water, whisk together the egg, sugar and lemon juice until blended. Cook, stirring constantly (to prevent from curdling), until the mixture becomes thick. This will take about 3-4 minutes to cook.
  2. Remove from heat and immediately pass the mixture through the sieve to remove any extra lumps. Whisk in butter and lemon zest. Let cool. It will continue to thicken as it cools down further. Freeze it till cream is ready.
  3. Whip the fresh cream till soft peaks form. Gently fold in the chilled lemon curd. If it is too tart for you then add more cream as per your taste.
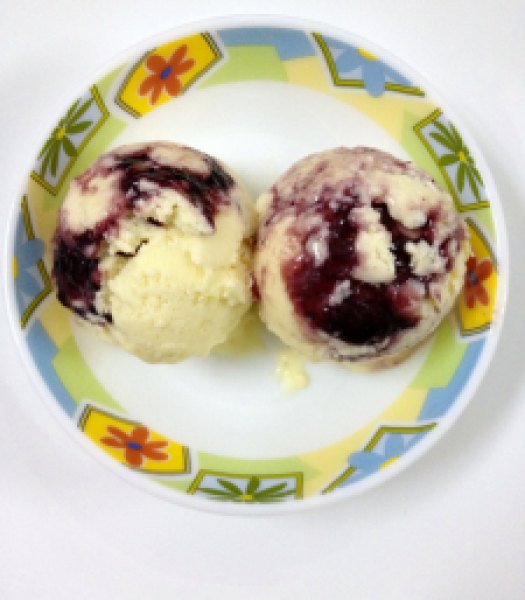
  4. In a small airtight container, spoon in half the mixture and top it with blueberry compote, top with rest of the mixture and freeze for 4-5 hours before serving. Serve it topped with fresh blueberries and dig in!

*Tips: Lemon curd has to be made with fresh lemons. Juice lemons at room temperature to get more juice and strain the juice to remove any pulp from it. While grating the zest from the lemon, be sure not to remove pith (white membrane) from the lemon as it is very bitter tasting. Cold lemons are much easier to zest. You can use a zester or fine grater for this. Do this just before using as the zest will lose moisture if it sits out too long.

Lemon curd recipe scaled down and barely adapted from Joy Of Baking

Share this recipe: