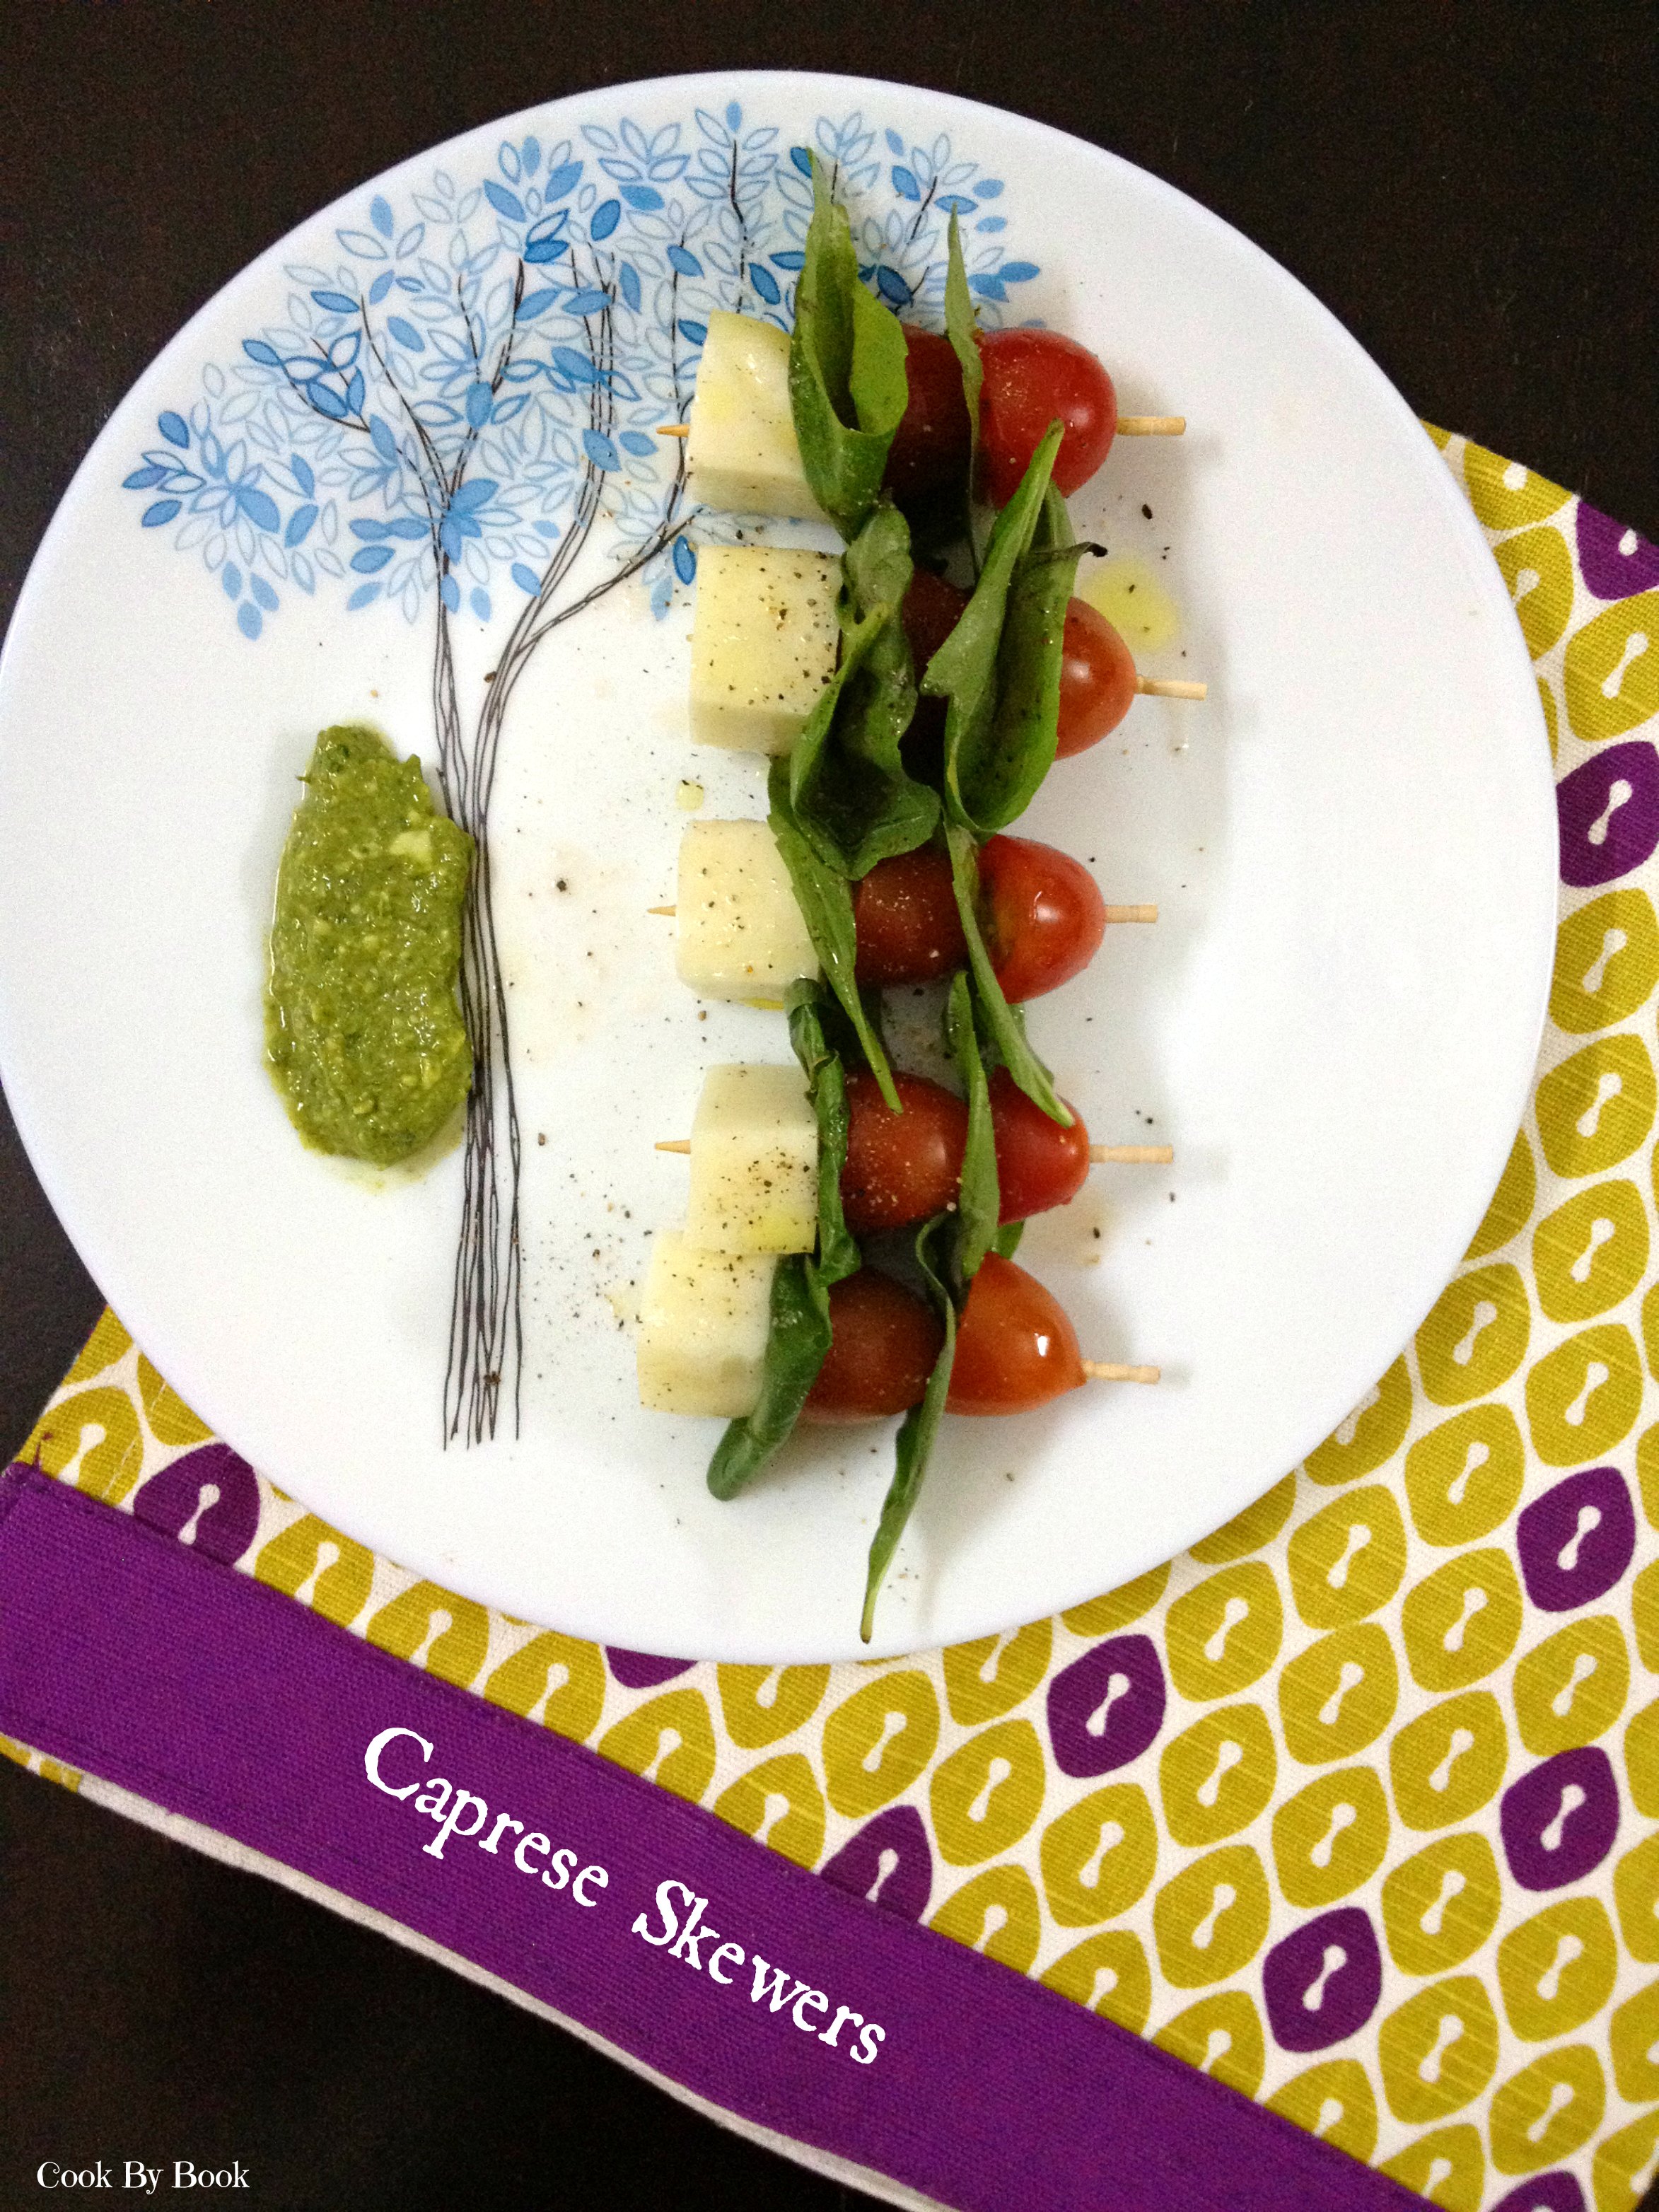
So I made some Caprese skewers.. They are so dang cute! Of course there is absolutely no need of a recipe to make them. It’s just cherry tomatoes, basil leaves and Mozzarella cheese on thrown together on a stick seasoned with salt, pepper, olive oil and balsamic vinegar. That simple! Making these is a child’s play and they’ll rock any party! It can be served as an appetizer or as a last course with favorite cocktail or wine! 😉
I served these skewers with spinach walnut pesto.. Hmm… seems interesting?! Require a recipe for another quick pesto? Then read on.. I have told time and again that pesto is my fave. It is so versatile. I made a big enough batch for only 2 of us in the house and served it with these skewers, made dinner with some spaghetti, threw some in my breakfast omelet and made some grilled cheese for lunch. Phew!
So let’s get down to the recipe business!
Caprese Skewers:
Ingredients:
cherry tomatoes, halved
fresh Mozzarella balls
basil leaves
extra-virgin olive oil
balsamic vinegar
salt and pepper, as per taste
Directions:
Skewer the cherry tomatoes alternating with basil leaves and Mozzarella balls. Once they are all skewered, drizzle with balsamic vinegar and olive oil. Sprinkle with a little salt and pepper and serve alongside spinach walnut pesto.
Spinach Walnut Pesto
Ingredients:
3 cups spinach leaves
2 cloves fresh garlic
1/2 cup walnuts, toasted or untoasted (I’m lazy & used untoasted)
3/4 cup Parmesan cheese
3 Tbsp lemon juice
salt and pepper, to taste
3/4 cup olive oil to begin with, add more as and if required
Directions:
Blend all the ingredients in a food processor till smooth puree is formed. Add more olive oil as and if required. Store in an air-tight container and refrigerate up to 4-5 days.
Its been ages since I last posted drink’s recipe here. In fact, its been long since I stirred up some new fancy-schmancy drink! I have been drinking my share of Iced teas and coffees but have not created any new combination worth sharing…
So here is what I made over this past weekend. And it involves something I’ve been drinking a lot lately! Cocojal.. It’s nothing but packaged tender coconut water.. It comes in pineapple and lime flavors too but I prefer it plain, unflavored one. I’m in so much love with it that I have almost 2 bottles a day. You can see I’m totally addicted!
I know what you guys are thinking.. Every nook and corner of my part of world is bursting with vendors selling tender coconuts and still I drink packaged version! Shocked?! Don’t be.. I prefer the packaged version for several reasons. It’s convenient, I like it chilled and you know it is going to be sweet every single time! If you’re against packaged stuff then feel free to use fresh tender coconut water.
I have been craving for some vacation from quite sometime now. Situation has it that it’s not going to be possible for sometime. Hence I took control of the situation, made this, put my feet up and relaxed while sipping on these. And I envisioned myself at my favorite beach in Goa! If you are in more of a celebratory mood, add champagne/white wine to it!
There is no specific recipe for it as such as it is not exactly science. Feel free to make with whatever combination works for you. It is just that simple… No sugar added required!
I was feeling tropicalish so I added a drop of blue food-color to my drink and it turned in to perfect ocean blue! If you hate food-colors then add Curacao Bleu syrup to achieve the desired blue. Double or triple the recipe if serving a larger crowd as it is so perfect for parties. If making this for girls’ night or bridal shower, add a drop of pink/red food-color! Again you may add a splash of Grenadine syrup to achieve the desired pink. World is much better in PINK! 😉
Garnish with fruits like berries or pineapple and cheers!
Serenity ~aka~ Coconut Fruit Punch(vegan, gluten free, soy free, no added sugar)
Combine all the ingredients together in a large bowl or pitcher, stir and refrigerate till it is time to serve. Garnish with fruits on stick.
*Notes:
Do not add ice-cubes to the drink. It makes the drink more watery. If you want then freeze coconut water, pineapple juice or apple juice in an ice-cube tray in advance and add them to drink as “ice” cubes.
Liqueur lovers can stir-in champagne/white wine to the drink.
P.S. I have not been compensated by Cocojal in any way for writing this post. All the opinions expressed here are personal.
I hope to write a small post! Is that even possible? Humph.. Let’s try and see..
I’m writing about this easiest dessert ever today… It is an English classic! I’m talking about Strawberry Fool.. The name says it all! It is so simple that any fool should be able to make it! No kidding 😀
The fool ~ this dessert is nothing but sweetened fruit folded into stiffly peaked and slightly sweetened whipped cream. THAT IS IT! Berries work perfectly for this dessert, especially strawberries. Kiwi and rhubarb would be a nice twist too.
For serving my fool, I made heart-shaped chocolate cups! Do you remember my post “Brownie Bombs“? I had mentioned in that post that even after coating all the cake pops generously I still had some left-over melted chocolate. I had to think on my feet… How to turn this left-over melted chocolate into something amazing and this impromptu idea came to my mind. Very easy to make. All you need is silicone cupcake liners.
Chocolate cups are so easy to make that once you’ve started, it is difficult to stop. You’ll find yourself stuffing them with all sorta yumminess out there! Imagine your favorite peanut butter, ice-creams, mousse and cheesecake served in these edible chocolate cups. Now no need to lick the plate!
DIY chocolate cup seated on my DIY cupcake stand!
Don’t overfill the cups with fool like I did! 😛
Chocolate and strawberries are match made in heaven. So serving strawberry fool in a chocolate cup makes for a perfect and elegant party-dessert. Chocolate cups can be made ahead and stored in refrigerator for months and strawberry fool is a no-cook, no-nonsense dessert. Perfect for last-minute dessert-fix or midnight-cravings!
P.S. I’m sorry but I do not have step-by-step photos for chocolate cups. As you can imagine my kitchen and hands were covered in chocolate. 😛 But do not worry. These are easy-peesy to make and you will not require my horrible photographic skills to show you that.
DIY Chocolate Cups:
Yields: 4 cups
Ingredients:
50 gm dark chocolate*, melted
4 silicone cupcake liners, frozen for 5 minutes
small sheet of grease-proof baking paper
Directions:
For detailed information on how to melt chocolate: Refer to this post
Method-1:
Dip the outer surface of the silicone liner into the melted chocolate. Remove the excess chocolate by giving the liner a slight shake. Ensure that the chocolate coats the liner evenly. Upturn the liner and place it on grease-proof baking paper. Refrigerate for 10 minutes.
Dip the liner again in the melted chocolate to get a thicker layer of chocolate and refrigerate again. Repeat these steps to make 3 more cups.
Once cool, separate the chocolate cups from silicone liners slowly and carefully. Refrigerate till the time of use. Method-2: For this method a small paint brush will be required.
Paint a thin layer of chocolate onto the inside of each cupcake liner. Refrigerate them for 10 minutes.
Paint a second thin layer of chocolate on top of the first layer and refrigerate for another 10 minutes.
Carefully pop the chocolate cups out of the liners. Refrigerate till the time of use.
* Feel free to use white chocolate or mix of dark and white chocolate.
Strawberry Fool:
Yields: 4 servings | Prep time: 10 minutes
Ingredients:
6 large frozen strawberries, hulled and thawed
3 Tbsp caster sugar
1 cup fresh cream (medium fat 40%), chilled
For garnish: 2-3 strawberries, sliced or any cookie of your choice, crumbled
Directions:
Chill mixing bowl and beater in freezer for 5 minutes.
In a food processor, blend strawberries to a smooth puree. Mix 2 Tbsp sugar in the puree and set aside.
Remove mixing bowl and beater from freezer. Add fresh cream to the mixing bowl and whisk. Gradually add 1 Tbsp sugar to the cream and whip till you get stiff peaks.
Fold the strawberry puree in to a whipped cream until nearly incorporated, leaving a few streaks of whipped cream and strawberry puree. Divide the mixture among 4-chocolate cups. Serve immediately garnished with strawberry slices/cookie crumble or refrigerate for up to 2-3 hours.
P.S. Writing a short post requires a skill I don’t seem to possess! Have a happy weekend! 🙂
I want to make a confession. This is a very simple and classic soup. There… I said it! I am not bringing you some fancy-schmancy recipe today. Just an old classic… Flavored as per my liking and made skinny of course! I didn’t even want to post this recipe for its sheer simplicity. But the flavors were so bang on that I had to bring it forward to you guys!
This soup is so hearty that it is a complete meal in itself. Make this on a cloudy, rainy, grey, cold evening, have it curled up under a blanket and it won’t disappoint you! The aroma of the soup will soothe your mind and soul. It will love you back! (Really!!!) I made this on one such rainy Saturday afternoon and it did hug me back! 🙂
This recipe is inspired by Jamie Oliver‘s book Ministry Of Food. He says that this soup is also surprisingly delicious eaten fridge-cold on a summer’s day with a squeeze of lemon juice and a dollop of natural yogurt. I would love to try it this way too! But I might have to wait for the next summer to arrive…
All the ingredients used in this soup are very earthy… just like rain. Leek is a dominant flavor in here. While celery adds a nice boost of flavor, carrot adds a touch of sweetness and potatoes give it a creamy texture. I would recommend not skipping onion powder and thyme for a complete experience.
Make this soup and bask in the serenity of warmth the soup surrounds you with!
*Preparing Leek : Cut the ends off leek and discard. Quarter the leek lengthwise, wash under running water to remove all the grit and cut them into slices. Save a 2-inch piece from the end of leek and julienne it for garnishing.
Heat a deep sauce pan on a high heat and add olive oil to it. Add garlic, leek, carrot and celery to the pan and sauté for around 5 minutes with the lid askew on a medium heat.
Add onion powder, thyme and vegetable stock to the pan. Let it simmer on high heat till the stock has come to a boil.
Add potatoes and give the soup a good stir with wooden spoon. Reduce the heat and let it simmer for 10-15 minutes with the lid on. At this point the potatoes would be just cooked and soft. Do not overcook them.
Remove the pan from the heat. Season with salt and freshly cracked pepper. Pulse until smooth using a hand blender. Adjust the seasoning and consistency as per your liking. Serve garnished with julienned leek.
It was a conscious decision to stay-away from this dangerous mug-cake only because of its sheer convenience. I did not need a confirmation that I can make this cake whenever chocolate-cravings hit me.
As all our resolutions come to an end sooner or later, on a particularly depressing morning, I caved in! And it definitely lifted my spirits up instantly! Yaay for broken resolutions! I’m totally hooked to this one and will be definitely trying different versions! 😛
I know there are infinite versions of mug-cakes floating on the web since 2-3 years and I did check out many of them. But I had a few things in mind about how I wanted this cake to be so I ended up making my own version of this sinful dessert. For one wanted this cake to be eggless and a wee-bit healthier so that I don’t feel too much guilty about gobbling it up.
Another criteria was a perfectly soft, moist and fluffy cake. I can’t tolerate dry crumbs. But microwave especially has a tendency to snatch away moisture and make everything dry. So timing here is a key. Do not over-cook it. Check it after 1 minute + 10 seconds. If not done then cook for another 10 to 20 seconds.
It will take you more time to assemble all the ingredients than for it to actually cook! Perfect for unusual cravings or unexpected company! It would be ready in a jiffy! For it to look more posh, make it in a fancy tea-cups/Ramekins and serve it with ice-cream or whipped creamwith fresh fruits. Add anything else you want in the batter like chopped nuts, dark/white chocolate chips, butterscotch chips, dried fruits, M & Ms, sprinkles… Tini-tiny pieces of delicious surprise in every bite! Pure happiness!
Mouth-watering? Read on to find out how it’s done. Be warned ~ it’s addictive!
In a medium-sized microwave-safe mug/ramekin add flour, sugar, cocoa powder, baking soda and salt. Whisk with fork until combined.
Add oil, milk, Nutella, vanilla extract and mix with a fork until no lumps remain in the batter.
Sprinkle top of batter with M & Ms or chocolate chips. Microwave on high for 1 to 1 1/2 minutes. Mine was done in 1 minute + 10 seconds so check at that mark and if it is not cooked through then let cook for another 10 to 20 seconds. Be careful as you don’t want a dry cake. Sprinkle with powdered sugar and serve immediately.