I hope to write a small post! Is that even possible? Humph.. Let’s try and see..
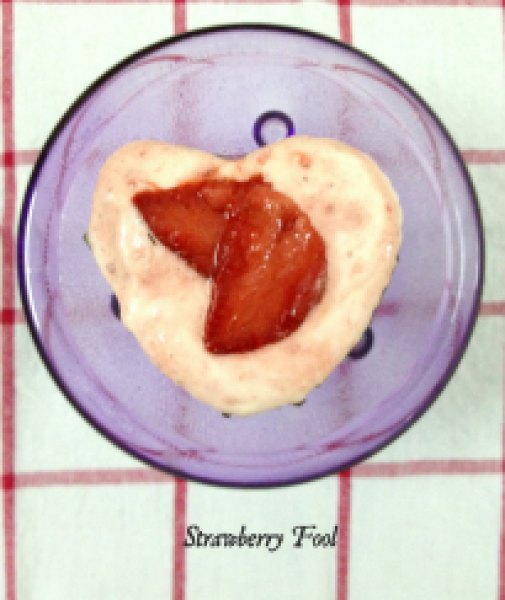
I’m writing about this easiest dessert ever today… It is an English classic! I’m talking about Strawberry Fool.. The name says it all! It is so simple that any fool should be able to make it! No kidding 😀
The fool ~ this dessert is nothing but sweetened fruit folded into stiffly peaked and slightly sweetened whipped cream. THAT IS IT! Berries work perfectly for this dessert, especially strawberries. Kiwi and rhubarb would be a nice twist too.
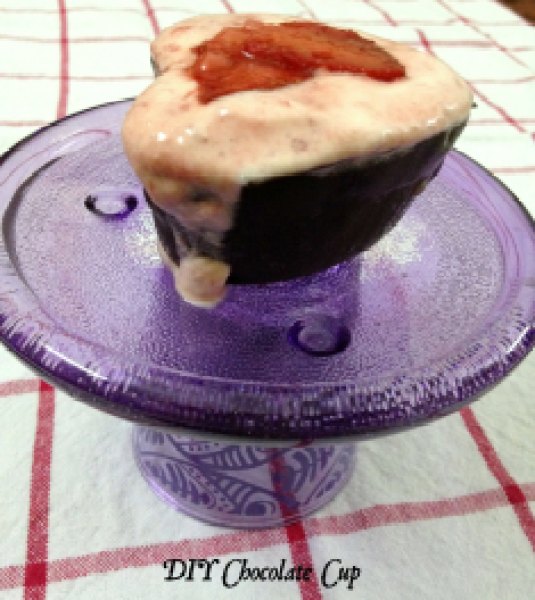
For serving my fool, I made heart-shaped chocolate cups! Do you remember my post “Brownie Bombs“? I had mentioned in that post that even after coating all the cake pops generously I still had some left-over melted chocolate. I had to think on my feet… How to turn this left-over melted chocolate into something amazing and this impromptu idea came to my mind. Very easy to make. All you need is silicone cupcake liners.
Chocolate cups are so easy to make that once you’ve started, it is difficult to stop. You’ll find yourself stuffing them with all sorta yumminess out there! Imagine your favorite peanut butter, ice-creams, mousse and cheesecake served in these edible chocolate cups. Now no need to lick the plate!

Don’t overfill the cups with fool like I did! 😛
Chocolate and strawberries are match made in heaven. So serving strawberry fool in a chocolate cup makes for a perfect and elegant party-dessert. Chocolate cups can be made ahead and stored in refrigerator for months and strawberry fool is a no-cook, no-nonsense dessert. Perfect for last-minute dessert-fix or midnight-cravings!
P.S. I’m sorry but I do not have step-by-step photos for chocolate cups. As you can imagine my kitchen and hands were covered in chocolate. 😛 But do not worry. These are easy-peesy to make and you will not require my horrible photographic skills to show you that.
DIY Chocolate Cups:
Yields: 4 cups
Ingredients:
- 50 gm dark chocolate*, melted
- 4 silicone cupcake liners, frozen for 5 minutes
- small sheet of grease-proof baking paper
Directions:
For detailed information on how to melt chocolate: Refer to this post
Method-1:
Dip the outer surface of the silicone liner into the melted chocolate. Remove the excess chocolate by giving the liner a slight shake. Ensure that the chocolate coats the liner evenly. Upturn the liner and place it on grease-proof baking paper. Refrigerate for 10 minutes.
Dip the liner again in the melted chocolate to get a thicker layer of chocolate and refrigerate again. Repeat these steps to make 3 more cups.
Once cool, separate the chocolate cups from silicone liners slowly and carefully. Refrigerate till the time of use.
Method-2: For this method a small paint brush will be required.
Paint a thin layer of chocolate onto the inside of each cupcake liner. Refrigerate them for 10 minutes.
Paint a second thin layer of chocolate on top of the first layer and refrigerate for another 10 minutes.
Carefully pop the chocolate cups out of the liners. Refrigerate till the time of use.
* Feel free to use white chocolate or mix of dark and white chocolate.
Strawberry Fool:
Yields: 4 servings | Prep time: 10 minutes
Ingredients:
- 6 large frozen strawberries, hulled and thawed
- 3 Tbsp caster sugar
- 1 cup fresh cream (medium fat 40%), chilled
- For garnish: 2-3 strawberries, sliced or any cookie of your choice, crumbled
Directions:
- Chill mixing bowl and beater in freezer for 5 minutes.
- In a food processor, blend strawberries to a smooth puree. Mix 2 Tbsp sugar in the puree and set aside.
- Remove mixing bowl and beater from freezer. Add fresh cream to the mixing bowl and whisk. Gradually add 1 Tbsp sugar to the cream and whip till you get stiff peaks.
- Fold the strawberry puree in to a whipped cream until nearly incorporated, leaving a few streaks of whipped cream and strawberry puree. Divide the mixture among 4-chocolate cups. Serve immediately garnished with strawberry slices/cookie crumble or refrigerate for up to 2-3 hours.
P.S. Writing a short post requires a skill I don’t seem to possess! Have a happy weekend! 🙂


