Category: Summer

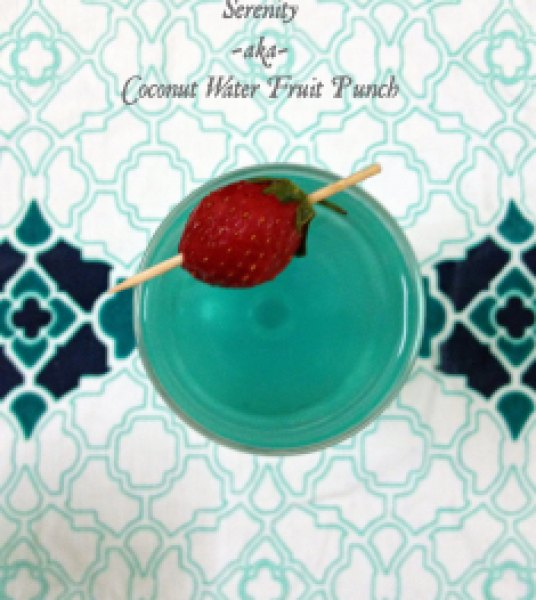
Serenity ~ Coconut Water Fruit Punch

Serenity2
Its been ages since I last posted drink’s recipe here. In fact, its been long since I stirred up some new fancy-schmancy drink! I have been drinking my share of Iced teas and coffees but have not created any new combination worth sharing…
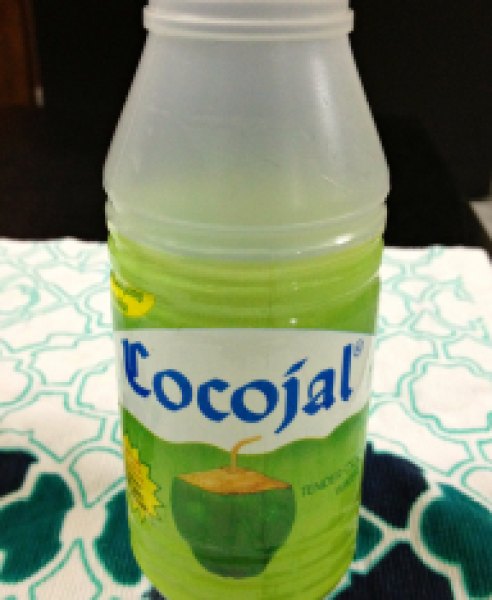
So here is what I made over this past weekend. And it involves something I’ve been drinking a lot lately! Cocojal.. It’s nothing but packaged tender coconut water.. It comes in pineapple and lime flavors too but I prefer it plain, unflavored one. I’m in so much love with it that I have almost 2 bottles a day. You can see I’m totally addicted!
Serenity3
I know what you guys are thinking.. Every nook and corner of my part of world is bursting with vendors selling tender coconuts and still I drink packaged version! Shocked?! Don’t be.. I prefer the packaged version for several reasons. It’s convenient, I like it chilled and you know it is going to be sweet every single time! If you’re against packaged stuff then feel free to use fresh tender coconut water.
I have been craving for some vacation from quite sometime now. Situation has it that it’s not going to be possible for sometime. Hence I took control of the situation, made this, put my feet up and relaxed while sipping on these. And I envisioned myself at my favorite beach in Goa! If you are in more of a celebratory mood, add champagne/white wine to it!
There is no specific recipe for it as such as it is not exactly science. Feel free to make with whatever combination works for you. It is just that simple… No sugar added required!
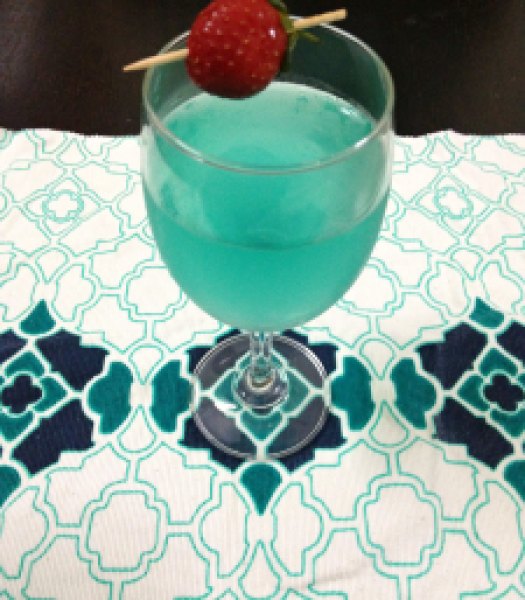
I was feeling tropicalish so I added a drop of blue food-color to my drink and it turned in to perfect ocean blue! If you hate food-colors then add Curacao Bleu syrup to achieve the desired blue. Double or triple the recipe if serving a larger crowd as it is so perfect for parties. If making this for girls’ night or bridal shower, add a drop of pink/red food-color! Again you may add a splash of Grenadine syrup to achieve the desired pink. World is much better in PINK! 😉
Garnish with fruits like berries or pineapple and cheers!
Serenity1
Serenity ~aka~ Coconut Fruit Punch (vegan, gluten free, soy free, no added sugar)
Serves: 4
Ingredients:
  • 3 bottles Cocojal, 600 ml (approx 20 oz)
  • 1/2 cup apple juice
  • 1/2 cup pineapple juice
  • 1 drop blue food colouring
  • Choice of frozen/fresh fruit cubes, for serving

Directions:

Combine all the ingredients together in a large bowl or pitcher, stir and refrigerate till it is time to serve. Garnish with fruits on stick.

*Notes:

Do not add ice-cubes to the drink. It makes the drink more watery. If you want then freeze coconut water, pineapple juice or apple juice in an ice-cube tray in advance and add them to drink as “ice” cubes.
Liqueur lovers can stir-in champagne/white wine to the drink.

P.S. I have not been compensated by Cocojal in any way for writing this post. All the opinions expressed here are personal.

Share this recipe:

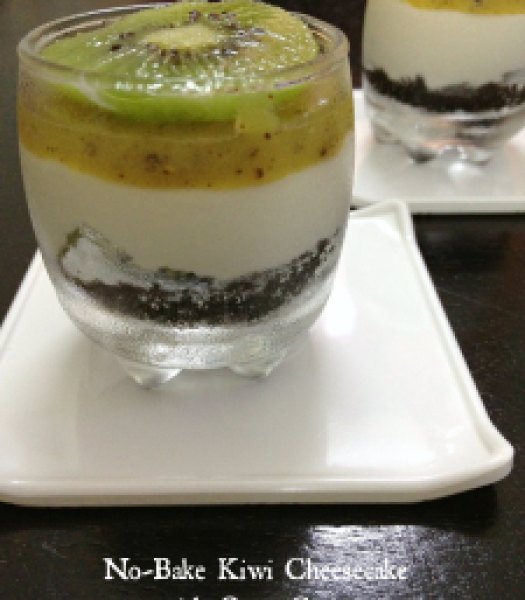
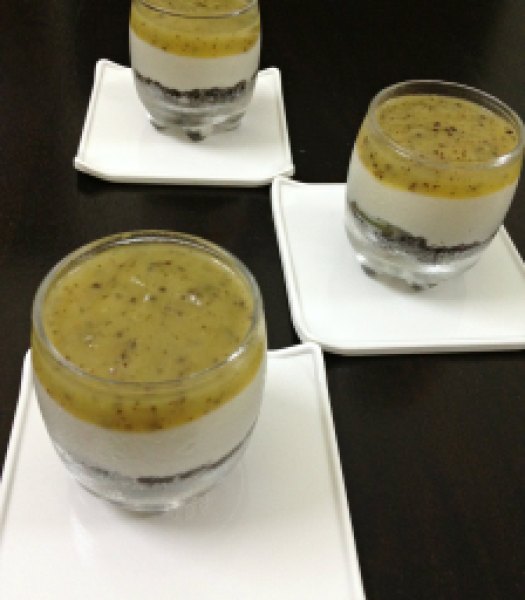
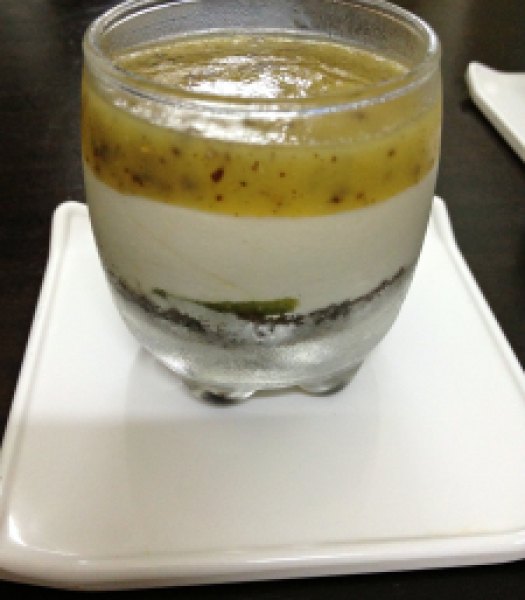
No-Bake Kiwi Cheesecake with Oreo Crust

No-Bake Kiwi Cheesecake1
Yesterday was a National Cheesecake Day and this is my 50th post on the blog! So let’s combine this two very important occasions of my life and celebrate! With cheesecake!! Now you’re talking! 😉
I have a confession to make! I made this cheesecake more than a month ago and totally forgot to blog about them.. Yesterday when National Cheesecake Day tweet was doing rounds, this is the cheesecake which came to my mind instantly… and this too! Sincere apologies for forgetting such an important thing.
Now that this is off my chest let’s move on..
So let’s talk about cheesecake! Cheesecake!! You want it! Really really crave it and then you think of all the extra calories eating one slice or half slice of it entail and then you either eat it anyway and feel guilty or don’t eat it and deprive yourself from this decadence.
No-Bake Kiwi Cheesecake3
I say you can not be making such appalling sacrifices. It’s against the law, you see! So being a smart one here always presenting you guys with skinny treats, I have a solution. Simple… Make mini-cheesecake!!! I’m on a mini-dessert frenzy nowadays… I simply adore them. One thing they are too cute and another is the amazing portion-control you get without making yourself or others feeling culpable for the indulgence.
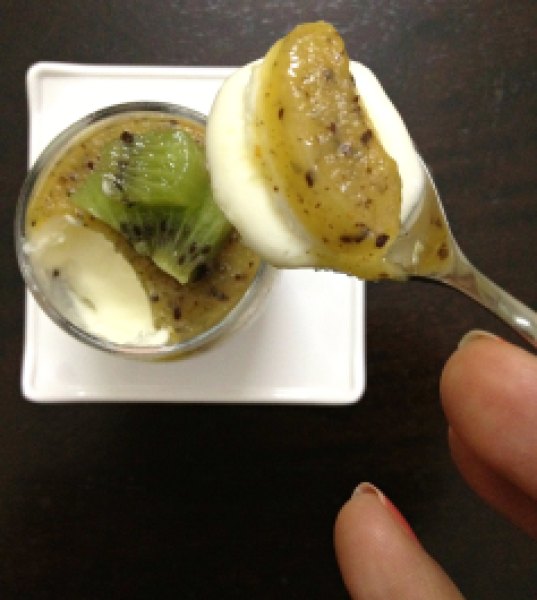
No-Bake Kiwi Cheesecake2
So here I present you today kiwi cheesecake with Oreo crust… I have tried and kept the sugar as less as possible. The cream used here is not full-fat whipping cream instead I have used medium fat cream. So I have done my best to bring you a slightly low-cal version.
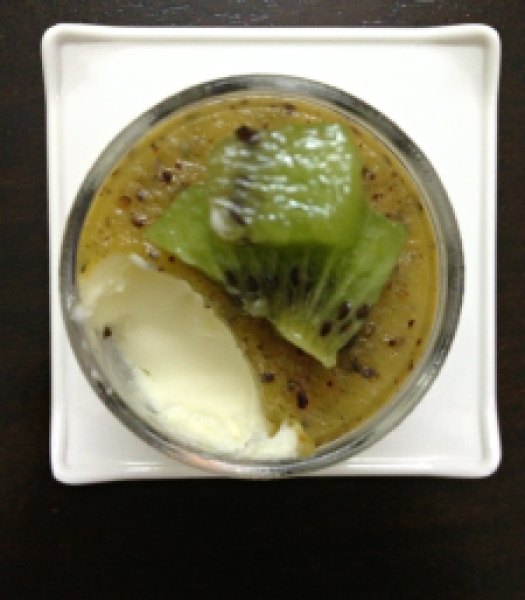
No-Bake Kiwi Cheesecake4
No-Bake Kiwi Cheesecake5
Hubby & I got to eat cheesecake for 3 days in a row. So we were a happy bunch! I hope you enjoy this as much as we did.
No-Bake Kiwi Cheesecake with Oreo Crust
Yields: 6 mini cheesecakes
Ingredients:
For Oreo crust:
  • 6-7 Chocolate Oreos
  • 1 Tbsp melted unsalted butter
For the cheesecake:
  • 1/3 cup fresh cream (medium fat 40%), chilled
  • 1/2 cup cream cheese, softened at room temperature
  • 1/4 cup caster sugar
  • 1/2 tsp vanilla extract
  • 1/2 kiwi, peeled and diced
For kiwi jelly:
  • 1 Tbsp agar agar
  • 1/4 cup hot water
  • 1 kiwi, peeled and smoothly pureed
  • 1 Tbsp caster sugar
For garnishing: Sliced or diced fresh Kiwi fruit
Directions:
  1. Blend Oreos and melted butter in a food processor till fine crumbs form. Place 1 Tbsp of crumb at the base of the each shot glasses and press down firmly. Place glasses in refrigerator till you prepare cheesecake filling.
  2. Whip cream cheese, sugar and vanilla extract till soft peaks form. Whip the cream in  a separate bowl till the soft peaks form. Fold in together gently.
  3. Remove shot glasses from the refrigerator. Equally divide cheesecake filling in all the glasses throwing in 2-3 pieces of diced kiwi in between the layers. Refrigerate for at least 2-3 hours.
  4. In a microwave safe bowl, heat the water for 30 seconds and add agar agar to it. Mix thoroughly till agar agar dissolves completely. Add sugar and kiwi puree. Whisk till a thick paste forms. Top the shot glasses with approximately 1 Tbsp of jelly mixture and chill again for 2-3 hours or till jelly has set completely.
  5. Serve chilled, each glass garnished with sliced or 2-3 diced cubes of fresh kiwi.


Share this recipe:

Mediterranean Couscous Salad

Mediterranean Couscous1

“Simplicity is the ultimate sophistication.” ~ Leonardo da Vinci

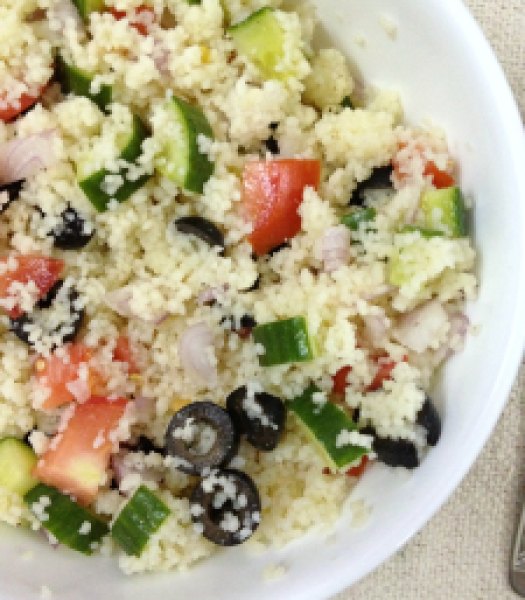
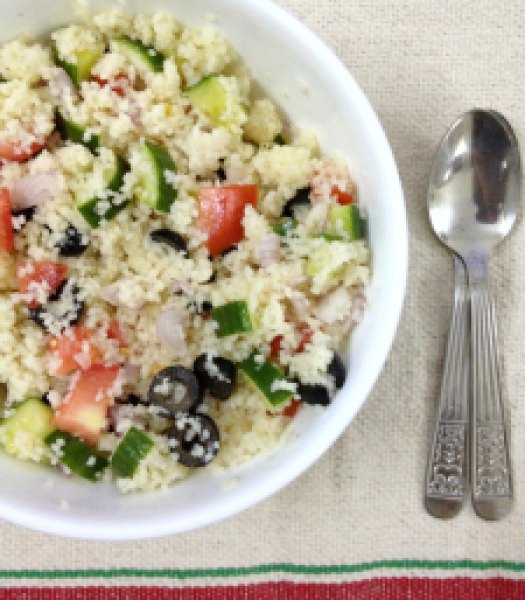
This salad is just that. Simple yet flavorful. Hearty yet sophisticated. Perfect lunch/dinner for those lazy, laid back days. Even better when you have only 15-20 minutes to put up a dinner and have scarce produce in your pantry. You just need couscous and throw in as many or as less veggies you have and you’re all set!

You know I’m a sucker for those lazy, quick recipes and this one here ticks all the boxes for me. And ignore my reflection in a spoon in a pic below.. Thank you! 😛

Mediterranean Couscous2

Mediterranean Couscous Salad

Serves: 2 | Prep time: 10 mins | Cook time: 5 mins

Ingredients:

  • 1 cup couscous (I used Barilla Cous Cous)
  • 1 small red onion, finely chopped
  • 1 tomato, finely chopped or 1/2 cup halved cherry tomatoes
  • 1 small English cucumber, finely chopped
  • 2 Tbsp sliced black olives (If using canned, drain and wash)
  • 2 Tbsp grated cottage cheese (can be substituted with Feta)
  • 1 Tbsp chopped fresh cilantro

For dressing:

  • 1 Tbsp extra-virgin olive oil
  • 1 Tbsp lemon juice
  • 1 clove garlic, minced
  • 1 tsp oregano
  • Salt and pepper, to taste

Directions:

  1. Make couscous according to the package instruction. Transfer the couscous to a large bowl and fluff with a fork. Add onion, tomato, cucumber, olives, cottage cheese and cilantro.
  2. In a small bowl, whisk together all the ingredients for dressing. Season it with salt and pepper.
  3. Pour the dressing over the couscous salad and toss until well combined. Adjust the seasoning and serve.

*This salad can be made in advance and will keep fresh in refrigerator for up to 3 days.
*You can make this salad vegan by replacing cottage cheese with tofu or simply omit it.

Share this recipe:

Fresh Peach Fluffy Pancakes Cake

Fresh Peach Fluffy Panacakes Cake1

Another fruit cake you’ll say, eh? But I just can’t let the amazing plethora of summer fruit pass by just like that. Without a dessert tribute at least!

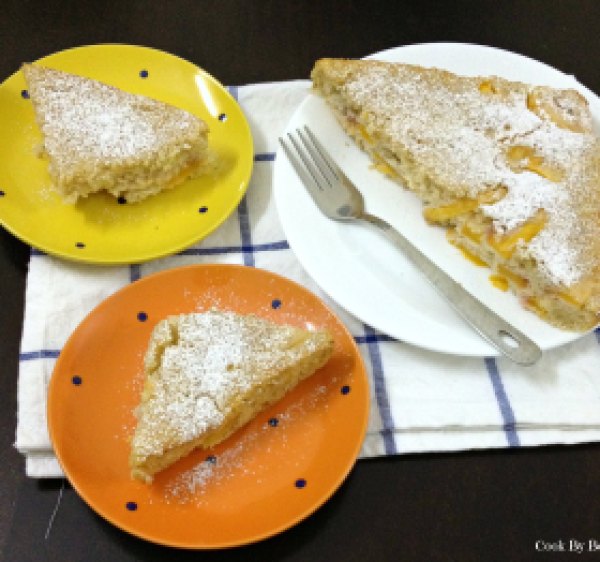
I was too lazy to bake muffins or flip the pancakes so I went an easier route. My favorite buttermilk cake route. I know I have given you this and this this month but this recipe is different from those. Of course it uses buttermilk but it tastes like a cross between muffins and pancakes without having to actually make them! How do you like that! 😉
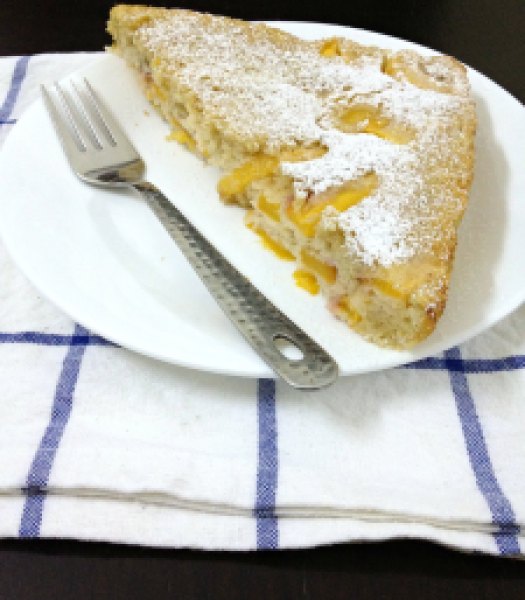
Fresh Peach Fluffy Panacakes Cake3

Just like my previous recipes, this recipe does not require electric mixer and the batter comes together in like 5 minutes total. Seriously! The result is fluffy and tender cake like a perfect pancake should be!
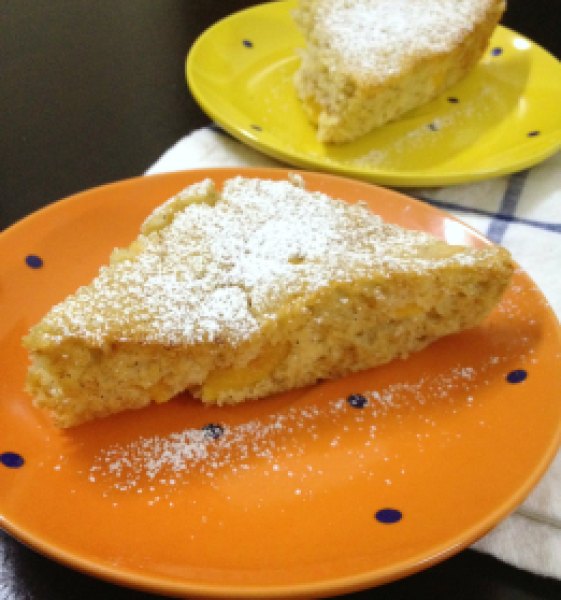
Fresh Peach Fluffy Panacakes Cake2

So how this cake is different from my previous buttermilk cakes? The batter resembles the pancake batter unlike my previous recipes. So no heavy duty mixing for this cake. In fact, you leave the lumps in the batter. Only gentle folding does the job. Another difference is.. Unlike topping the cake with the fruits in our previous recipe, we fold in the fruit in the batter to get peach in every bite! Yum!!
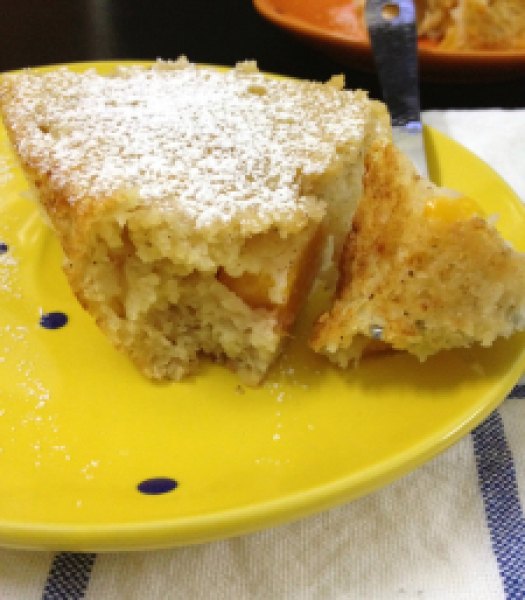
Fresh Peach Fluffy Panacakes Cake4

It’s a gorgeous weather in Bangalore today, I’m having a slice of it while writing this and I just can’t tell you how good it tastes the next day too! I had one slice with the dusting of confectioner’s sugar and another with vanilla ice-cream.. Delicious both ways!

You can replace all-purpose flour with whole wheat flour to make it healthier. Rest, you just got to deal with the sugar! 😛

You have to make this!!! Just be sure to use ripe peaches. Peel them, remove the pit, chop in a bite-sized pieces and you’re ready.. Only 2-3 peaches required!

Fresh Peach Fluffy Pancakes Cake

Prep time: 5-10 mins | Baking time: 35-40 mins

Yields: 8 pieces

Ingredients:

  • 1 cup all-purpose flour
  • 1 Tbsp baking powder
  • ½ tsp ground cinnamon
  • 1/4 tsp ground nutmeg
  • Salt, a pinch
  • 1 large egg
  • ½ cup white granulated sugar
  • ½ cup buttermilk
  • 1/3 cup full-fat yogurt
  • 1 Tbsp vegetable oil
  • 1 tsp vanilla extract
  • 2-3 medium peaches, peeled, thinly sliced (or a combo of stone-fruits)
  • Confectioner’s sugar, for dusting (optional)

Directions:

  1. Preheat the oven to 180°C/350°F. Line 8×8 inches square baking dish with a foil and grease it.
  2. In a large bowl, sift all-purpose flour, baking powder, cinnamon, nutmeg, salt.
  3. In another bowl, whisk egg and sugar together. Add buttermilk, yogurt, oil, vanilla and whisk.
  4. Add wet ingredients to dry ingredients slowly and fold in gently. If you get lumps in better t is all right.
  5. Gently fold in peach cubes. Bake for 35-40 minutes or till the top and sides are golden and toothpick inserted in the center comes out dry.
  6. Let the cake cool in a baking dish for half hour. Slice it and dust with confectioner’s sugar and serve it plain or along with ice-cream.
Share this recipe:

Skinny Zucchini Boats

Skinny Zucchini Boats5

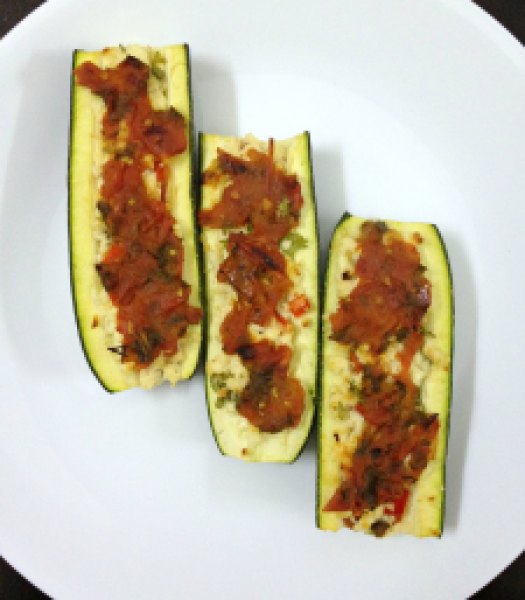
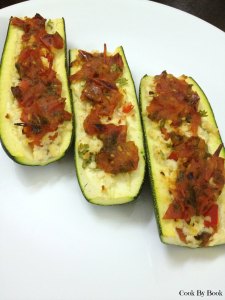
My favorite vegetable of all-time! Such a versatile little thing… So much to create and experiment with! It was about time to get more creative and make these beautiful zucchini boats… Stuffed… Stuffed with cottage cheese filling and freshly prepared Marinara sauce! Oh yeah… you’re in for a treat!

Like I always say.. very easy and quick to prepare and perfect as a side or main course!

There are two parts to this dish – 1> filling and 2>fresh marinara sauce

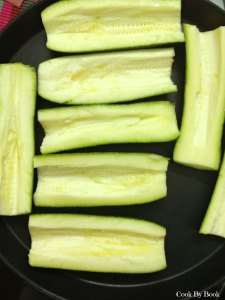
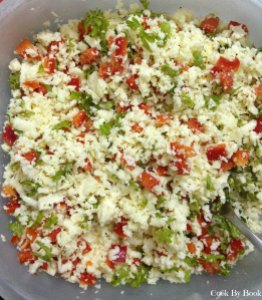
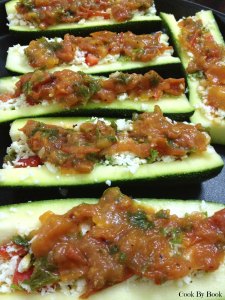
Shucking the zucchini is lots of fun! If using medium sized zucchini then you can part them in middle and then divide them in half, lengthwise. If using smaller zucchinis then just divide them lengthwise. After this zucchinis are hollowed-out and stuffed with the prepared filling and topped with Marinara sauce. All the elements here are raw so it all comes together in no time! Bake them and they are ready to be gobbled!

Eat as many as you want as they are pretty light and low-cal! 😉Skinny Zucchini Boats1Skinny Zucchini Boats2

Skinny Zucchini Boats3Skinny Zucchini Boats4

Skinny Zucchini Boats

Yields: 8 zucchini boats | Serves: 2 for lunch/dinner and 4 as side-dish

Ingredients:

Marinara Sauce:

  • 4-5 tomatoes, blanched, skin peeled and chopped
  • 1 tsp olive oil
  • 2 cloves garlic, smashed and finely chopped
  • 1 large bay leaf
  • 1/2 tsp red chili flakes
  • 1 tsp oregano
  • 2 Tbsp fresh parsley, finely chopped
  • salt and pepper to taste

Skinny Zucchini Boats:

  • 2 medium zucchinis, halved and cut lengthwise
  • 100 gm cottage cheese, grated
  • 1 small red bell pepper, finely chopped
  • 1 Tbsp fresh parsley, diced
  • 1/2 tsp red chili flakes
  • salt and pepper, to taste

Directions:

For Marinara sauce: 

  • In a small pot, heat olive oil over medium heat and saute garlic. Be careful not to burn.
  • Add tomatoes, bay leaf, chili flakes, oregano, salt and pepper. Stir and reduce heat to low. Cover and let simmer for about 10 minutes.
  • Remove the bay leaf and mash tomatoes nicely. Remove from heat and stir in parsley.

For Skinny Zucchini Boats:

  • Preheat oven to 200 C/400 F. After cutting zucchini in half lengthwise, use a spoon or melon baller to scoop out flesh, leaving 1/4″ thick. Discard the flesh or use it in your next veggie recipe.
  • In a small bowl, mix together cottage cheese, red bell pepper, parsley, chilli flakes, salt and pepper.
  • Place scooped out side up on the baking sheet and season it with salt and pepper. With spoon, fill each hollowed-out zucchini with about 2 Tbsp of cottage cheese stuffing and press firmly. Top it generously with marinara sauce.
  • Bake for 25 minutes or till zucchini is cooked through. Serve hot!

*Cheese-lovers don’t be disappointed! ~ Top zucchini boats with mix of grated Parmesan and Mozzarella cheese before baking. Cover with foil and bake for 30 minutes or till cheese melts completely.
*Basil-lovers can replace parsley with basil leaves, both in filling and Marinara sauce.


Share this recipe: