Category: Desserts

Skinny Chocolate Avocado Banana Pudding & Pops – Raw! ~ For Two

Raw Chocolate Avocado Banana Pudding1


Raw Chocolate Avocado Banana Pops1


Okay, so I”m ashamed to EVEN call this a recipe but in actuality it is! However simple it might be. Sometimes simple is all we need. Simple is beautiful. We are experiencing summer at full force and I want to spend minimum time in kitchen that too away from stove and oven. Of course, still wanting extraordinary food to appear magically on my plate so I’m all about quick recipes nowadays. Cold salads, iced coffees/teas, cold cereal, smoothies and frozen fruit treats are what my days are made of.

A raw pudding. And pops. Same ordinary ingredients with just a bit of tweaking gets transformed into two incredibly delicious desserts. Desserts which are healthy and skinny at the same time. All you need is a high-speed blender. And some chocolate, cocoa powder to be specific. And avocado and banana. Avocado-haters, do not fret. You can not taste avocado. Promise! My husband truly hates avocado from the bottom of his heart, if used in anything other than guacamole and he couldn’t tell! Yes, I didn’t tell him beforehand and he couldn’t make out. Win! Also, you can totally have these for breakfast! 😉


Raw Chocolate Avocado Banana Pudding2Raw Chocolate Avocado Banana Pops2


Each recipe serves two but you can easily double, triple or quadruple the recipe to serve more people or have bigger portions. Stay cool this summer with these cool recipes up your sleeves!

Happy Monday you all!

Raw Chocolate Avocado Banana Pudding:
Serves: 2 | Prep time: 2 minutes | Chill time: 3-4 hours
Ingredients:
  • 2 Tbsp unsweetened cocoa powder
  • 1/4 tsp instant coffee powder
  • 1/8 tsp ground cinnamon
  • Pinch of salt
  • 1/2 ripe (large) avocado
  • 1/2 ripe (large) banana (fresh or frozen)
  • 3 Tbsp honey/maple syrup/date syrup
  • 1/2 tsp vanilla extract
  • 10-12 dices of fresh, ripe mango, for garnish

Directions:

Place all the ingredients in a blender (place dry ingredients in the bottom so they don’t stick to the sides of the blender) and whip till you get completely smooth consistency. Divide the pudding between two ramekins/bowls and refrigerate covered for at least 3-4 hours. Serve, topped with mango dices.

*Consume the pudding within 1 day of making it.
*Instead of mango, you may use strawberries/raspberries.

Raw Chocolate Avocado Banana Pops:
Serves: 2 | Prep time: 2 minutes | Chill time: 8 hours/overnight
Ingredients:
  • 2 and 1/2 Tbsp unsweetened cocoa powder
  • 1/4 tsp instant coffee powder
  • Pinch of salt
  • 1/2 ripe (large) avocado
  • 1/2 ripe (large) banana (fresh or frozen)
  • 1/4 cup honey/maple syrup/date syrup
  • 1/2 tsp vanilla extract
  • 1/4 cup water

Directions:

Place all the ingredients in a blender (place dry ingredients in the bottom so they don’t stick to the sides of the blender) and whip till you get completely smooth consistency. Divide between two Popsicle moulds. If you do not have Popsicle moulds then divide between two paper cups like I did and cover with tin foil, poke the center of the foil with the Popsicle stick. Chill in freezer for at least 8 hours/overnight, demould and serve immediately.

P.S. Want to make these Pops even more chocolaty? Cover them with the chocolate magic shell just like a professional by following this easy-peesy tutorial.
P.P.S. Use white chocolate for these Pops! 😉


Share this recipe:

Orange Muffins

Orange Muffins


Mondays should totally begin with muffins. We all need a muffin or two to get through the day and some more to celebrate getting through the day. I hope you all agree with me here.

When I posted Sunshine Smoothie last week, I promised I’ll return with some cake to celebrate the 100th blog-post. So drum-rolls please! I’ve returned today with equally sunshiny, happy-happy orange muffins!


Orange Muffins1

These muffins are perfect to woe away your Monday blues. Eat them any time of the day. With your morning-coffee, evening-tea or as a night-time dessert accompanied by a scoop of vanilla ice-cream. It’s a real treat and your summer-stricken soul will totally thank me. You’re welcome 🙂

Moist and fluffy, these muffins are a total winner. The orange flavor shines through because I’ve used orange zest, freshly squeezed juice and just a touch of orange extract. Look at their color! Addition of yogurt makes them soft and tender. Once out from the oven and still warm, we brush the tops with honey. Warm muffins ensure that honey seeps in. This is optional but totally heavenly. And genius. So do it!


Orange Muffins2


Orange Muffins

Makes: 12 muffins | Prep time: 10 minutes | Bake time: 15 minutes approximately | Total time: 25 minutes

Ingredients:

  • 1 and 1/2 cup all purpose flour
  • 1 tsp baking powder
  • 1/2 tsp baking soda
  • 1/4 tsp salt
  • Zest from 2 oranges
  • 1/2 cup granulated white sugar
  • 1/4 cup oil
  • 2 large eggs
  • 1/2 tsp vanilla extract
  • 1/2 tsp orange extract
  • 1/3 cup plain yogurt
  • 1/3 cup freshly squeezed orange juice
  • 3 Orange slices, seeded and cut into quarters
  • 2 Tbsp honey, to brush the muffin tops (optional)
Directions:
  1. Preheat the oven at 180ºC / 350ºF. Line 12-counts muffin pan with paper liners.
  2. In a mixing bowl, whisk together flour, baking powder, baking soda and salt. Set aside.
  3. In a medium mixing bowl, place the measured white granulated sugar. Grate orange zest in the bowl and using your fingers, rub it against the sugar. Whisk in oil and eggs one by one until completely incorporated. Whisk in vanilla and orange extract.
  4. Gently whisk dry ingredients into wet ingredients in three halves alternating with yogurt and orange juice, ending with dry ingredients. Mix until *just* combined. Do not over-mix the batter.
  5. Divide the batter evenly between 12 muffin liners. Fill each liner till 3/4th mark and no more. Top each muffin with a quarter of the orange slice. Bake for 13-15 minutes or until the toothpick inserted in the center comes out clean. While muffins are still warm from the oven, brush the tops with a layer of honey. The muffins stay fresh for about 3 days stored in an airtight container.
Share this recipe:

Banana Oatmeal Yogurt Pancakes

Banana Oatmeal Yogurt Pancakes1


These delicious banana pancakes got so much attention on Instagram which forced me to post the recipe here. I didn’t photograph them for the blog but have a couple pics to go with the post. So here is the recipe for the softest and fluffiest pancakes which tastes incredible too! With hardly any butter, these pancakes are definitely on a healthier side. I know you have an overripe banana lying around in the house so make these ALREADY 😉


Banana Oatmeal Yogurt Pancakes2


Banana Oatmeal Yogurt Pancakes

Makes: 10-12 pancakes (3-inch size) | Serves: 2-3Prep time: 10 minutes | Cook time: 10 minutes | Total time: 20 minutes

Ingredients:
  • 1/2 cup all-purpose flour*
  • 1/2 cup oats
  • 1/2 tsp baking powder
  • 1/4 tsp salt
  • 1/2 tsp ground cinnamon
  • 1 medium/large very ripe banana, mashed with fork (about 1/2 cup)
  • 1/2 cup yogurt/buttermilk
  • 1 large egg
  • 1/2 tsp vanilla extract
  • 1/4 cup brown sugar
  • 1 Tbsp unsalted butter, melted plus a bit more for greasing
  • Maple syrup, to serve

*You may substitute all-purpose flour with whole wheat flour and add a splash of milk (if required) to reach the correct consistency of batter.

Directions:

  1. In a small bowl, whisk together flour, oats, baking powder, salt and ground cinnamon. Set aside.
  2. In a medium-sized mixing bowl, mash the banana with the fork till no lumps remain. Whisk in yogurt and egg till completely incorporated. Whisk in vanilla extract followed by brown sugar. To this mixture, add dry ingredients to form a smooth batter. Add melted butter to this and let the batter rest for 5 minutes.
  3. Heat a large non-stick or cast iron skillet over medium-low heat and grease with butter. Work in batches. Pour scant 1/4 cup batter for each pancake into the skillet. When the edges begin to look dry and cooked and bubbles dot the top, flip and cook until golden on the other side.
  4. Serve hot, topped with some maple syrup.
Share this recipe:

Oreo Chocolate Brownies

Oreo Chocolate Brownies2

2 months into this year and 2014 has been spectacular so far! In the beginning of the year, Amrita (most popular as a bacon jam lady!) & I decided to do a little food exchange. She being a queen of all things yummilicious, I had a hard time deciding what to send. Just around that time, I had re-made these (Fudgiest!) Chocolate Brownies and sneaked in some Oreo cookies in them. They were epic! Oreo + Chocolate lover’s dream. I decided this was it but was still a bit skeptic.


or
Photo Courtesy – Amrita Kaur


Oreo Chocolate Brownies3

Imagine my relief when she said she totally loved it! She blogged about it too and thanks a ton to her, the recipe became so so popular. I got so many mails and messages from all you lovely people who tried and loved these beauties! I thank all of you beautiful readers who attempted the recipe and reported back. I lou you all. It definitely deserves a spot of its own on the blog so here it is!

Happy Baking! 🙂

Oreo Chocolate Brownies1

Oreo Chocolate Brownies

Makes: 9-12 squares | Prep time: 15 minutes | Bake time: Approximately 35 minutes
Ingredients:

  • 250 gm / 9 oz dark chocolate, roughly sliced
  • 1/2 cup unsalted butter, roughly sliced (approximately 115 gm)
  • 1/2 cup brown sugar
  • 1/2 cup white granulated sugar
  • 3 large eggs, cold
  • 1 tsp vanilla extract
  • 3 Tbsp Rum
  • 1 cup all-purpose flour
  • 1/2 tsp salt
  • 1 Tbsp Hershey’s unsweetened cocoa powder
  • 16 Oreo cookies, plus more for sprinkling
Directions:

  1. Preheat the oven to 180ºF / 350ºC. Grease an 8×8-inch square pan; line base and sides with parchment paper (I use foil).
  2. In a large microwave-safe bowl, melt chocolate, butter and brown sugar in a microwave for 1-2 minute, stirring every 30 seconds. The mixture should be lump-free and glossy. Set aside and let cool for about 10 minutes.
  3. Once chocolate mixture is cooled down, stir white sugar, eggs, vanilla extract and rum into it.
  4. In a separate bowl, sift together flour, salt and cocoa powder and fold into chocolate mixture with wooden spoon or rubber spatula. Pour half the batter in a baking pan and arrange whole 16 Oreo cookies on it in a single layer (do not press them down). Pour rest of the batter and sprinkle few pieces of Oreo on top. Bake for 33-36 minutes, until the toothpick inserted in the center comes out clean or with a few moist crumbs. Let cool completely in pan over a cooling rack. (If you’re in a hurry, throw it in a refrigerator or freezer for a while for easy cutting.)
  5. Lift up the ends of parchment or foil liner, transfer the brownies to cutting board and cut into 9 or 12 squares. Store it in an air-tight container for 3-4 days at room temperature or refrigerate for a week.
Share this recipe:

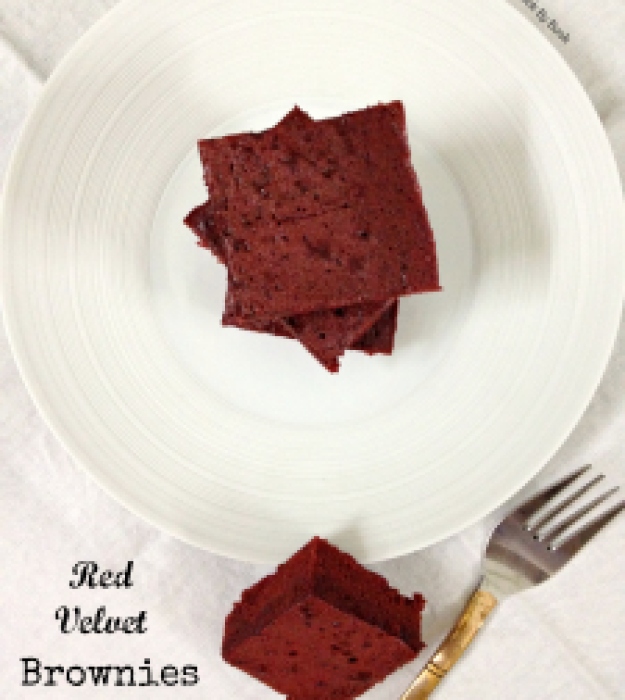
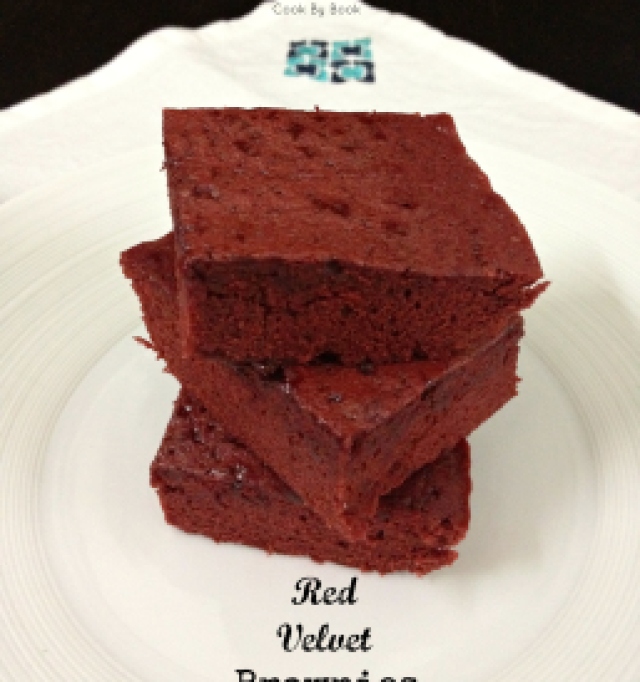
Browned Butter Red Velvet Brownies ~ From Scratch

Red Velvet Brownies1


Hello! Meet the perfect Valentine’s day dessert!

Everyone loves a good brownie and when your regular brownies got a makeover, red velvet brownies were born. They become a thing of out-of-this-world! And they do not come from a box-mix! Yes, these are made 100% from scratch. So earn some extra brownie-points and make them for your Valentine!


Red Velvet Brownies2


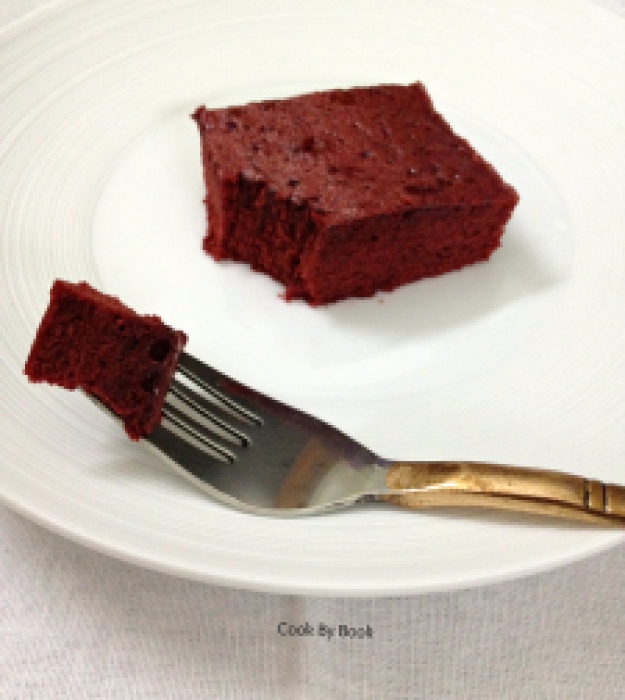
These brownies turned out so dang awesome that they were demolished FAST. It’s only 2 of us and with some self-control we made them last 48 hours! Every single piece and each last crumb was devoured with so much happiness. 9 pieces had to be equally divided among the 2 of us, such a difficult task! It was natural that I get an extra piece which I had happily consumed anyway while photographing these beauties. I mean who could resist? 😛

These brownies were supremely moist, fudgy and soft. Browned butter gives a unique depth of flavor. I like to use both white and brown sugar for a perfect brownie. Brown sugar attributes to a caramelized flavor while white sugar contributes to a crisp, shiny top! I’m a plain brownie person so I went plain with mine but you may fold in white chocolate chips and sprinkle some on top before baking for that extra chocolate-kick.


Red Velvet Brownies3


You may decorate these in many ways. I had them plain, with some powdered sugar sprinkling, with Nutella frosting and warm brownie topped with Double Chocolate Ice-cream. You bet I was completely ruining my healthy diet those 2 days and it was absolutely worth it! Sorry to all my Instagram followers for torturing them with all that #foodporn. Now you’ve got the recipe, time to treat yourselves!

Browned Butter Red Velvet Brownies ~ from Scratch

Yields: 9 pieces | Prep time: 15 minutes | Bake time: 20 minutes | Total time: 35 minutes

Ingredients:

  • 2/3 cup butter
  • 1/2 cup white granulated sugar
  • 1/4 cup brown sugar
  • 2 + 1/2 Tbsp unsweetened cocoa powder
  • 2 large eggs
  • 1 tsp vanilla extract
  • 1/4 cup buttermilk (or 3 Tbsp milk + 1 Tbsp vinegar)
  • Red food color
  • 1 cup all-purpose flour
  • 1/2 tsp salt

Directions:

  1. Preheat the oven at 180ºC / 350ºF. Line 8×8 inch square baking pan with an aluminium foil and grease it with oil. Set aside.
  2. Melt butter in a large saucepan over medium high heat. Stir constantly until butter has reached a light brown color and little bits have formed. It will be difficult to see the color of the butter as it foams a bit, so I go by smell– it will be very fragrant.
  3. Pour the butter in your mixing bowl(no need to cool). Add the sugars and cocoa powder and beat until smooth. Add the eggs, one at a time, mixing in between each addition until almost creamy.
  4.  Add the salt, buttermilk, red food coloring and vanilla extract.
  5. Add the flour and mix well. Batter will be of cupcake consistency.
  6. Spread the batter in baking pan and bake for 19-22 minutes (mine were done in exactly 20 minutes) o until toothpick inserted in a center comes out clean. Let cool completely before cutting into pieces. Serve with a sprinkle of powdered sugar, Nutella frosting or warm with a scoop of ice-cream.
Share this recipe: